Valentine’s Day is just around the corner woohoo! If you’re in a relationship, this is a really fun time to celebrate with your significant other. For the rest of us single folks, this is a really fun time to love on our friends and family and eat some cute treats!! I love any excuse to make cute food and having a holiday that people in my life are willing to spare some extra calories for the day. If we’ve learned anything this past year, it’s that life is too short, so eat the damn cookie (or whatever else you want)!
If you've been subscribed to my blog, then you might be familiar with my "Perfect Sugar Cookies" recipe. However, this tutorial doesn’t call for the royal icing, so they are just that much easier! But, if you can’t live without icing, go for it, girl! I love my sugar cookie recipe because the dough is super easy to work with. If you have kiddos in your life, this is a great, fool proof dough. It resembles Play-Doh in it's texture and holds its shape while baking too. The worst thing ever is when you put a cookie in the oven and then it completely loses its form, but you no longer have to worry about that with this recipe. Today I'm going to describe my technique for the marbled mosaic pattern of my cookies, but if you prefer a video tutorial, feel free to scroll to my YouTube video below.
The Technique
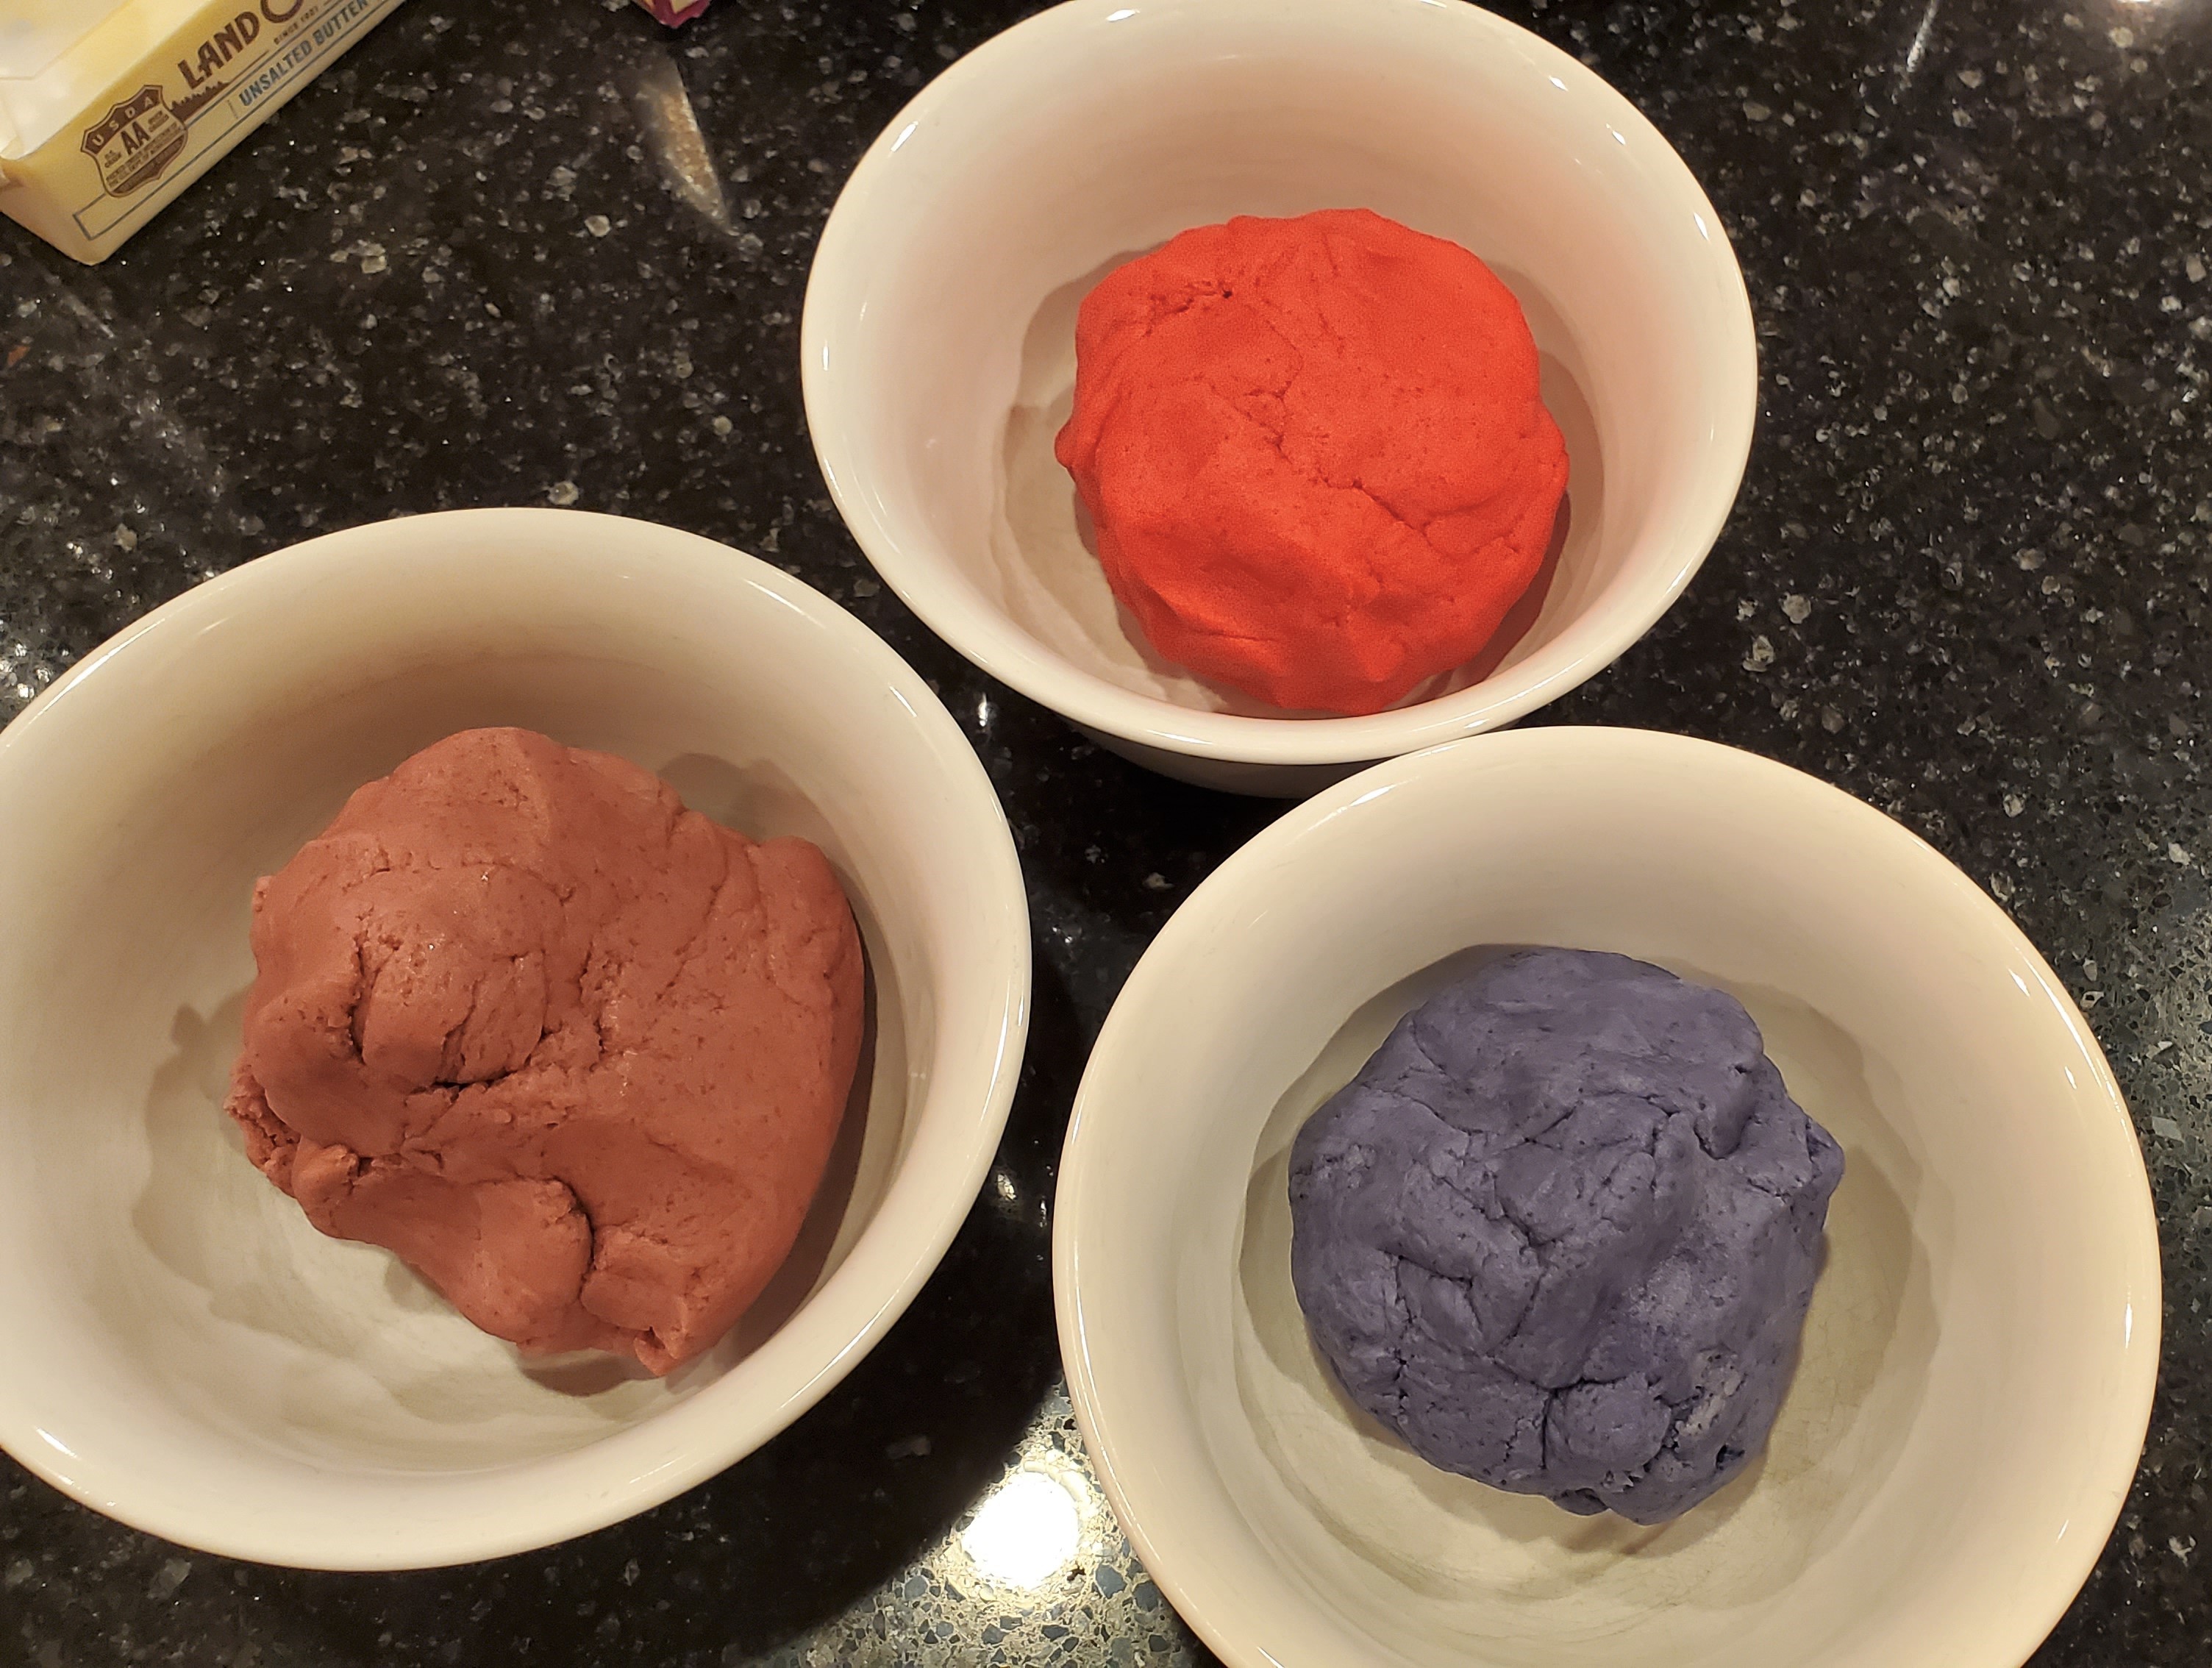
The main difference in the process, to get this adorable, artsy pattern as our end product, is to separate and color our dough. I did three different gel colors, but honestly feel free to go wild and do more if you so choose! First, evenly divide your uncolored dough. You can weigh each new ball on a food scale if you like, but I usually just eyeball it. Then I take each ball and poke a small but deep hole in it. Fill this hole with a few drops of your gel food coloring and pop it back into the mixer until it is incorporated. When I did this, I didn’t have any issues with the food coloring getting all over the mixer. The dough should naturally pick up any excess gel stuck to the inside of the bowl. But just in case there ever might be any food coloring left, I mix my dough balls starting with (generally) a lighter color then move to the darker colors, or whichever makes most sense color theory-wise. So, in this case, I started with my light pink, moved to red and then purple.
Assembling the Pattern
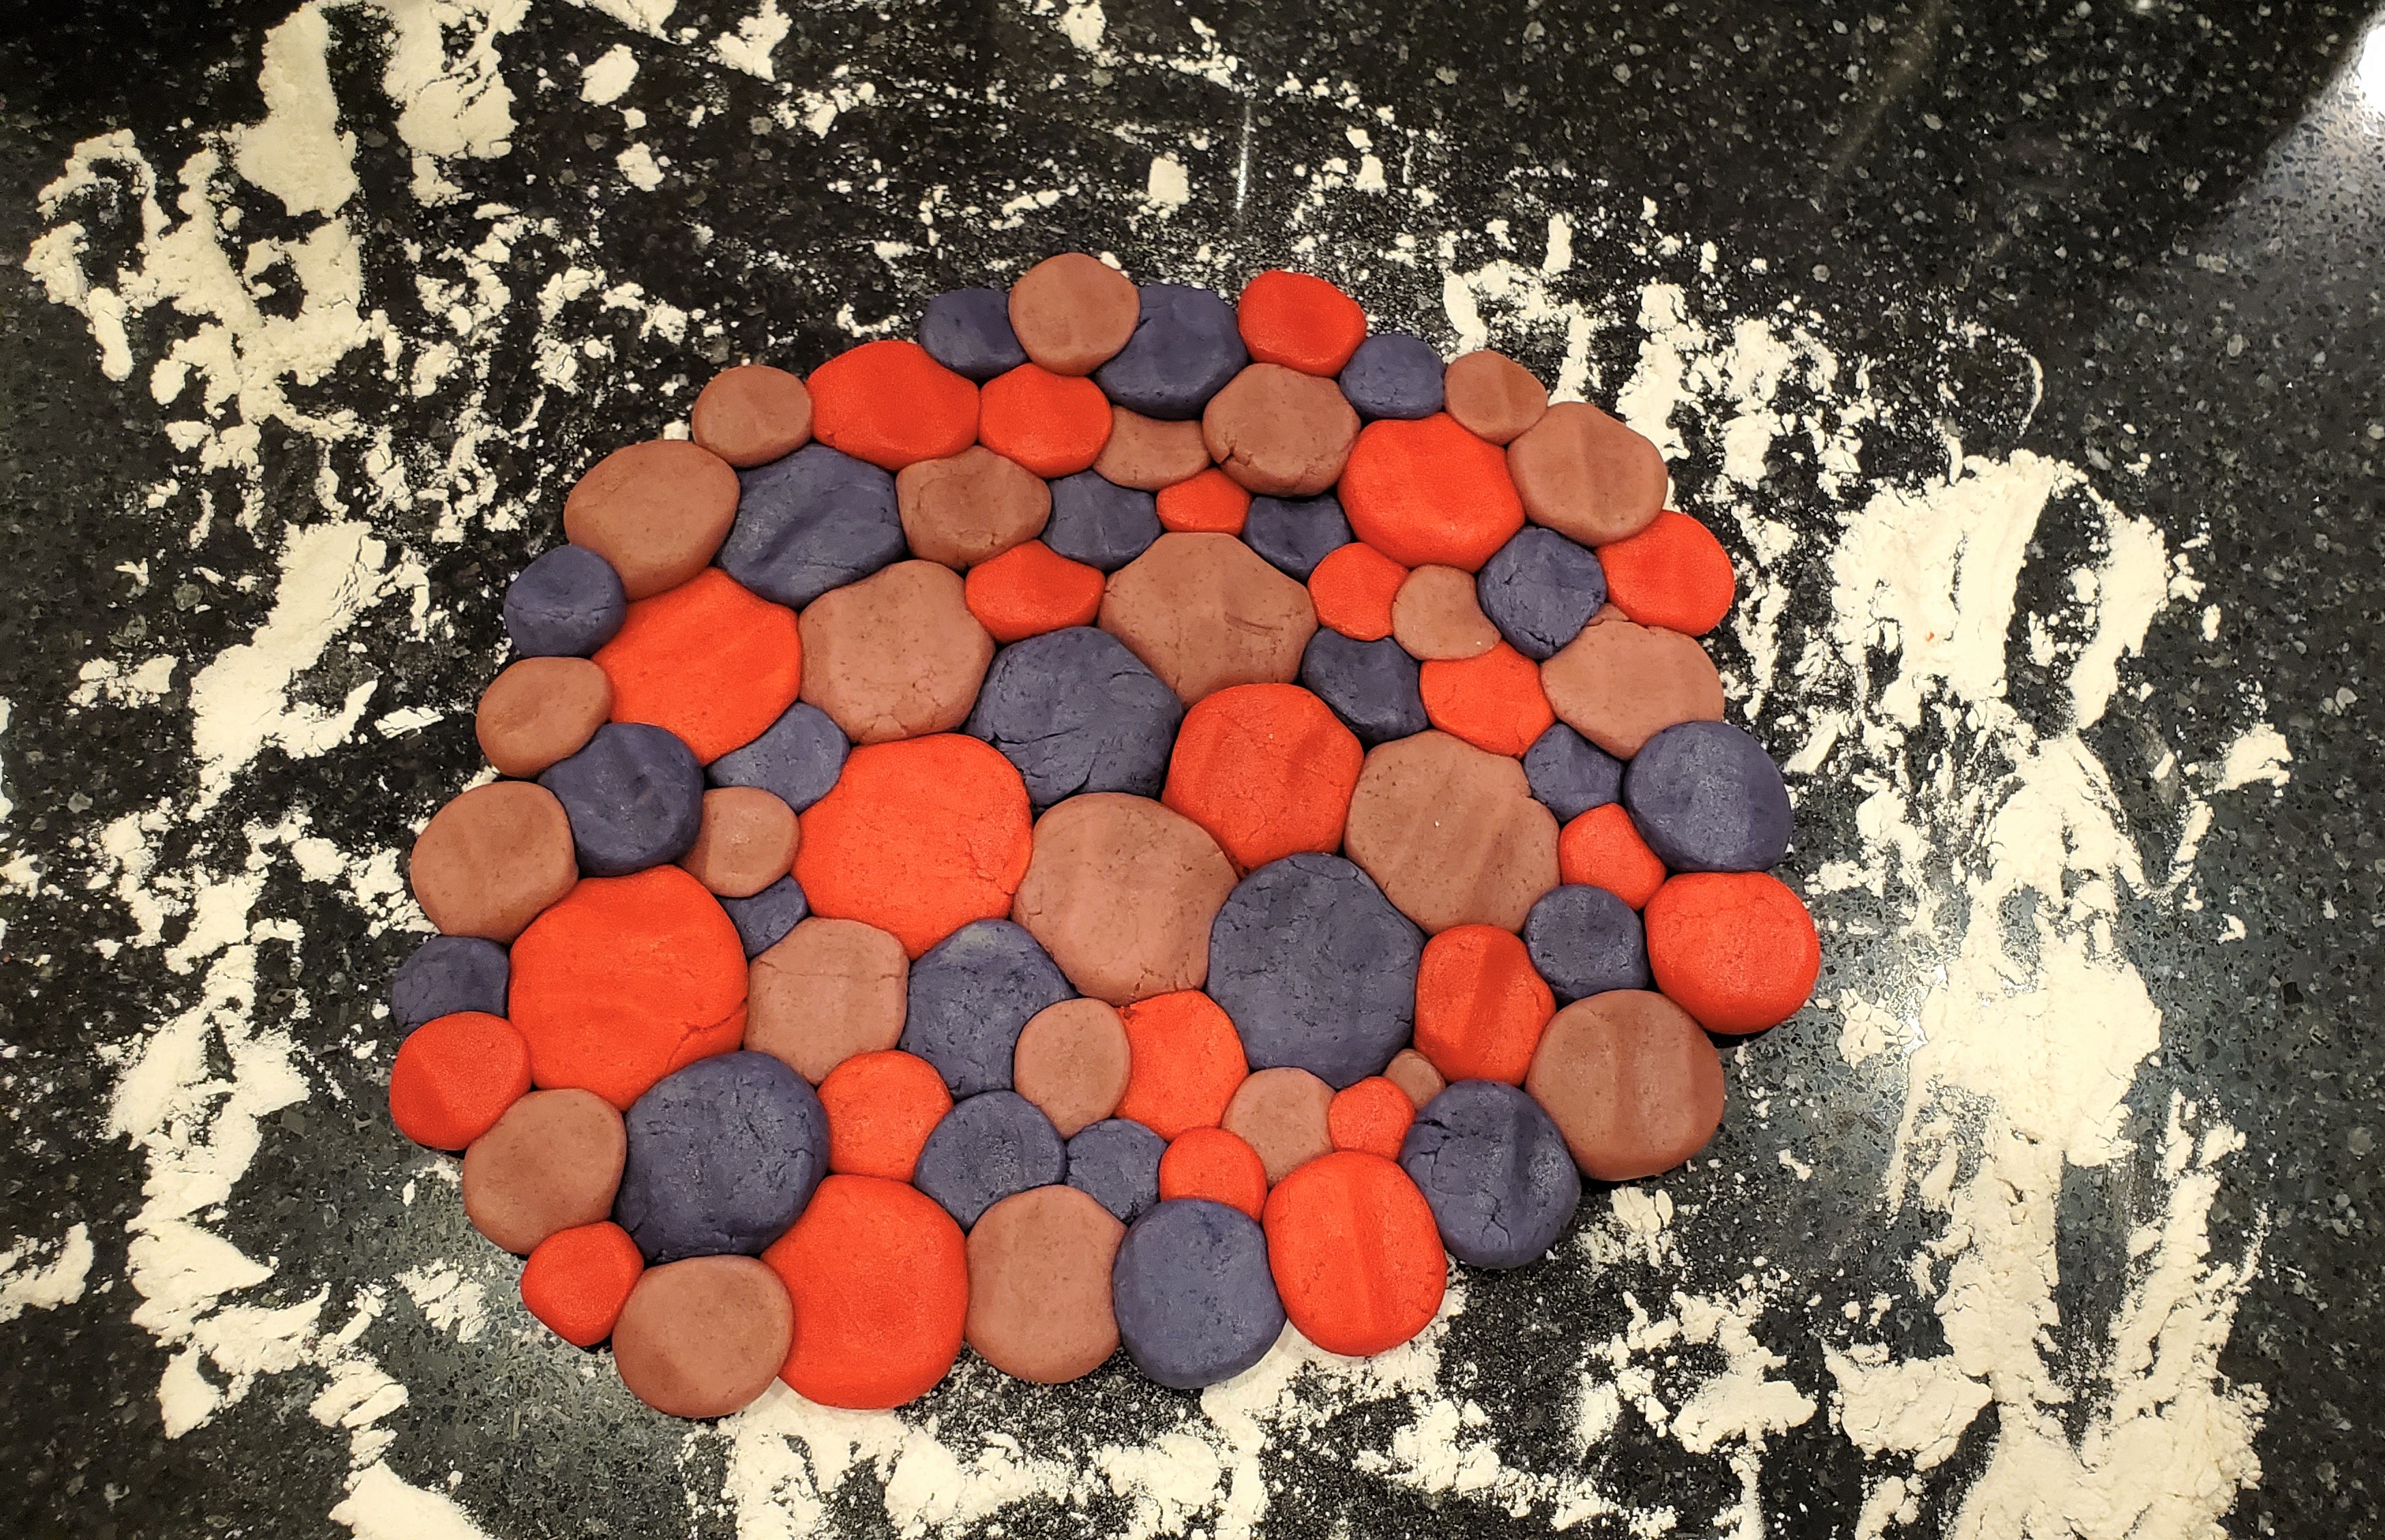
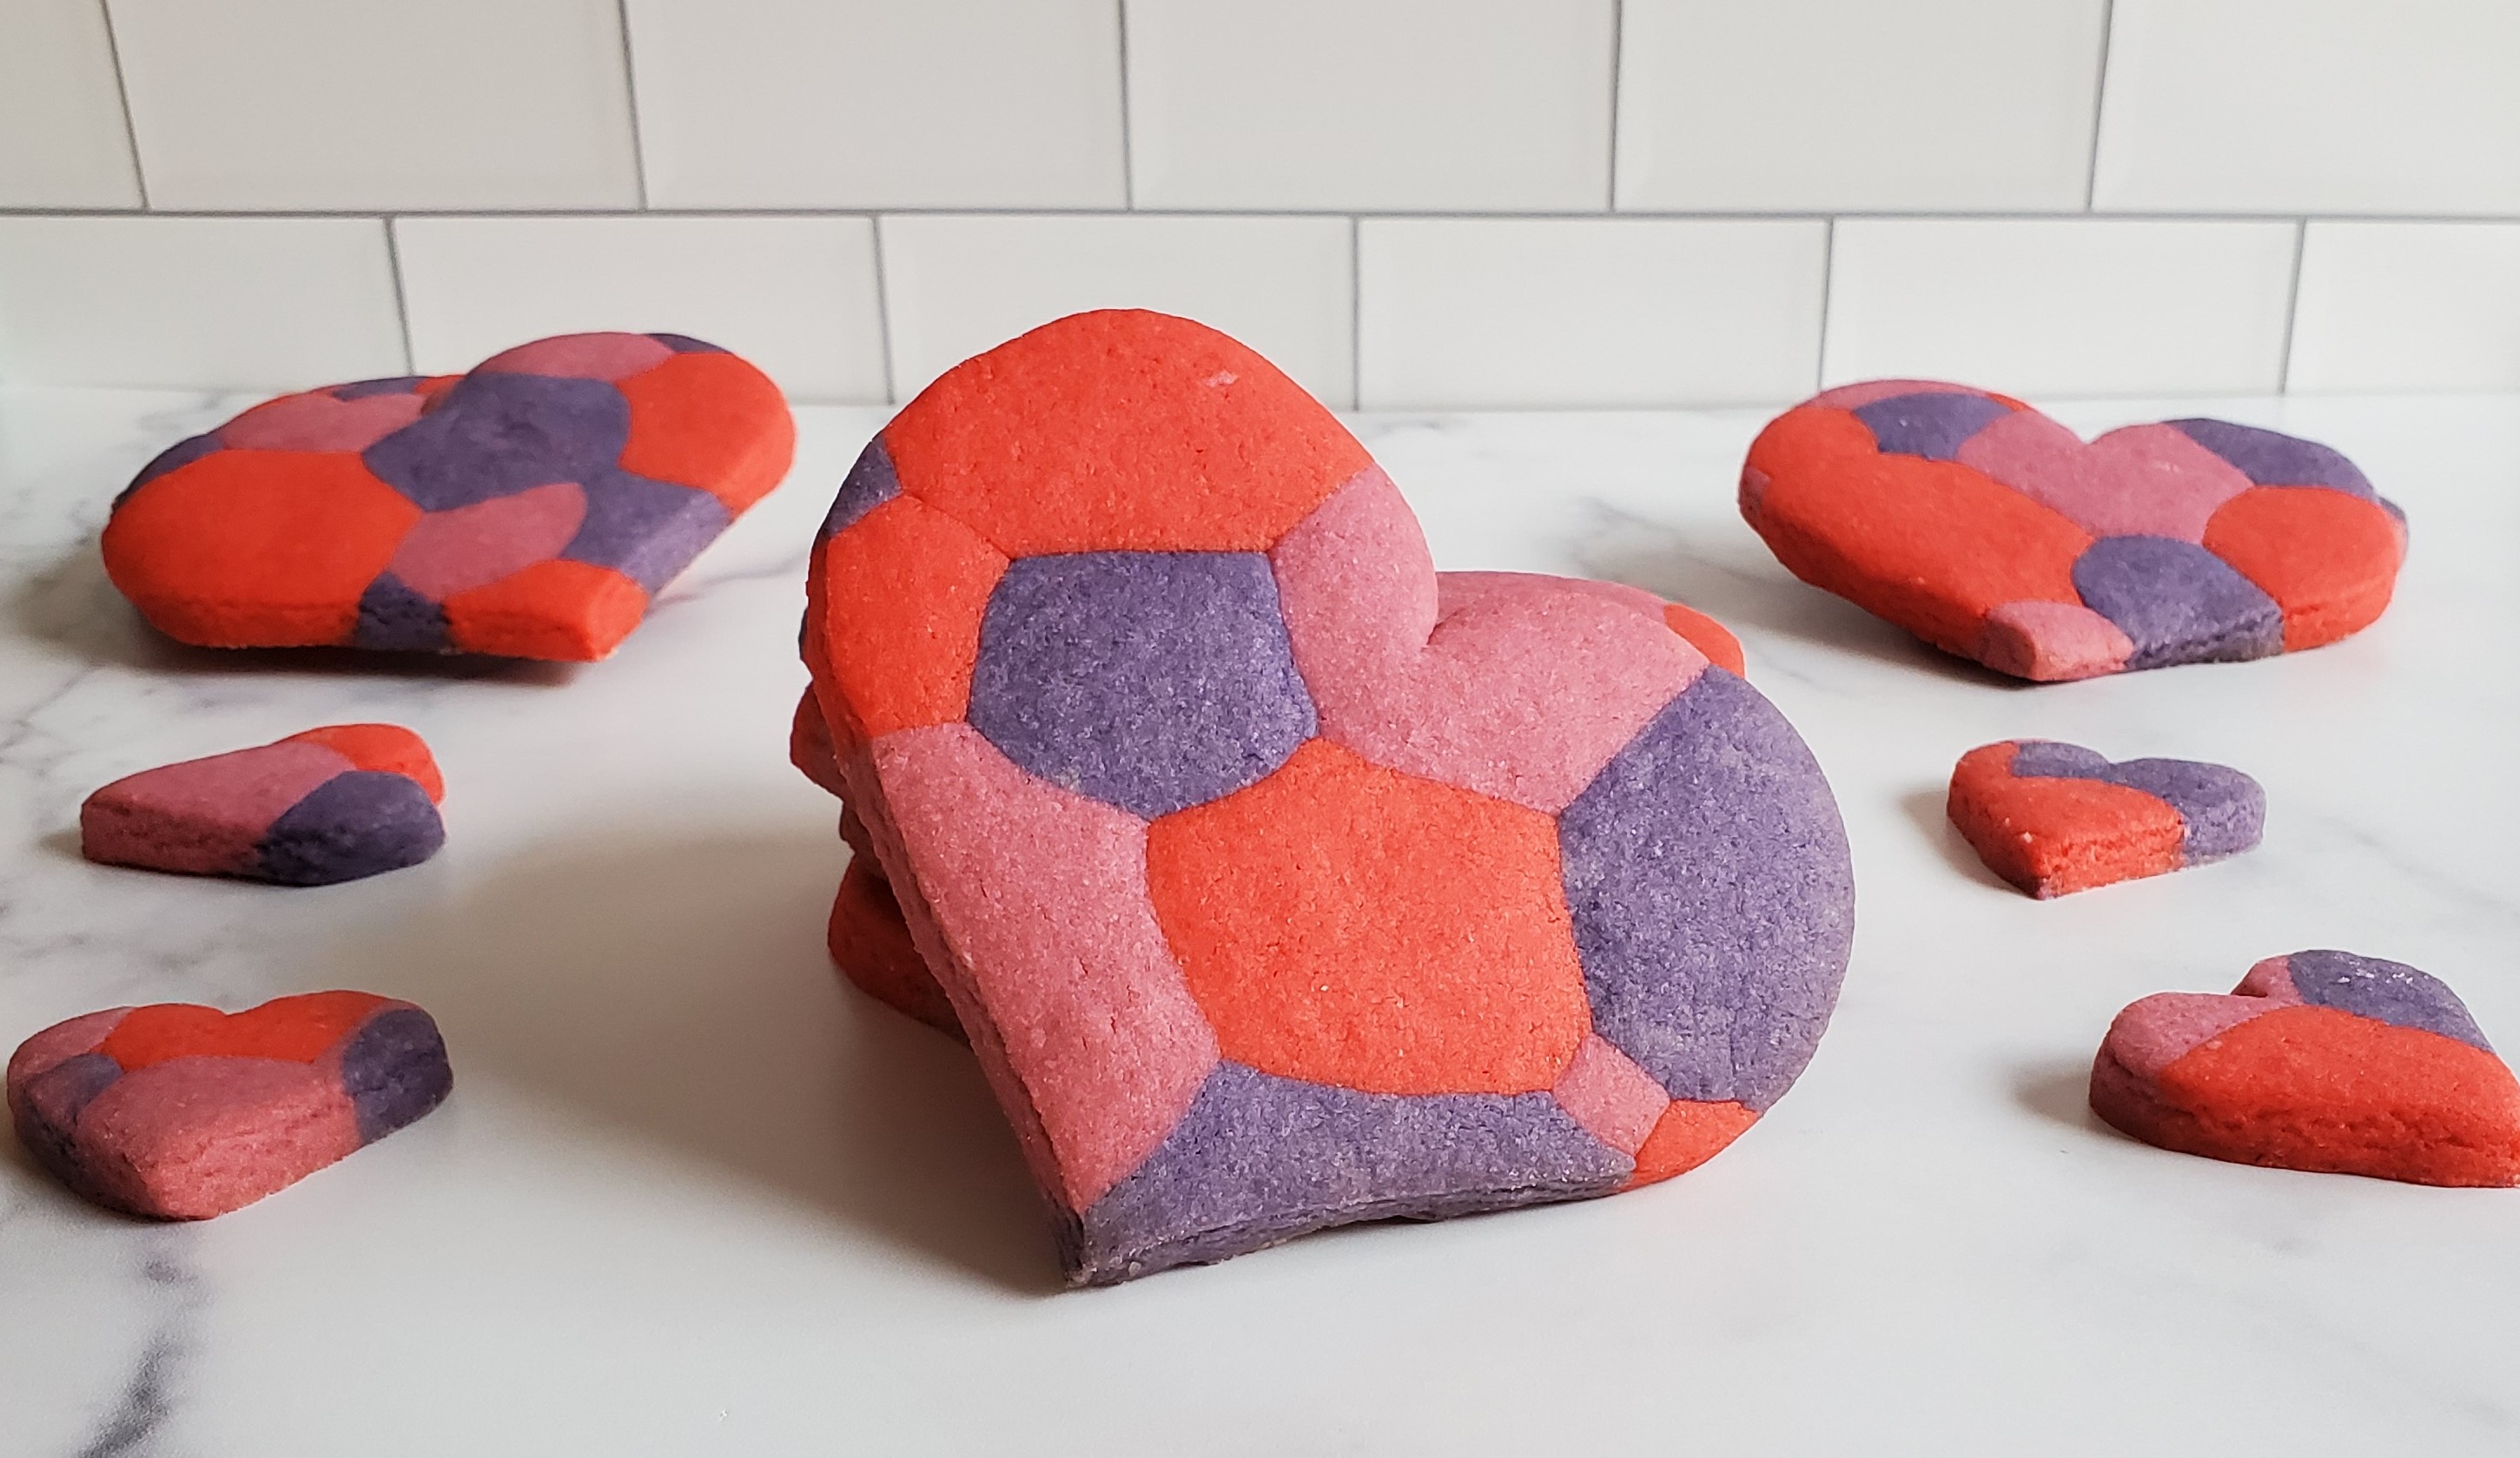
In order to get the desired design, I took my pink, red and purple balls of dough and started with chunks about the size of two tablespoons. I then rolled them again into balls and placed them side by side. I also did this on top of a lightly floured surface. I just continued to add to this pattern around the sides and began mixing in smaller balls of colored dough as well. For as long as I could, I alternated colors so no two balls of the same color were next to each other. Eventually that became impossible, but still created a very cool look.
Rolling Your Dough
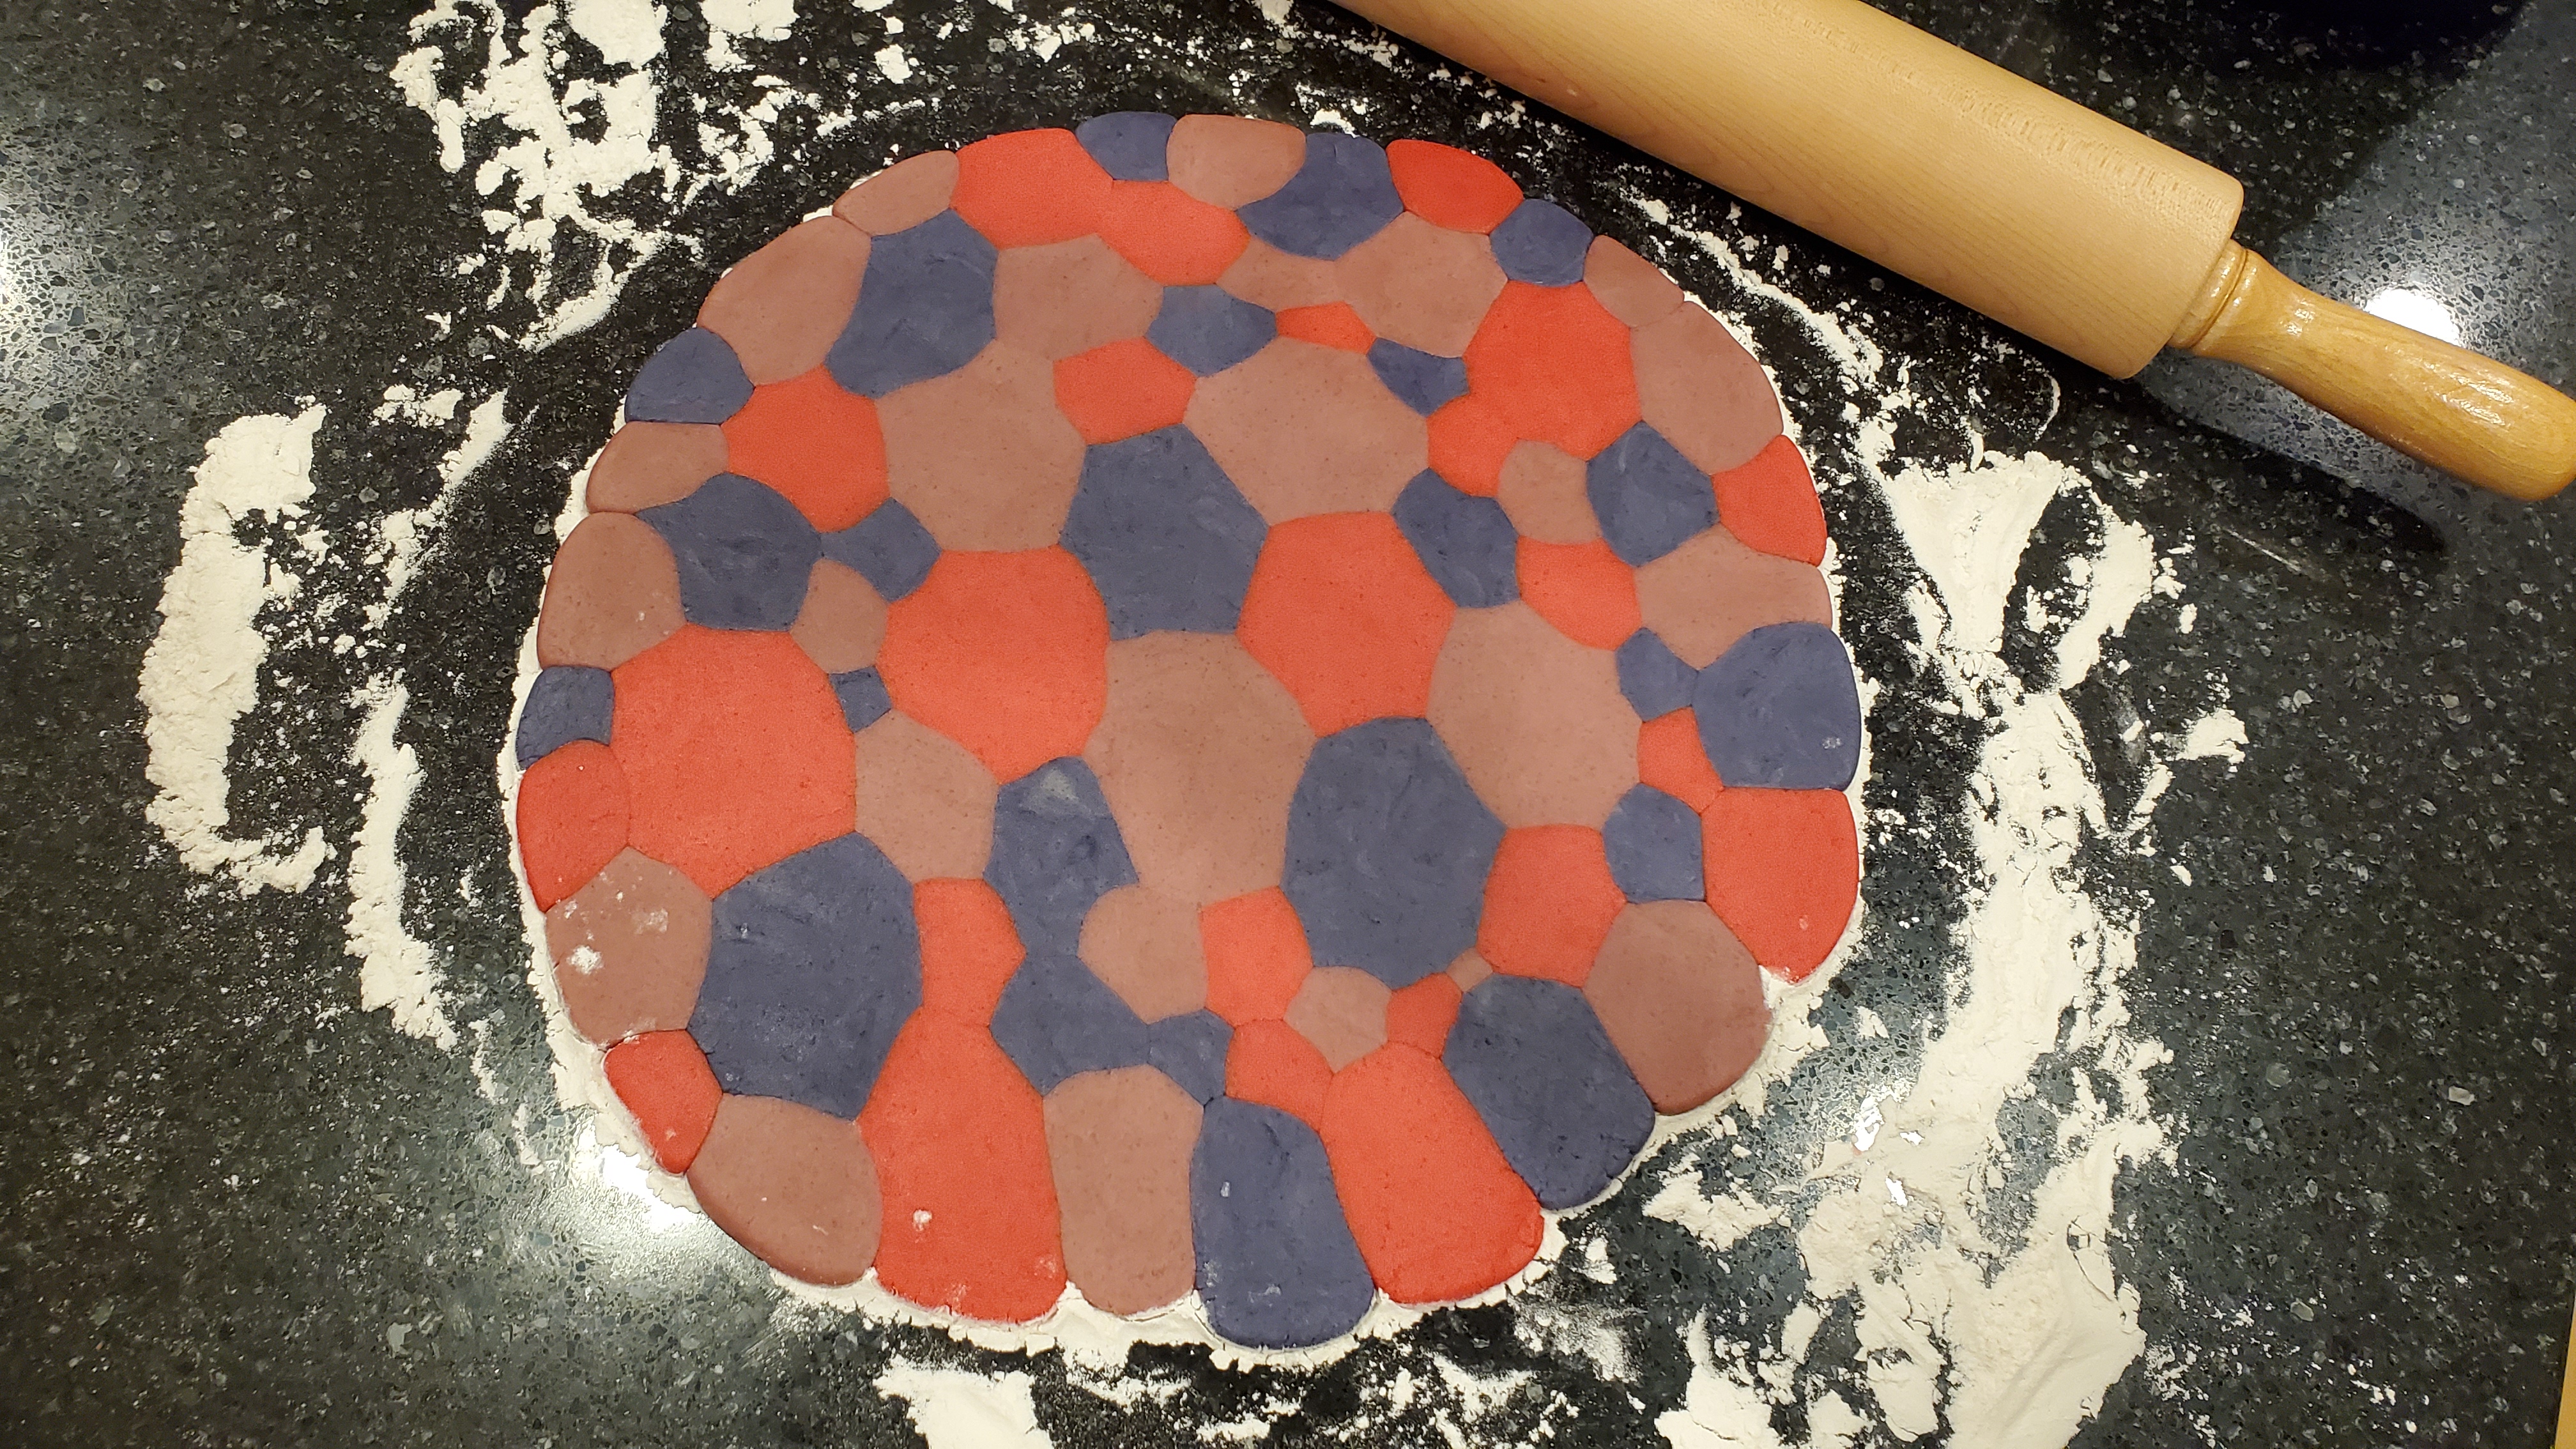
This is going to seem contrary to anything you ever learn in home ec class, but do not flour your rolling pin! I made that mistake while testing this recipe and you’ll end up with a white and/or brown swirl right across your cookie. And don’t worry, the dough will not stick to your rolling pin (there is a ton of butter in the dough, lol). You’re just going to roll out your dough as evenly as possible to ¼ of an inch thickness. Finally, using a heart shaped cookie cutter, cut your cookies as close to the edge as possible. I’m sure you learned this as a kid, but I didn’t always listen to this advice. The reason it makes a difference in this recipe is because after your first roll, your dough is going to look different than the original anticipated design. It will still look cool, you’re just more likely to get those swirls of flour that I mentioned on your second or third rolls.
Then, simply transfer your cookie cut out to a baking sheet lined with parchment paper and bake at 350° for 8-12 minutes. You’ll know your cookies are done when you nudge them with your finger gently and they do not move. Be careful not to overcook your cookies. You want them to still be soft in the middle when you take a bite. If you cook them too long, they could end up like hockey pucks!
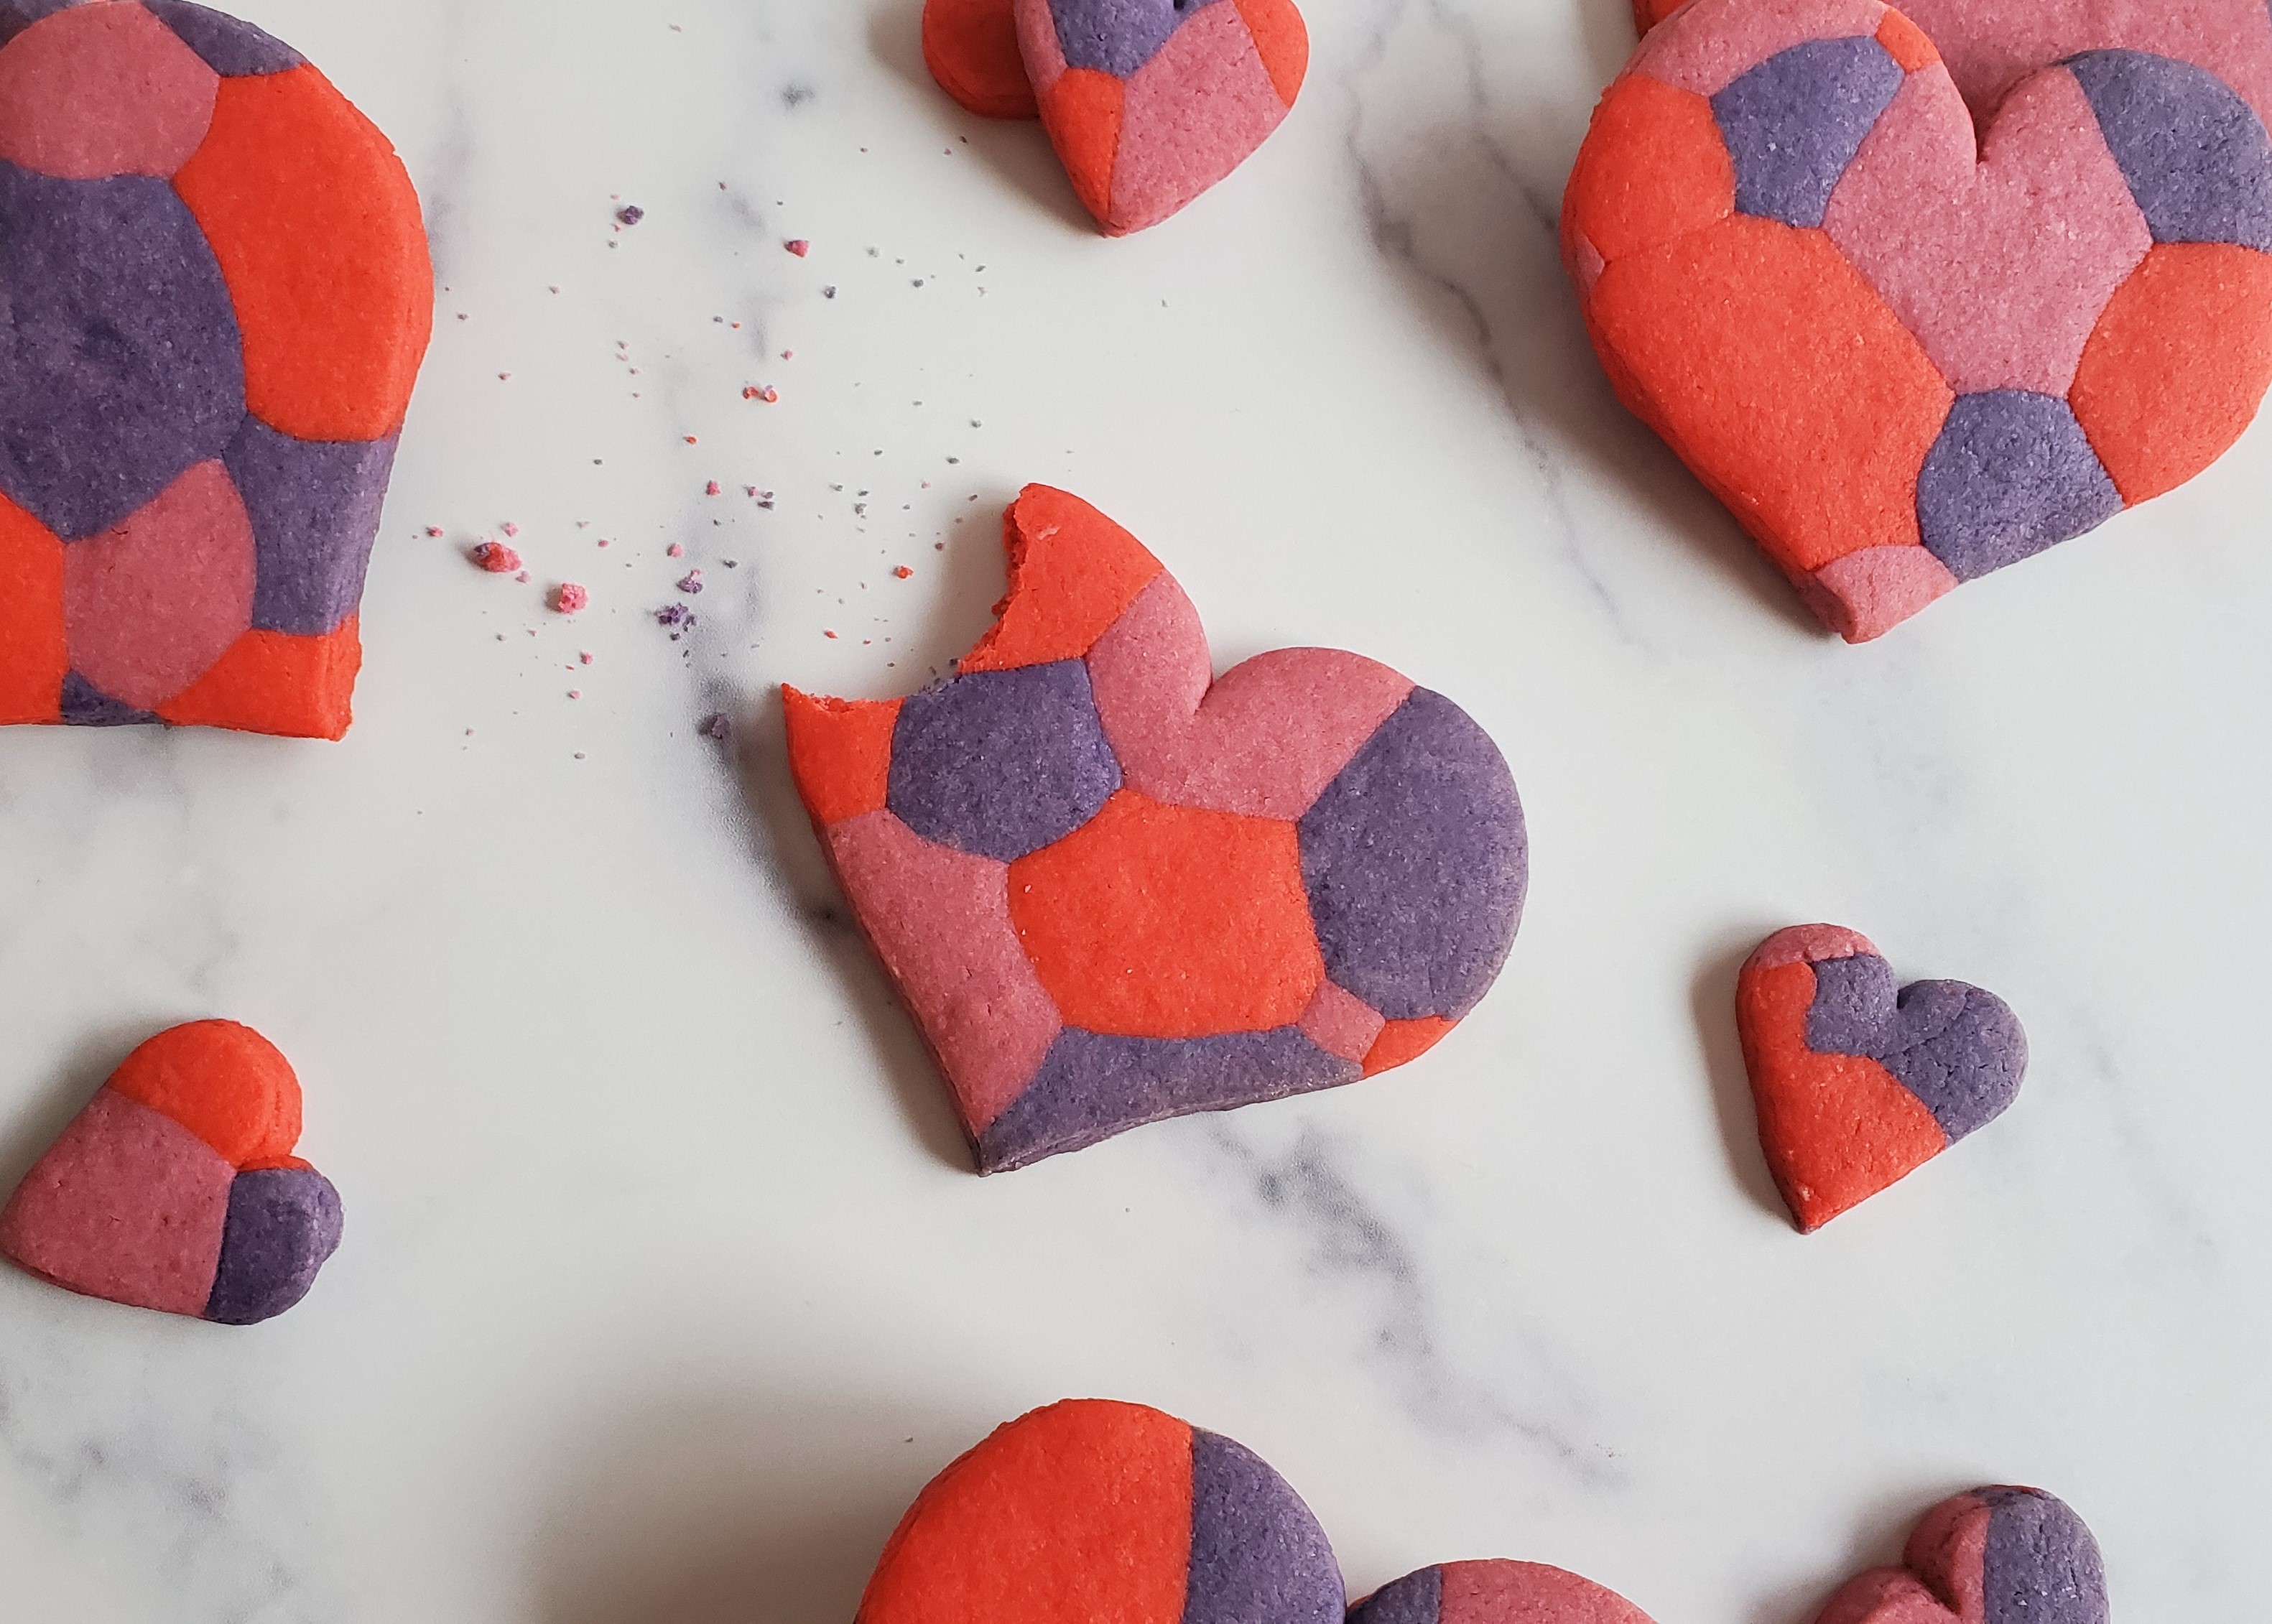
See, these cookies are ultra-gorgeous and actually super easy! I love when I have recipes or desserts that look really difficult, but actually take no time at all.
happy eating!
Lauren
The Perfect Sugar Cookie Recipe
3 ¼ cups all-purpose flour (406 g)
1 tsp. aluminum-free baking powder (4 g)
½ tsp. fine sea salt (4 g)
1 cup (2 sticks) softened butter (231 g)
1 cup granulated organic white sugar (213 g)
1 egg
1 ½ tsp. vanilla extract (10 g)
1 tsp. almond extract (7 g)
*Gel food coloring optional
(as an Amazon associate, I earn a small percentage from qualifying purchases.)
Instructions:
- Preheat your oven to 350 degrees Fahrenheit.
- In a separate medium bowl, mix together flour, baking powder and salt.
- In your mixer, cream your butter with your sugar until light and fluffy. It should be a pale yellow color.
- Then incorporate your egg, vanilla and almond extract.
- Finally add in your dry ingredient mixture.
- Separate your dough into three balls. Make an indent in each ball with your knuckle or a spoon and put a few drops of your gel food coloring (I used Americolor Fuchsia, Super Red and Violet) in the middle.
- Pop each dough ball back into your mixer individually and mix until you reach your desired color, adding more gel food coloring if needed. *Pro tip, I mix my dough from lightest color to darkest color, just in case any gel residue sticks to the bowl.
- Lightly flour a clean surface in your kitchen.
- Take your pink, red and purple balls of dough and roll smaller balls, about the size of two tablespoons. Then place them side by side, pressing them slightly so they stick together. Continue this pattern until you have a large mass. Gradually incorporate smaller balls of each color of dough for variety.
- Using and un-floured rolling pin, roll your dough out until it is about the thickness of a bottle cap or your pinky finger (1/4 inch).
- Cut out your cookies with heart shaped cookie cutters. Get as close to the edge as possible to get the most out of this roll. Once you re-roll your dough, you will get a whole new design (that may have flour swirls).
- Grab a baking sheet with parchment paper and carefully transfer your cookies, while gently removing the dough from around each cookie.
- Bake on the middle rack of your oven for about 8-12 minutes. I recommended keeping an eye on your cookies though, as ovens may vary.
- You’ll know your cookies are done when you nudge them with your finger gently and they do not move.

Comments