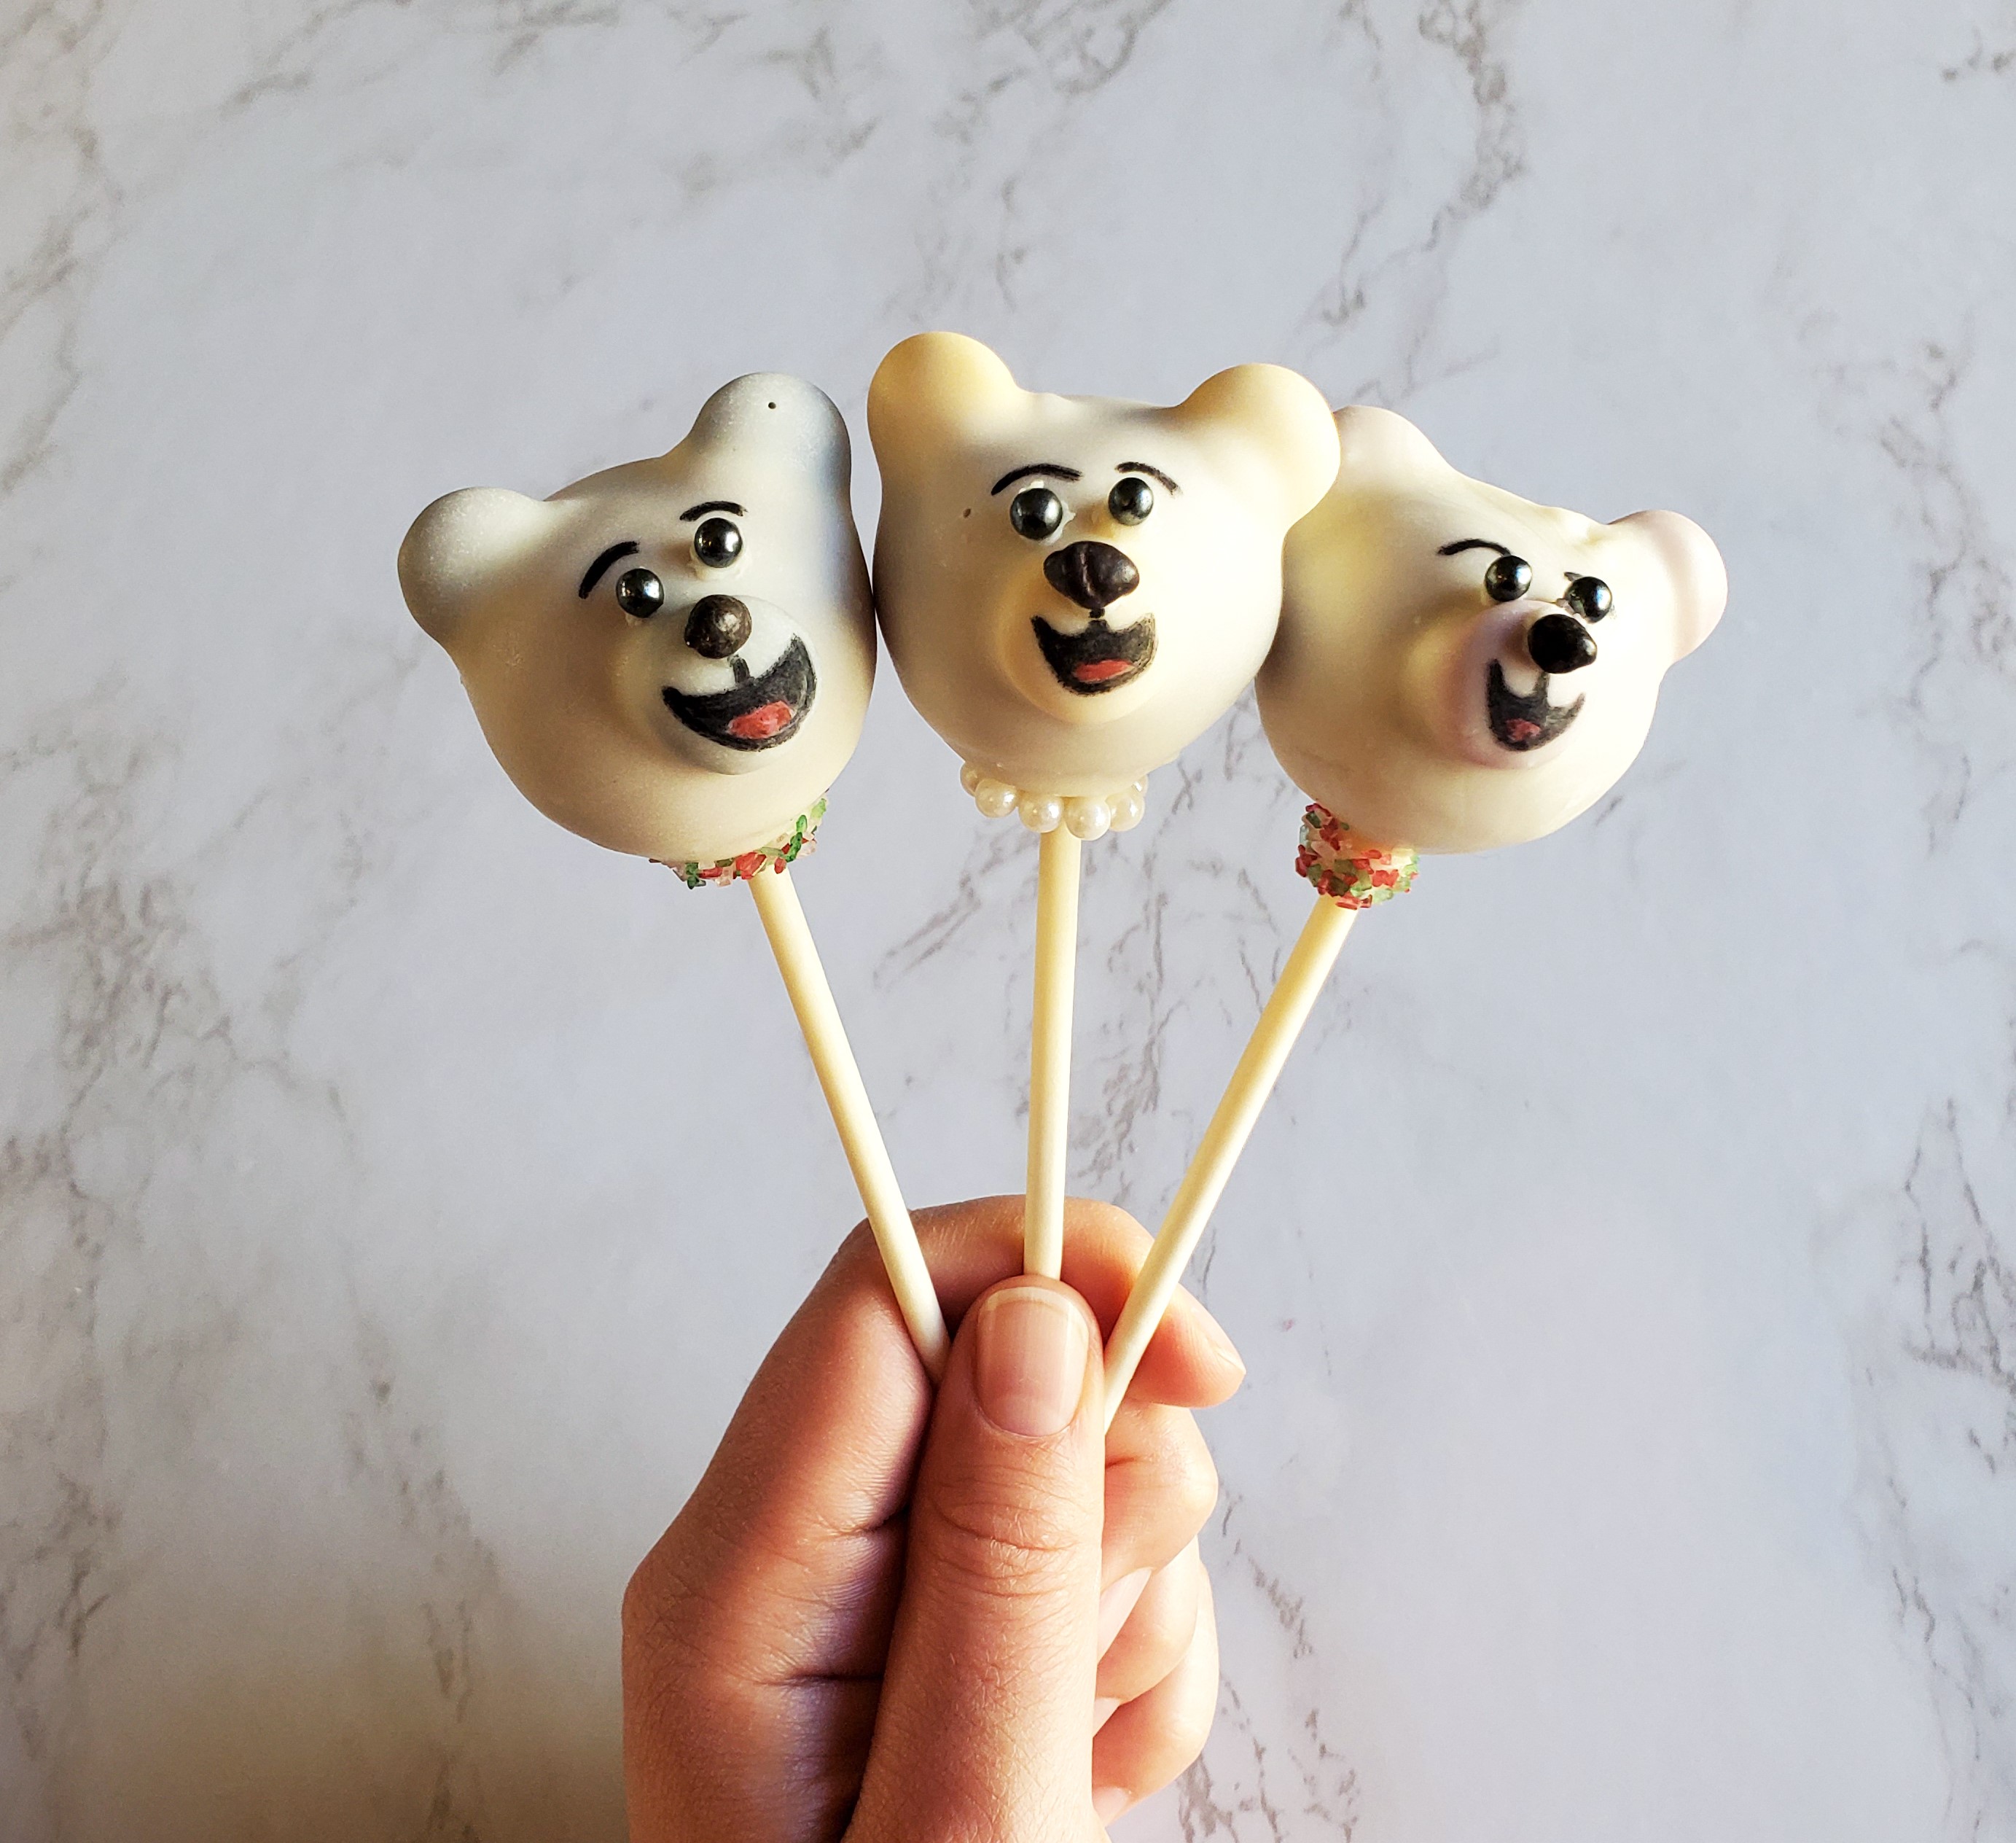
Merry Christmas and Happy Holidays everyone, I'll keep this post brief. Thank you so much for following along with my blog. It really means the world to me and has really kept me sane throughout this pandemic! Here's hoping 2021 will be better. Wishing you health and happiness, eat some great food this holiday weekend!
happy eating & happy holidays!
Lauren
Snowman Cake Pop Essentials: (As an Amazon associate, I earn from qualifying purchases)
How To Make Polar Bear Cake Pops
Ingredients:
- 9 x 13 pan of cake, any flavor
- About 1 cup of buttercream frosting
- 1 bag of White Candy Melts
- Mini unwrapped Reese's Peanut Butter Cups
-Mini Oreos
Instructions:
- Bake a 9 x 13 pan of cake (any flavor). Let it cool, cut it up and crumble it very finely in a large bowl.
- Make some buttercream or buy some from the store and add to your crumbled cake. You want to mix in just enough frosting so that your mixture feels like Play-Doh. It is better to start with less rather than more or your cake pops with be to malleable.
- Roll your cake mixture into individual, bite-sized balls.
- Melt down a bag of white candy melts. Use a candy melter if you have one, or microwave at 30 second increments stirring in between until smooth.
- Dip about 1 cm of the cake pop stick into the candy melts and then stick it into your cake ball. Smooth the excess out around the base of the stick. Refrigerate your pops for 15 minutes.
- After your cake pops have set in the refrigerator, take three M & M's, dip the bottom half of two of them in candy melts and attach to the top of your pop as ears. Take the third M & M and dip in candy melts horizontally and attach to the front of your pop as the polar bear snout.
- Once the M & M's have set you are going to completely submerge your cake pop in the candy melts. Be careful not to jerk it around too fast or the cake could fall of the stick or get crumbs in your candy melts.
- Cover all of your cake ball and allow this layer of candy melts to harden, I recommend using a cake pop stand to let your pops dry.
- Fit your piping bag with a #4 Wilton tip (or other small round piping tip). Fill the piping bag with excess white candy melts.
- Pipe two small dots of candy melts on the "face" of your cake pop. Then use 2 black non pareil sprinkles for eyeballs. Repeat this step to attach a black candy chip as the nose.
- When these pieces have hardened, take a food safe marker and add an expression to your polar bear, maybe even some eyebrows!
- Optional: pipe some candy melts around the base of your snowman's face, cover in sprinkles to create a "scarf".
- Then place again on your cake pop stand to dry. Enjoy!
