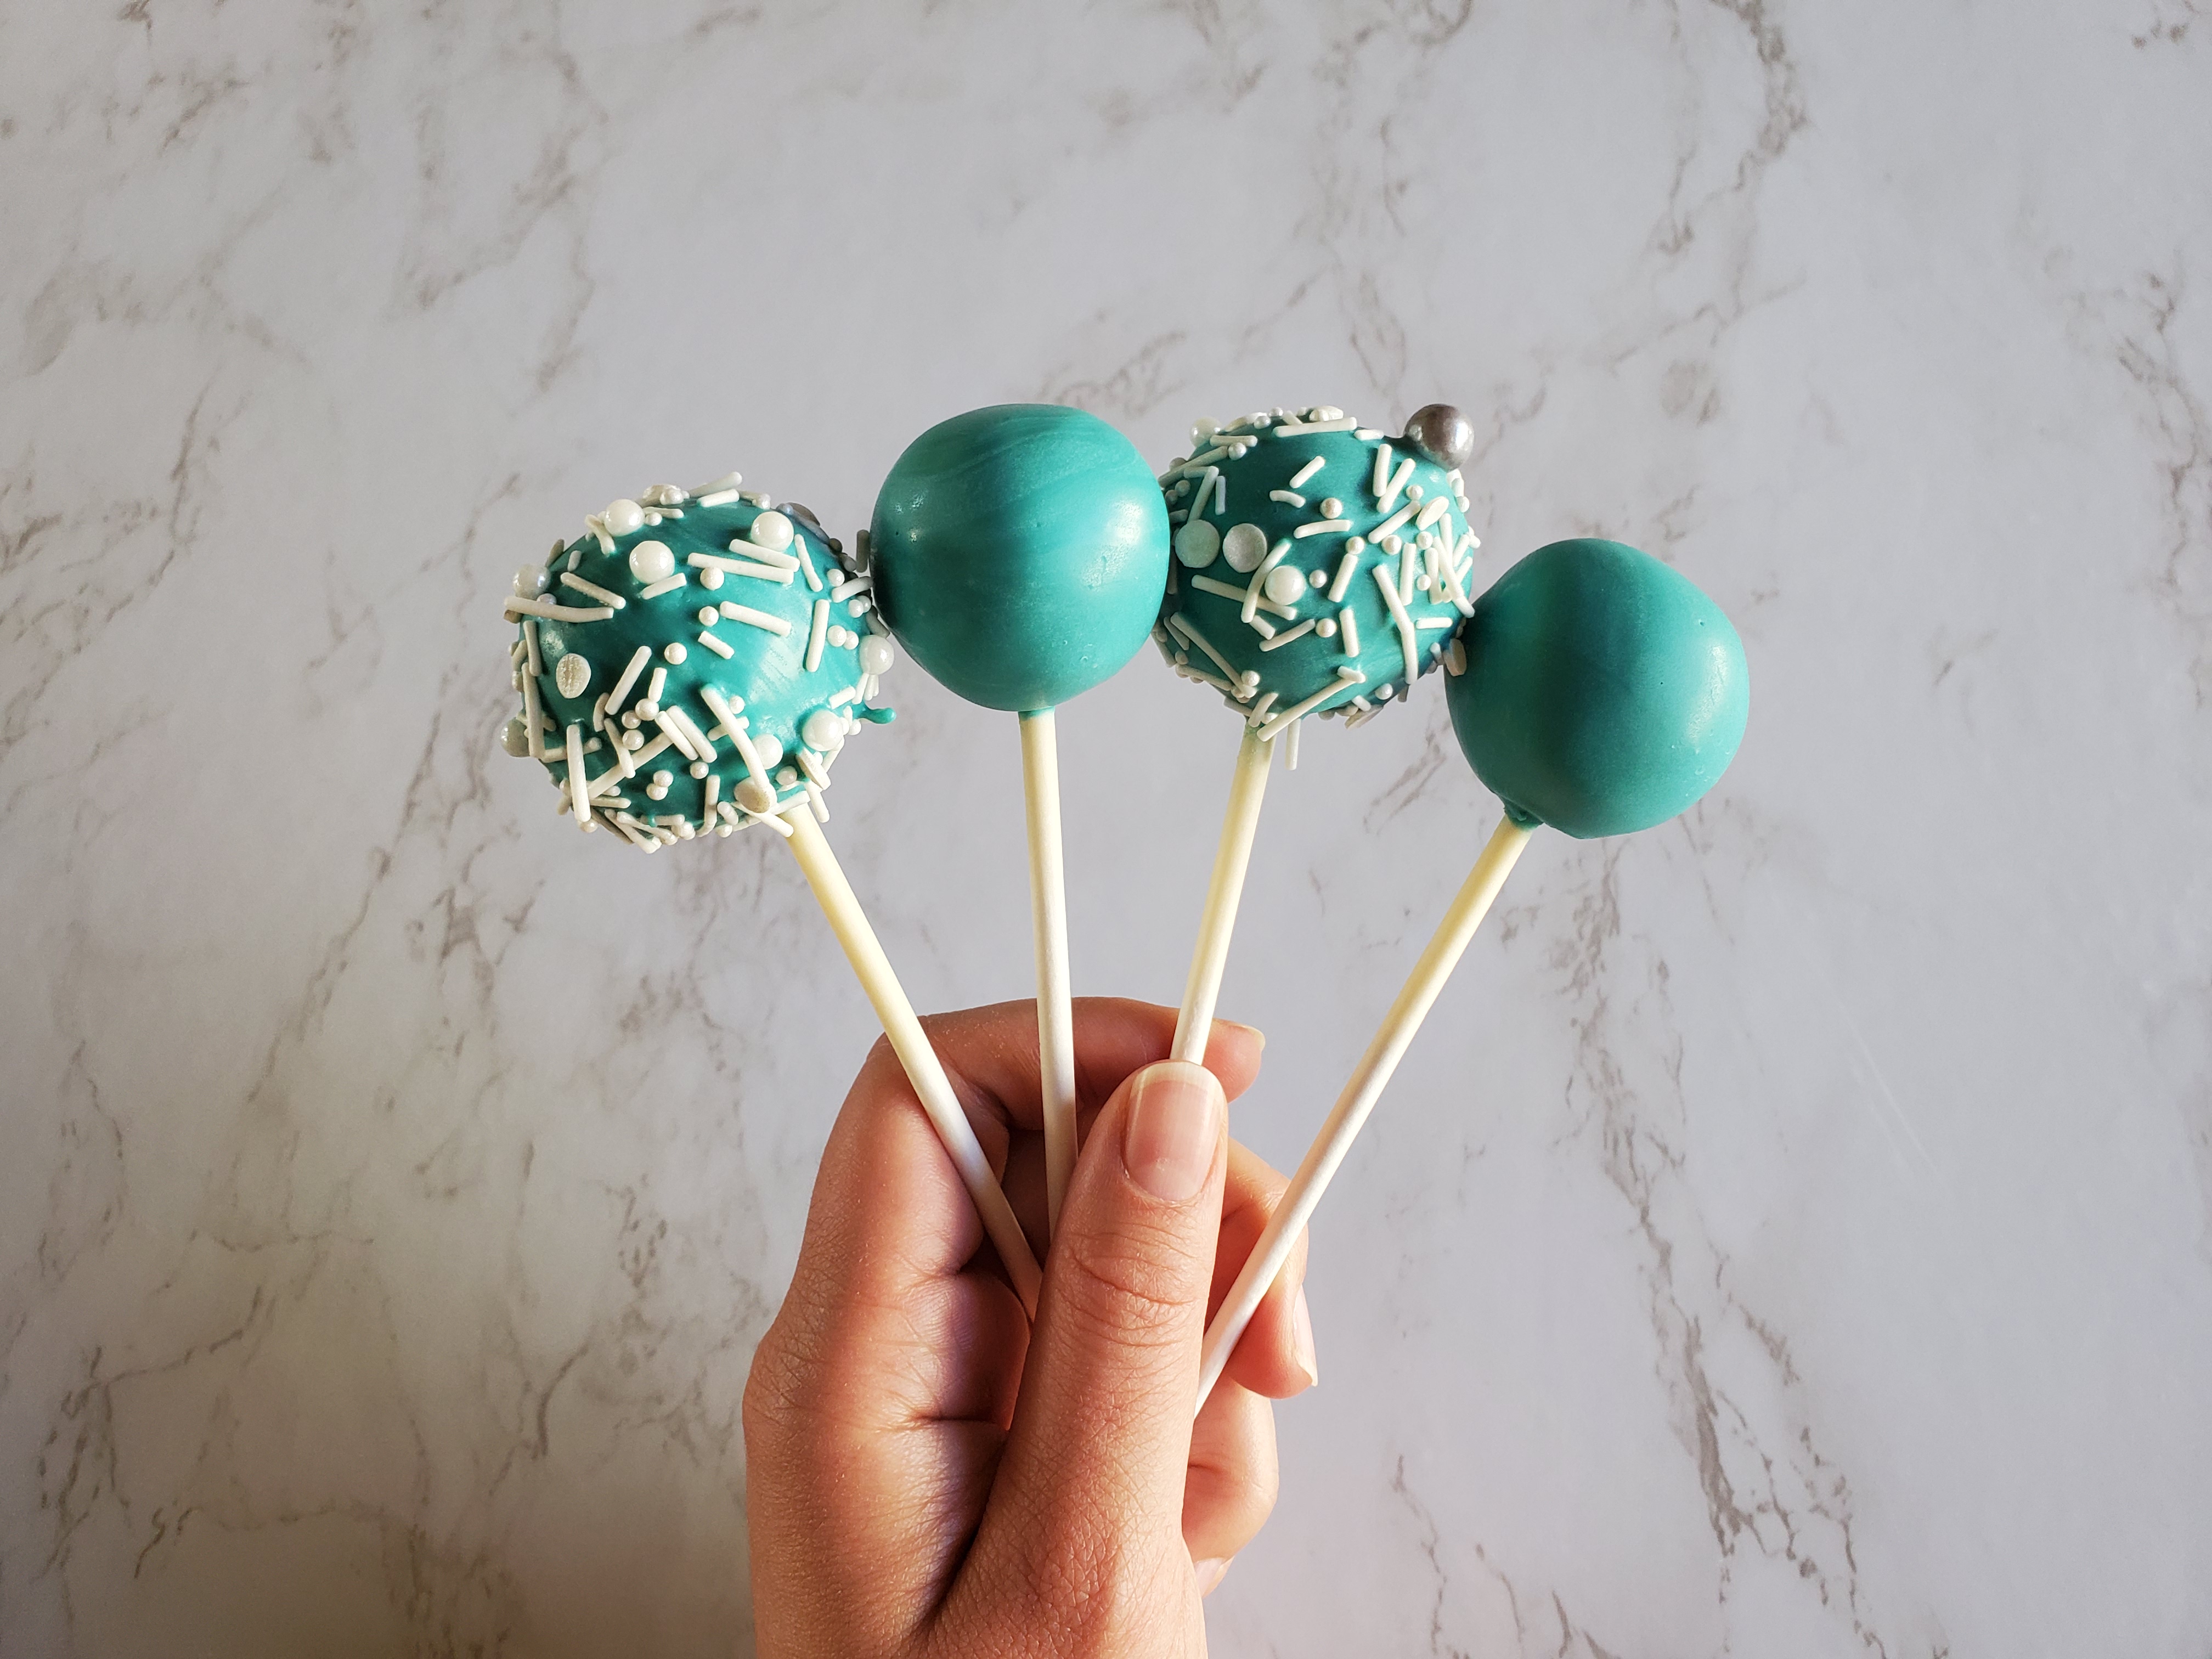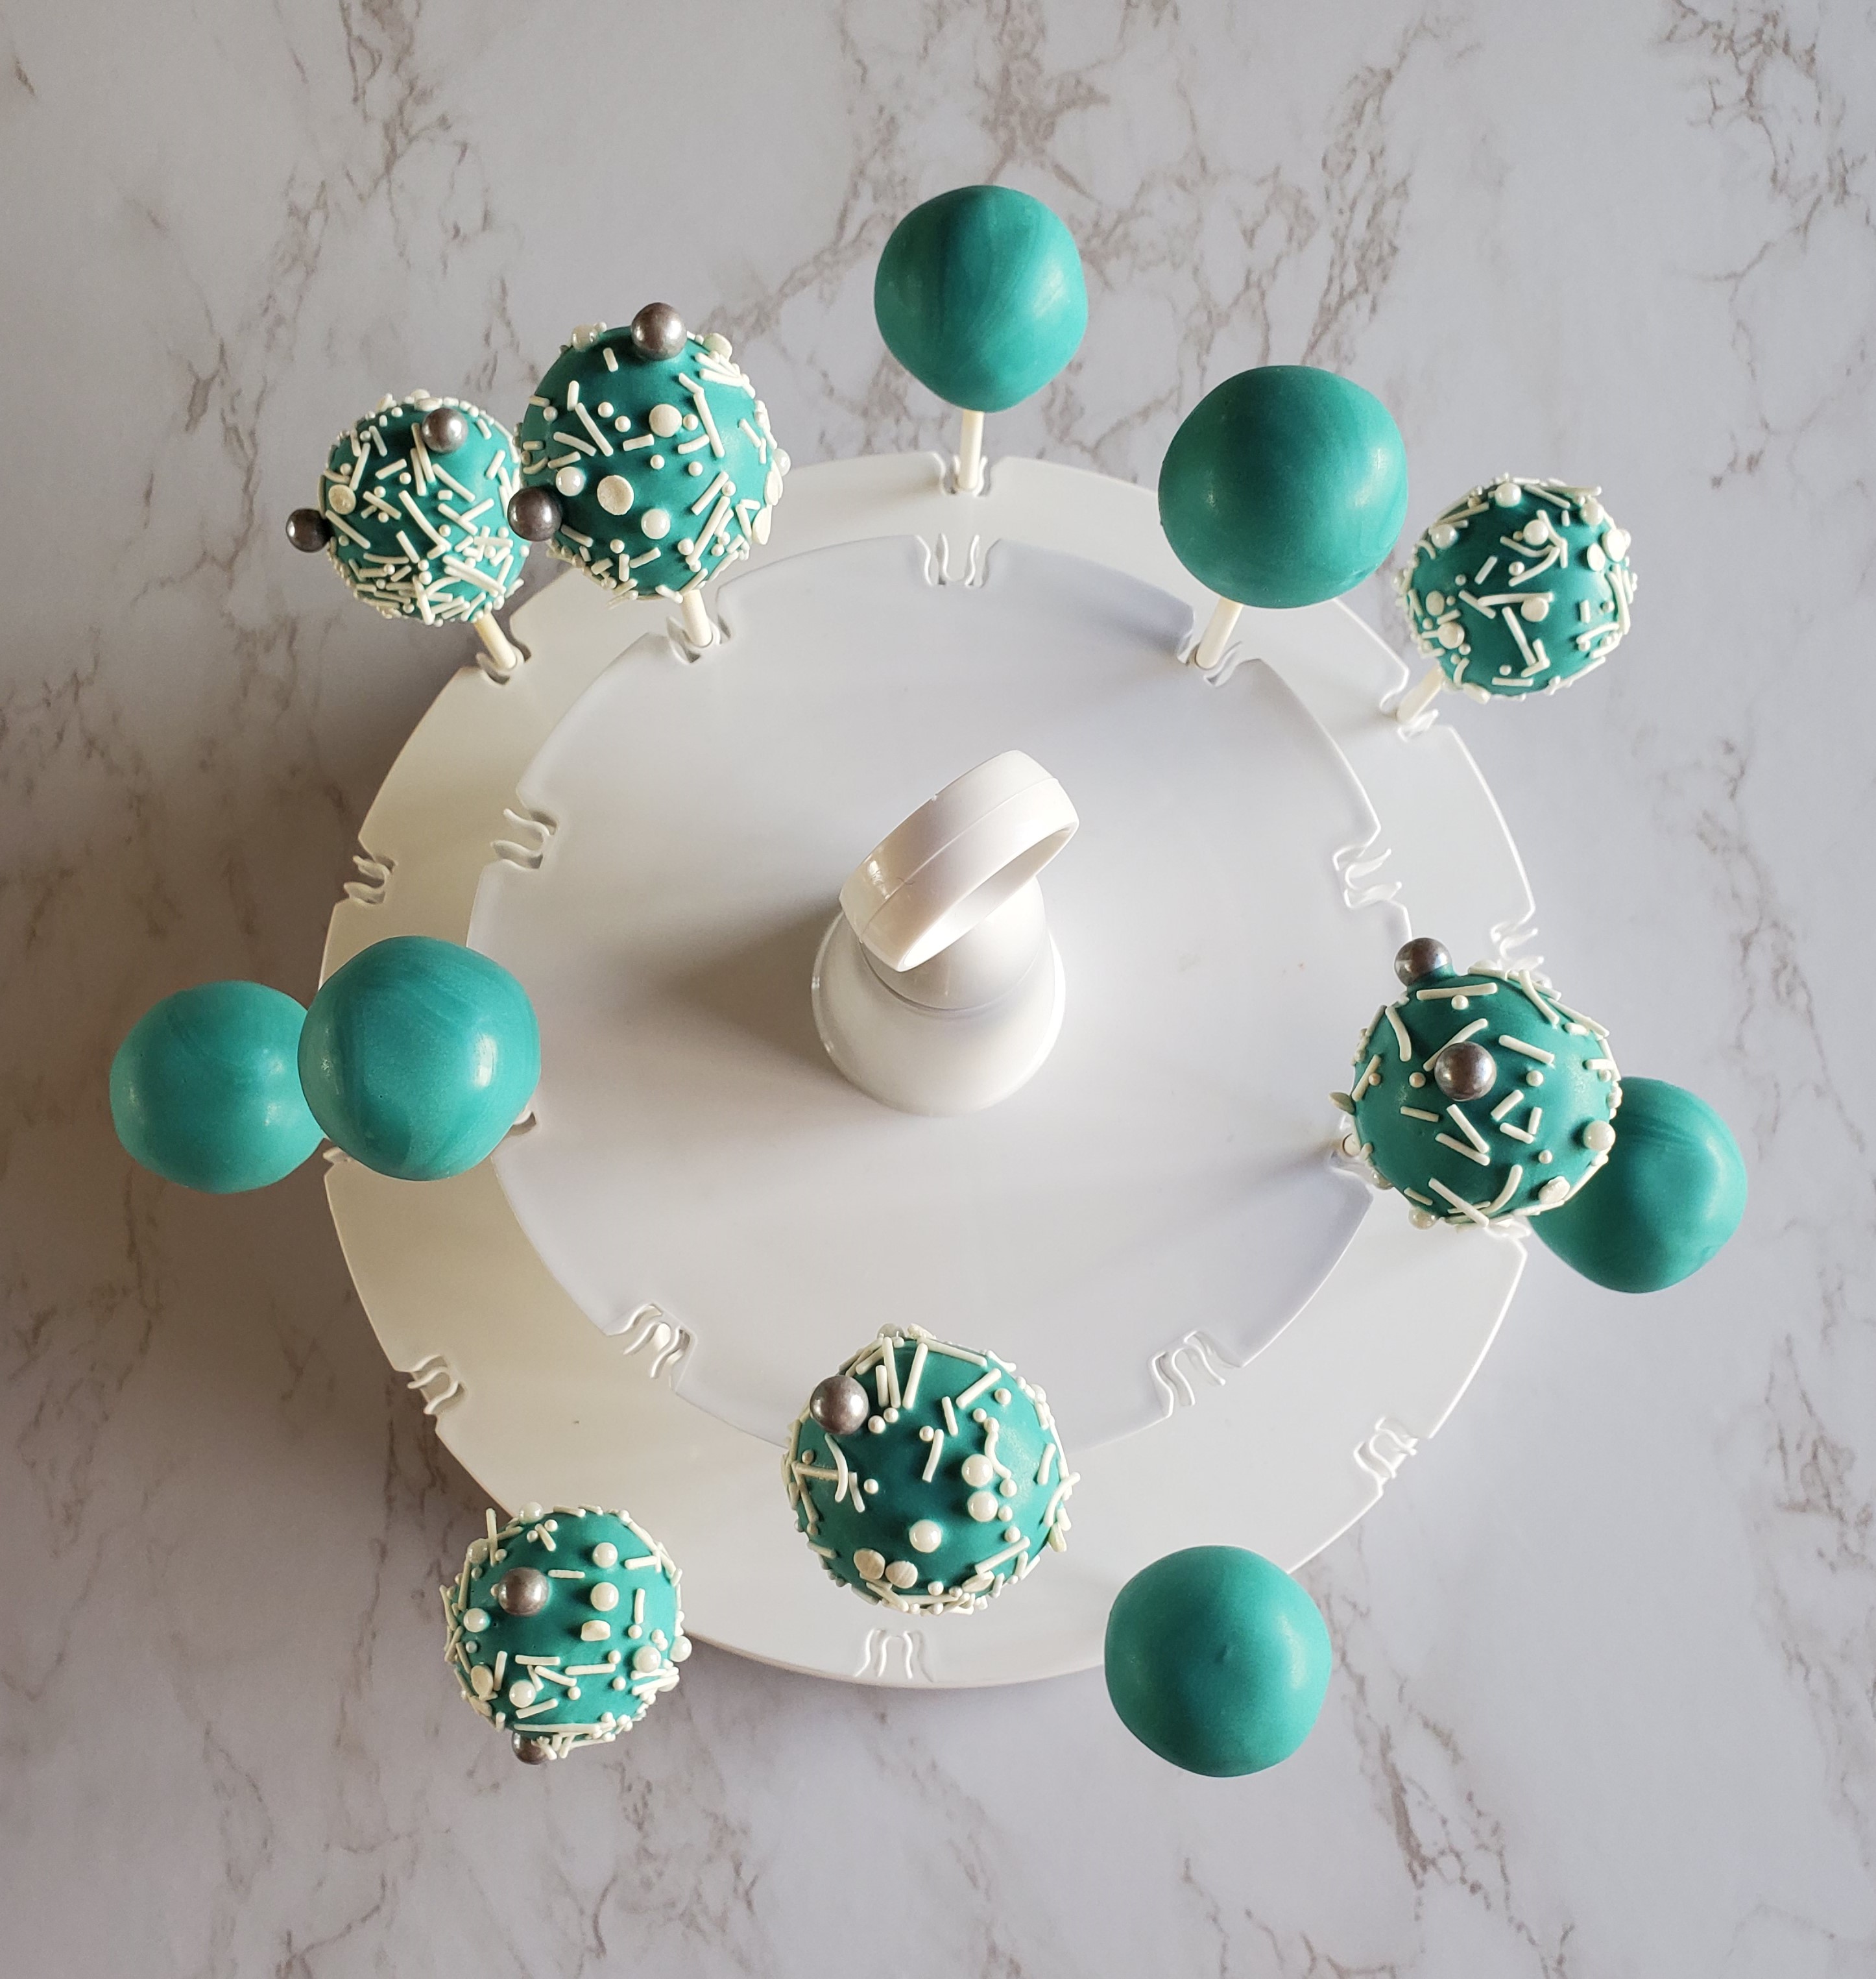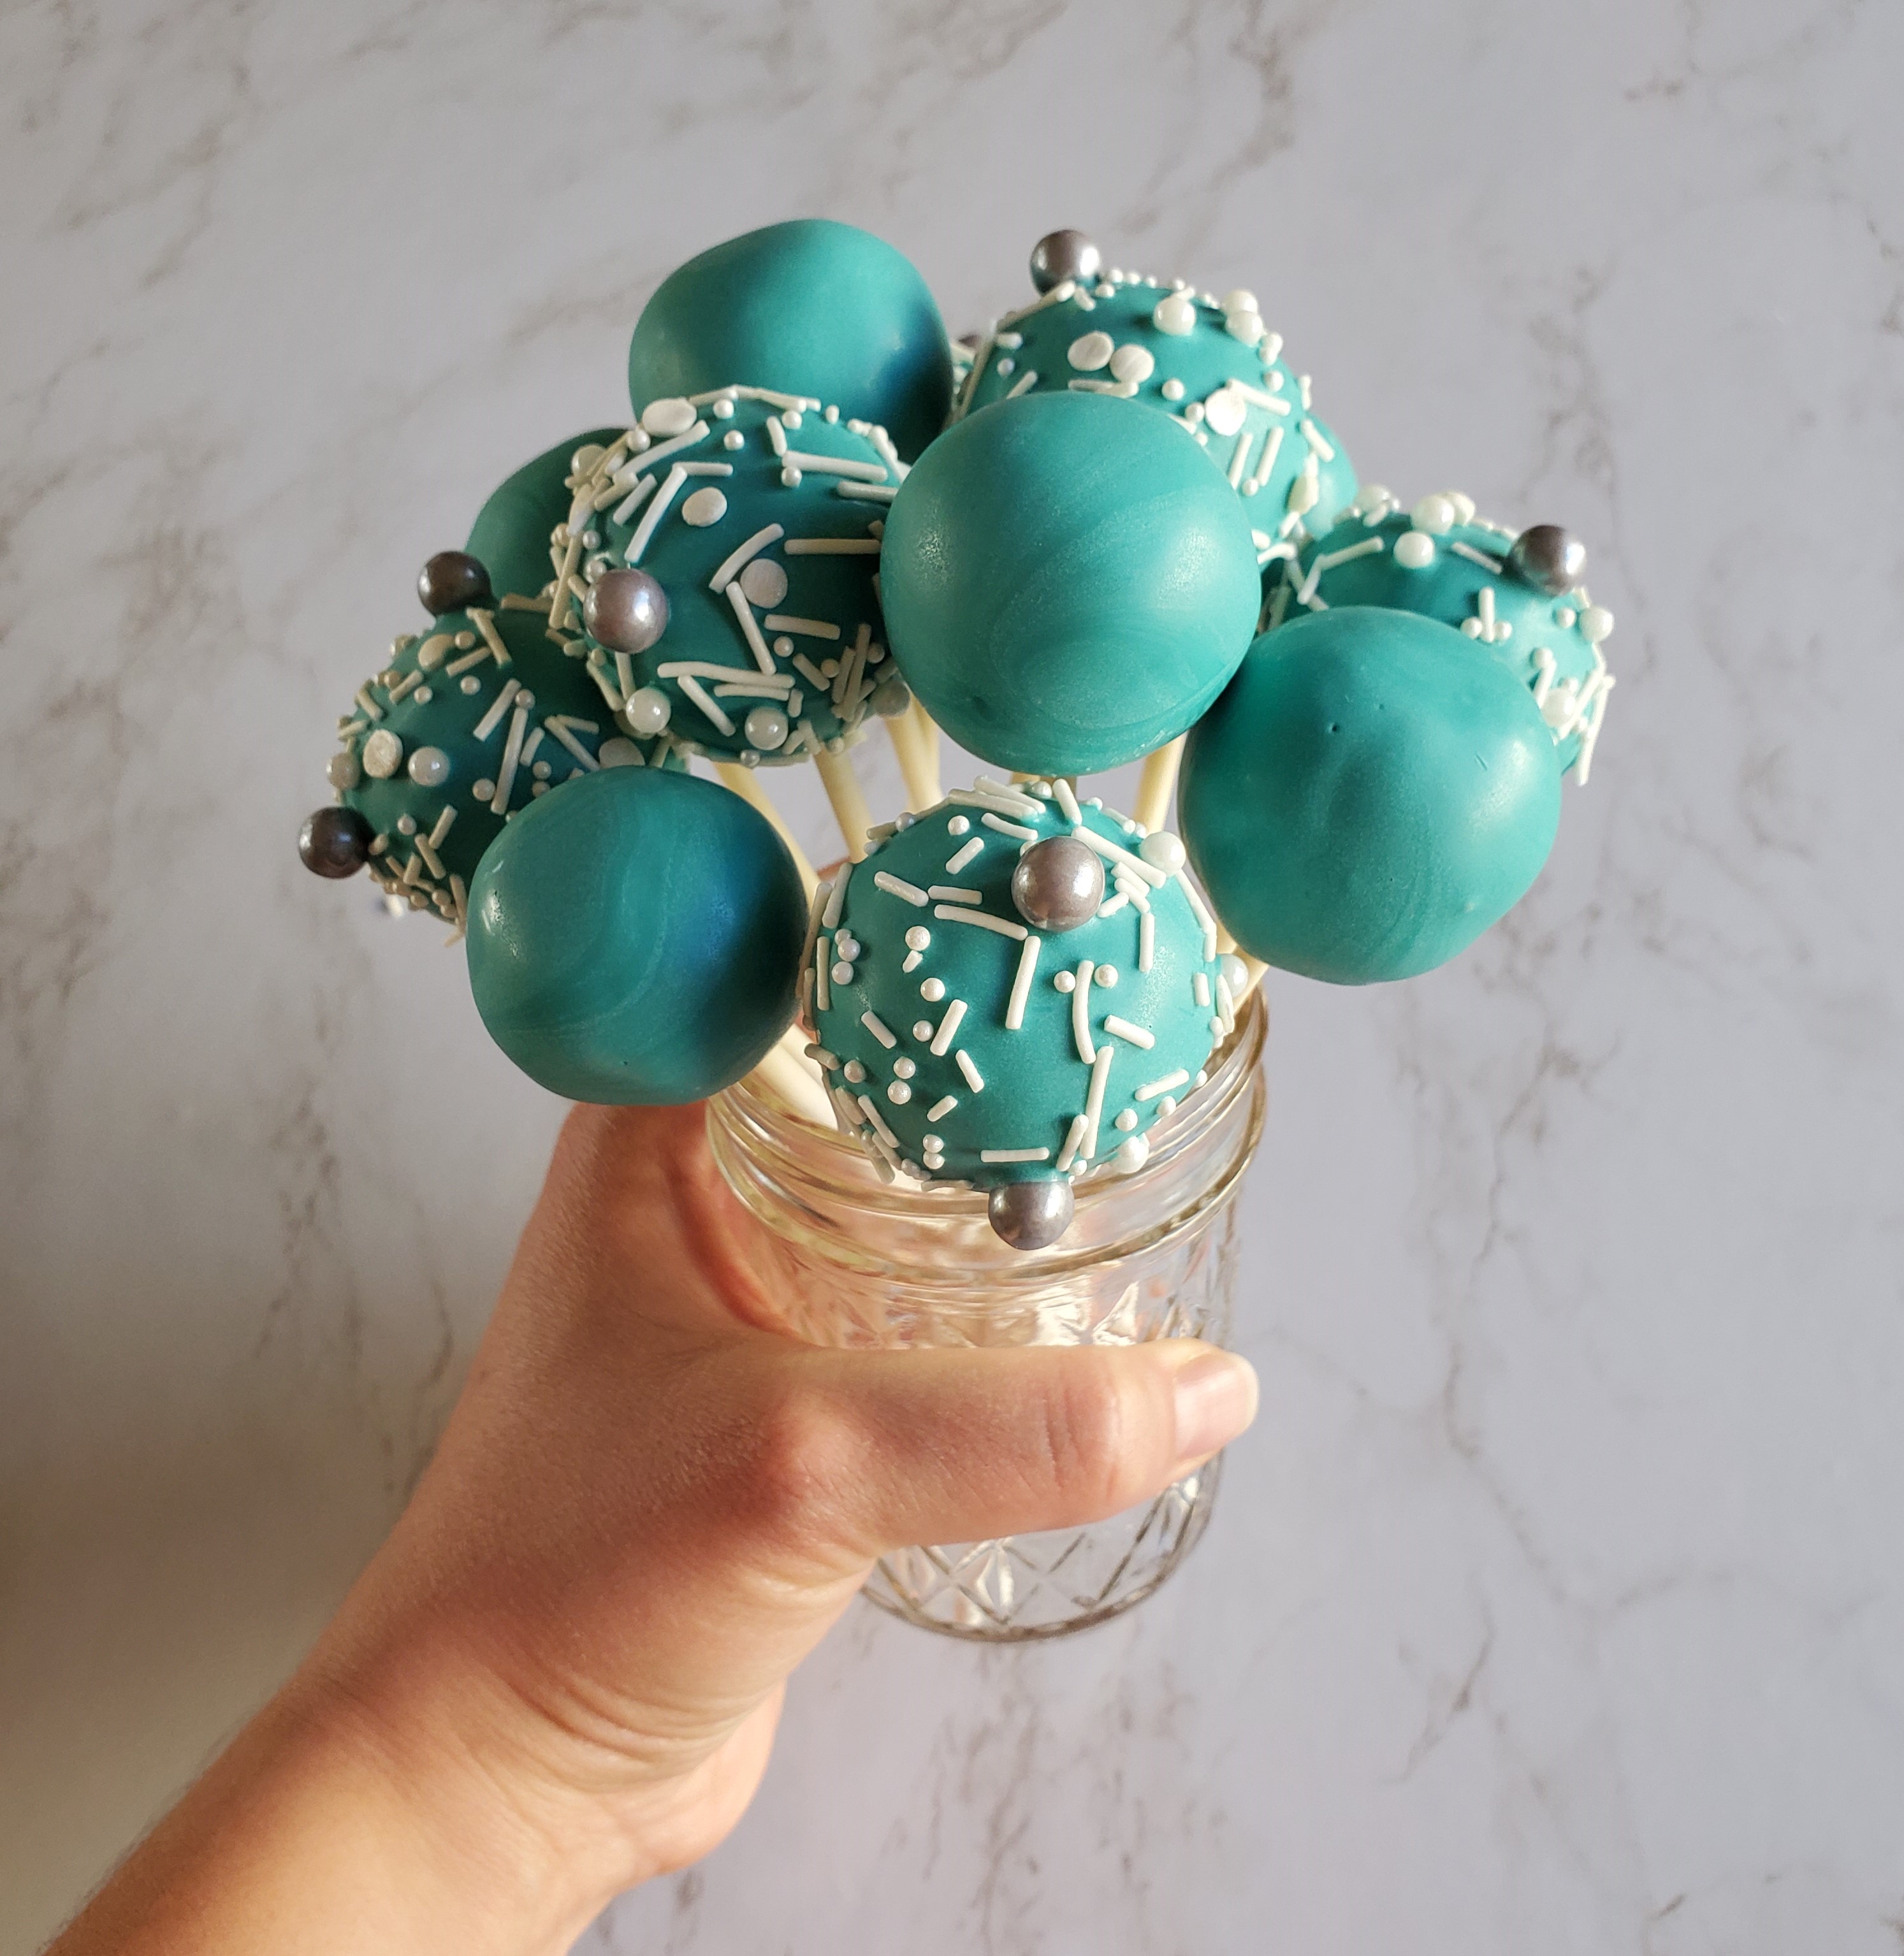
I had such an amazing response to my Halloween Cake Pops video on YouTube, thank you so much for the over 1.7k views! As you all know, I’m not able to do much acting work right now, so all of your views, likes and subscriptions to my channel help more than you know, to boost my channel.
With that being said, I realized, that for people who have never made a cake pop before, I might’ve jumped the gun just a teensy bit. So, I went back and made a basic cake pop video for beginners. In this video I really break down every step I take, including some of my pro tips and tricks.
These are things that I’ve discovered over my 10 years of making cake pops. Yep, you heard that right, I started my bakery business, Peace of Cake, 10 years ago at the age of 15. I actually taught myself how to make them on YouTube as well. However, I’ve learned so much since then and I’ve also discovered that some things that work for others don’t work for me. My hope is, that this video will give you a leg up, and hopefully it won’t take you as long to master making cake pops as it did on my first go around.
Essentials
I go over all of this in my video as well, but I’m going to get a bit more in depth here. For starters, you’re going to need cake and buttercream. If you want to save some time, you can definitely opt for a boxed cake (some brands I like are Duncan Hines, Pillsbury and Betty Crocker). However, pay attention to which kind you buy. For cake pops it’s best to go for a denser cake. I’m not talking as dense as a mud cake. Something more middle range. For example, an angel food cake would not work.
I also recommend using buttercream frosting. As you will see in the video, you are going to crumble up your cake super fine and mix in frosting until it becomes a Play-doh-like consistency. The reason I suggest buttercream is because there are two points at which we are going to put our cake pops in the fridge. The purpose of that is to firm them back up so they don’t fall off of your stick. A butter-based frosting will firm up in the fridge, however, a Crisco based frosting will not.
Speaking of sticks, you are going to need 6-inch lollipop sticks. There are plastic sticks out there, but I opt for the paper ones because in my opinion, they’re better for the environment. It is also very important to buy this kind, because if you don’t, your sticks may not fit into most standard cake pop stands.
Speaking of, let’s talk about cake pop stands. Maybe you’re not having a party where you need to display your pops, but you’re still going to need a cake pop stand and here’s why! If you don’t have some sort of cake pop stand, you’re going to have to lay your pops flat on one side while they dry (unless you’re going to hold each one in your hand while they individually dry – snooze). And where’s the fun in having food on a stick then?

Some other less essential essentials are a Wilton Candy Melter and a nonstick pan. The nonstick pan is probably obvious and something you already have at home. But in my opinion, it’s essential because getting your cake out of your pan should be the last thing you need to worry about while making cake pops. The Wilton Candy Melter is one of my favorite products that I will recommend time and time again (I apologize if you’ve already heard me rave about it). I personally have two candy melters and would probably get more if I had the space. If you’re going to continue making cake pops, I strongly recommend purchasing one. Yes, you can melt your candy melts in a microwave or using the double boiler method. But I would constantly burn myself both of those ways. So, if you have kids that you’re making these with I would actually say this is essential. The benefit of the Wilton candy melter is that it has multiple settings, off, medium and high. That way, you can heat your candy melts on high and either leave it on medium while you work or shut it off and heat it back up when you need to. If you get multiple, they’re great for when you’re working with more than on color. Even if you’re not going to make cake pops that often, these melters work great for chocolate dipped strawberries/pretzels and chocolate or cheese fondue!
And of course, you’re going to need Candy Melts! And yes, candy melts are different than chocolate. In order to get the same shiny finish as candy melts, you would have to precisely temper your chocolate. Candy melts on the other hand do not require tempering, making them great for beginners and keep their shape at room temperature. Finally, if you want to get a little fancy with your cake pops, without having to get too artistic, you can add sprinkles! There are all sorts of great sprinkles out there, but some that I like and the ones that I used in this video are Sweet Tooth Fairy Sprinkles.
I hope all of this helps, comment below with any questions, or what you’d like to see next!
happy eating!
Lauren
List of Essentials as an Amazon Associate, I earn from qualifying purchases

How To Make Cake Pops
I highly recommend you skip this part and watch my YouTube tutorial, but if you’re the type who likes to read, here you are!
Ingredients:
- Buttercream (about 1/2 - 1 cup)
- 1 bag of candy melts
- Sprinkles (optional)
Instructions:
- Bake a 9 x 13 pan of cake (any flavor). Let it cool completely, cut it up into chunks and crumble it very finely in a large bowl.
- Make some buttercream or buy some from the store and add to your crumbled cake. You want to mix in just enough frosting so that your mixture feels like Play-Doh. It is better to start with less rather than more or your cake pops will be too malleable. When you squeeze your cake/buttercream mixture together, it should hold it's form.
- Roll your cake mixture into individual, bite-sized balls. Use your best judgement on this. A tablespoon is a good place to start. Again, better to start smaller than larger, as a large cake pop will be top heavy and fall off of your stick. Refrigerate your balls for 10-15 minutes.
- Melt down a bag of candy melts. If you don't have a candy melter or double boiler, do this in the microwave at 30 second increments. Do not do longer than 30 seconds or your candy melts could seize/burn. However, if they do seize, sometimes you can save it with a little bit of a flavor-free oil, like canola oil.
- Dip about 1 cm of the cake pop stick into the candy melts and then stick it into your cake ball. Smooth the excess out around the base of the stick. Refrigerate your pops for 15-30 minutes.
- After your cake pops have set in the refrigerator, you are going to completely submerge your cake pop in the candy melts. Be careful not to jerk it around too fast or the cake ball could fall of the stick or get crumbs in your candy melts. Tap off any excess candy melts so the coating is not too thick.
- If you are doing sprinkles, immediately add them, being careful to add heavier sprinkles once candy melts have slightly set. Then place on your cake pop stand to dry.
- Once your cake pops are set, enjoy!
**Cake pops will keep for a week in your refrigerator**
I don't recommend freezing dipped cake pops, because upon defrosting most of them will crack. However, you can freeze the cake balls. These will stay good for at least 3 months.
