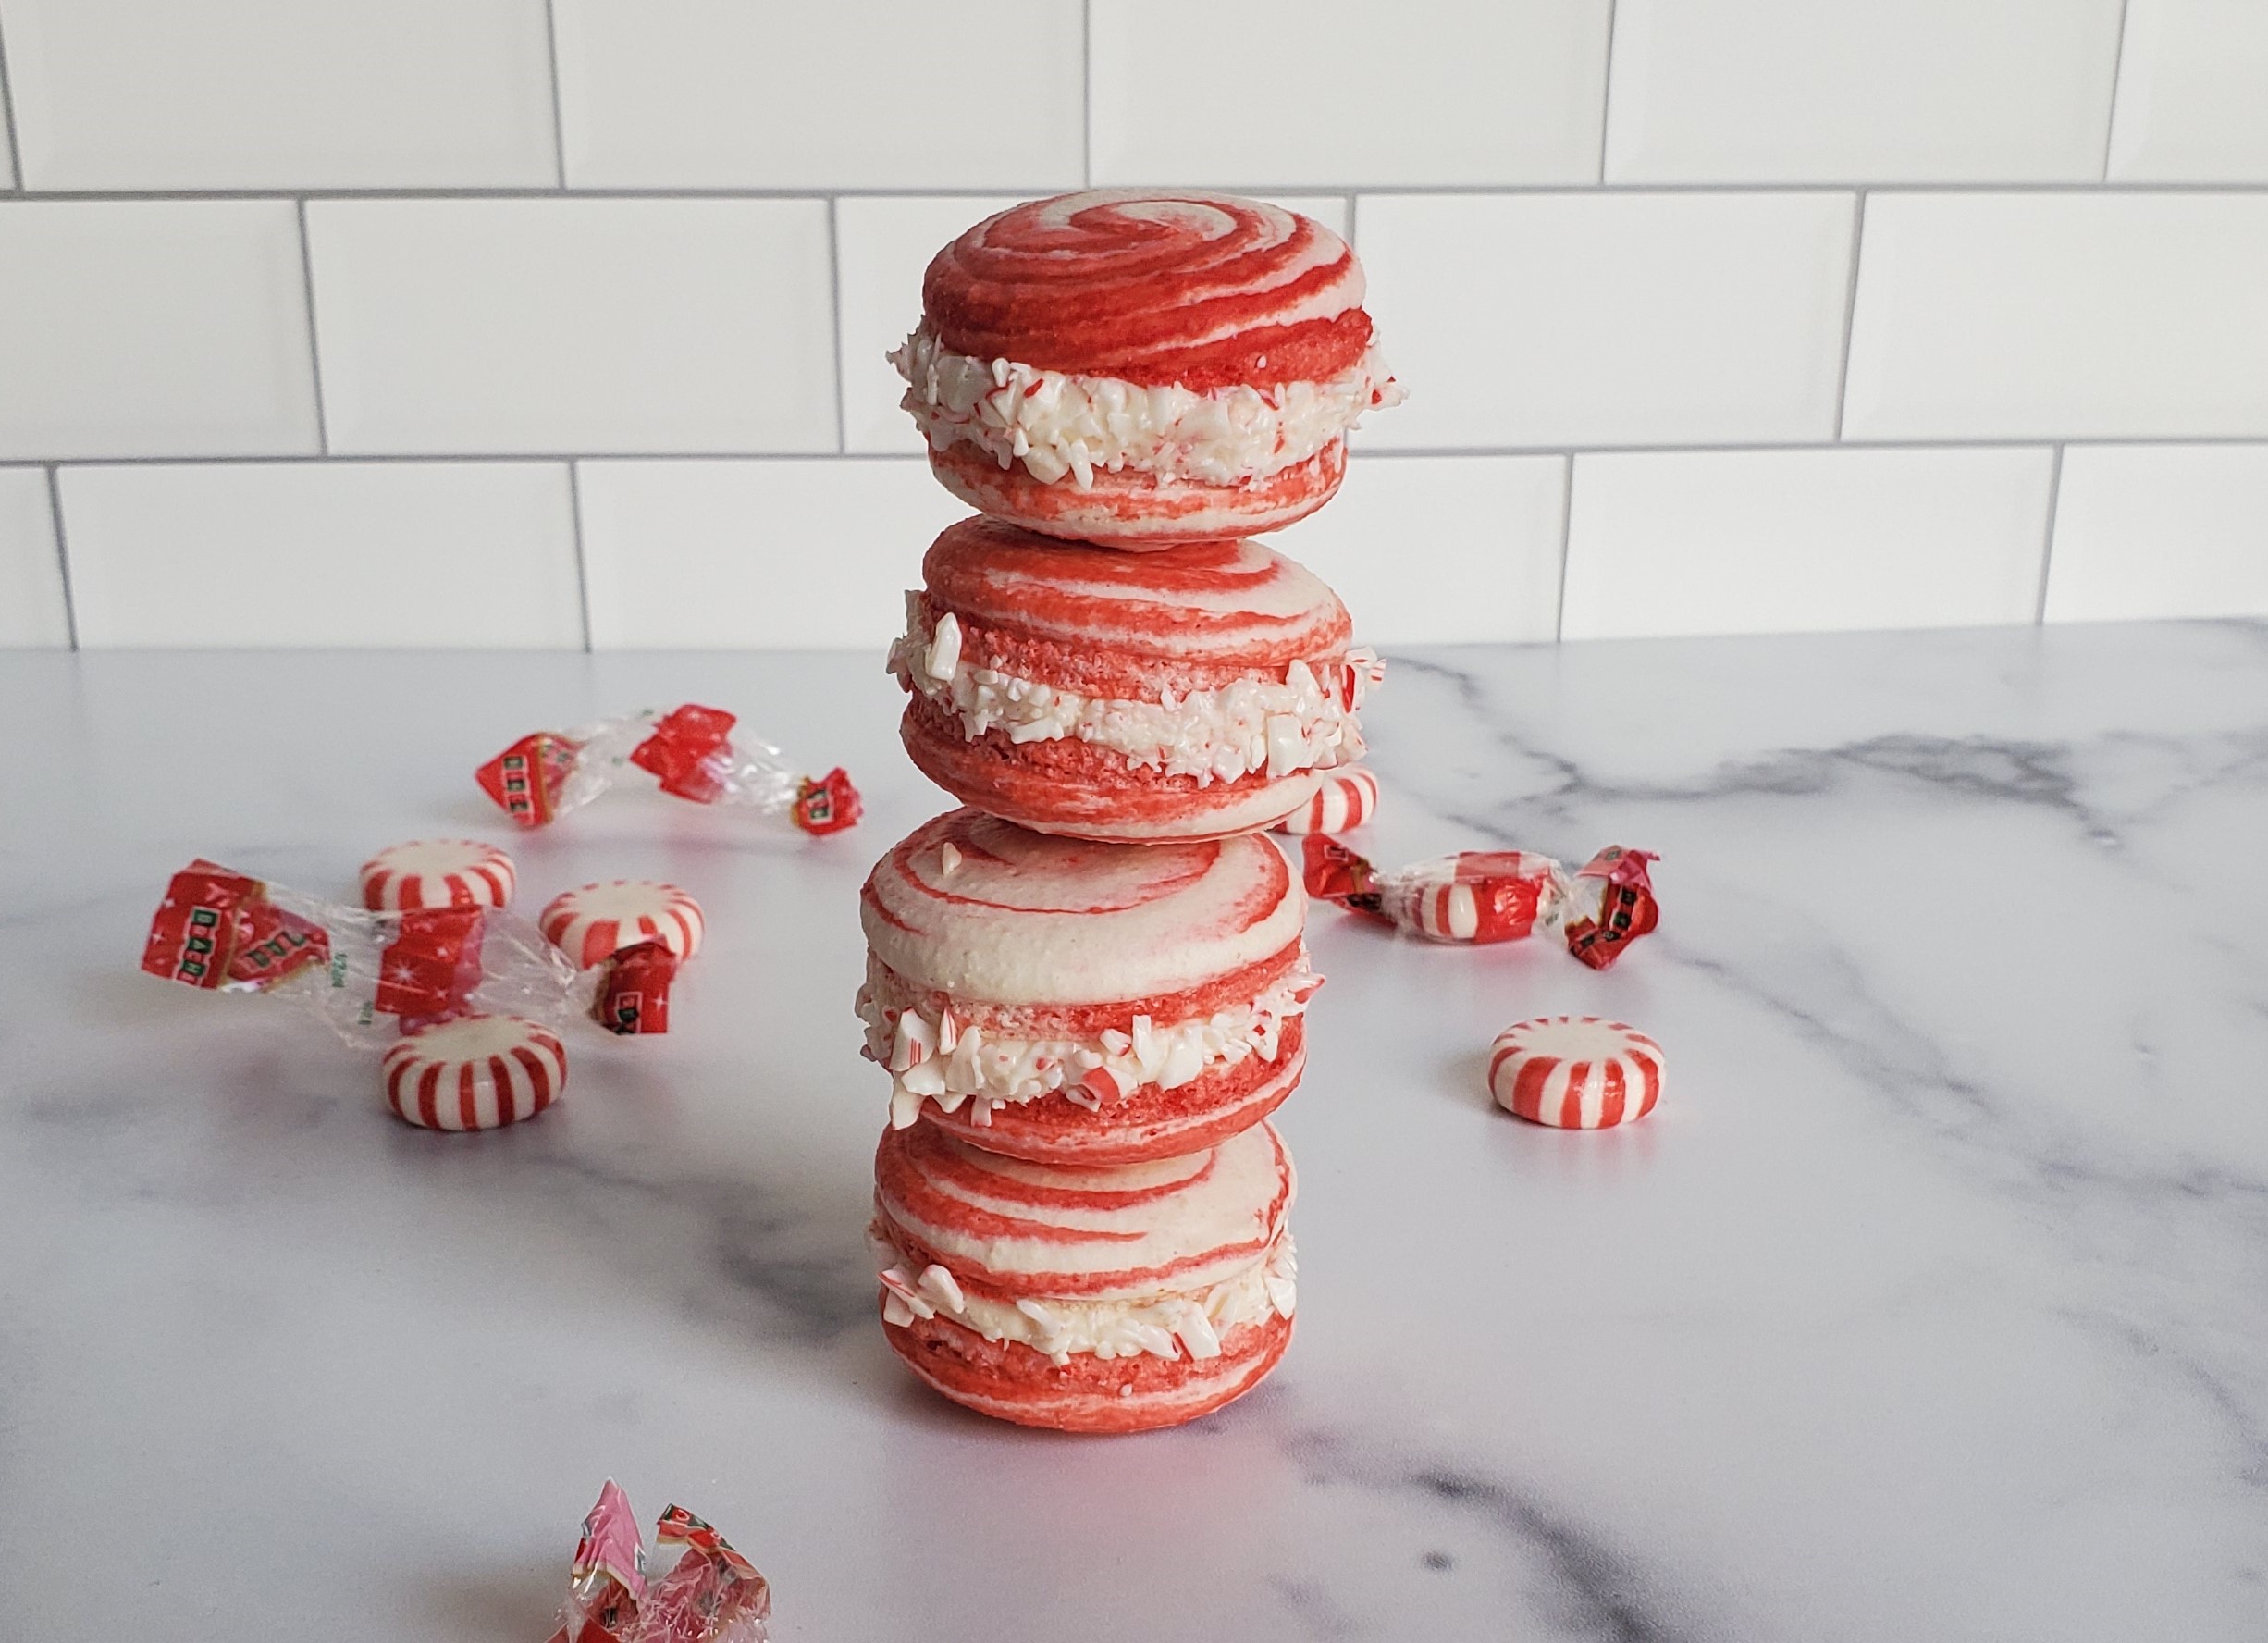
Macarons have gained a lot of popularity in the past few years. My guess is, this is in part due to the tasty treat’s naturally gluten-free composition, and the fact that it is delectably bite-sized. It’s just enough of a dessert to feel indulgent, but not enough to make you feel guilty. Not that you should feel guilty eating dessert - you do you!
As a theatre person, I can distinctly remember when my obsession with macarons began. It was in college and we were reading A Doll’s House by Henrik Ibsen which was simultaneously being put on as the mainstage show. If you haven’t ever read the play, I strongly recommend it, simply because it is a timeless piece of theatre. The play focuses on the troubled and disintegrating marriage of Nora and Torvald. There is a scene in which Nora, pulls out a bag of macarons and eats them unbeknownst to Torvald. Maybe it was because of that intriguing scene in the play, the secrecy, the indulgence that piqued my interest, but I was then hooked and, on a mission, to make them.
Macarons have been enjoyed by high society and the elite for ages. They are sophisticated and beautiful. I think when I began, I just wanted to prove to myself that I could create something that seemed so perfect and seemingly unattainable. I wanted to feel like someone of sophistication, indulging in this treat.
I started trying macarons at any bakery (or anywhere else) I could find them in. Unfortunately, I was severely disappointed. I found that most macarons I tried were dry. Especially the ones you could buy in a pack at the grocery store. However, they were slightly better from the freezer section. And overwhelmingly, the fillings were lacking. I would purchase a variety pack and it seemed all the macaron shells were simply colored to represent their flavors, yet all of them tasted the same.
That is when I began trying to make them myself. This was harder. I would follow my recipe and measure my ingredients meticulously and still end up with less than impressive results. My cookies would be bumpy, they would have no feet (the raised layer at the bottom of the cookie), or they would stick to the parchment paper or simply be to dry. I suddenly felt remorseful for judging all of these other bakeries so hard. However, after years of practicing and learning and re-practicing, I discovered a few things. These are the tips that helped improve my macaron game immensely…
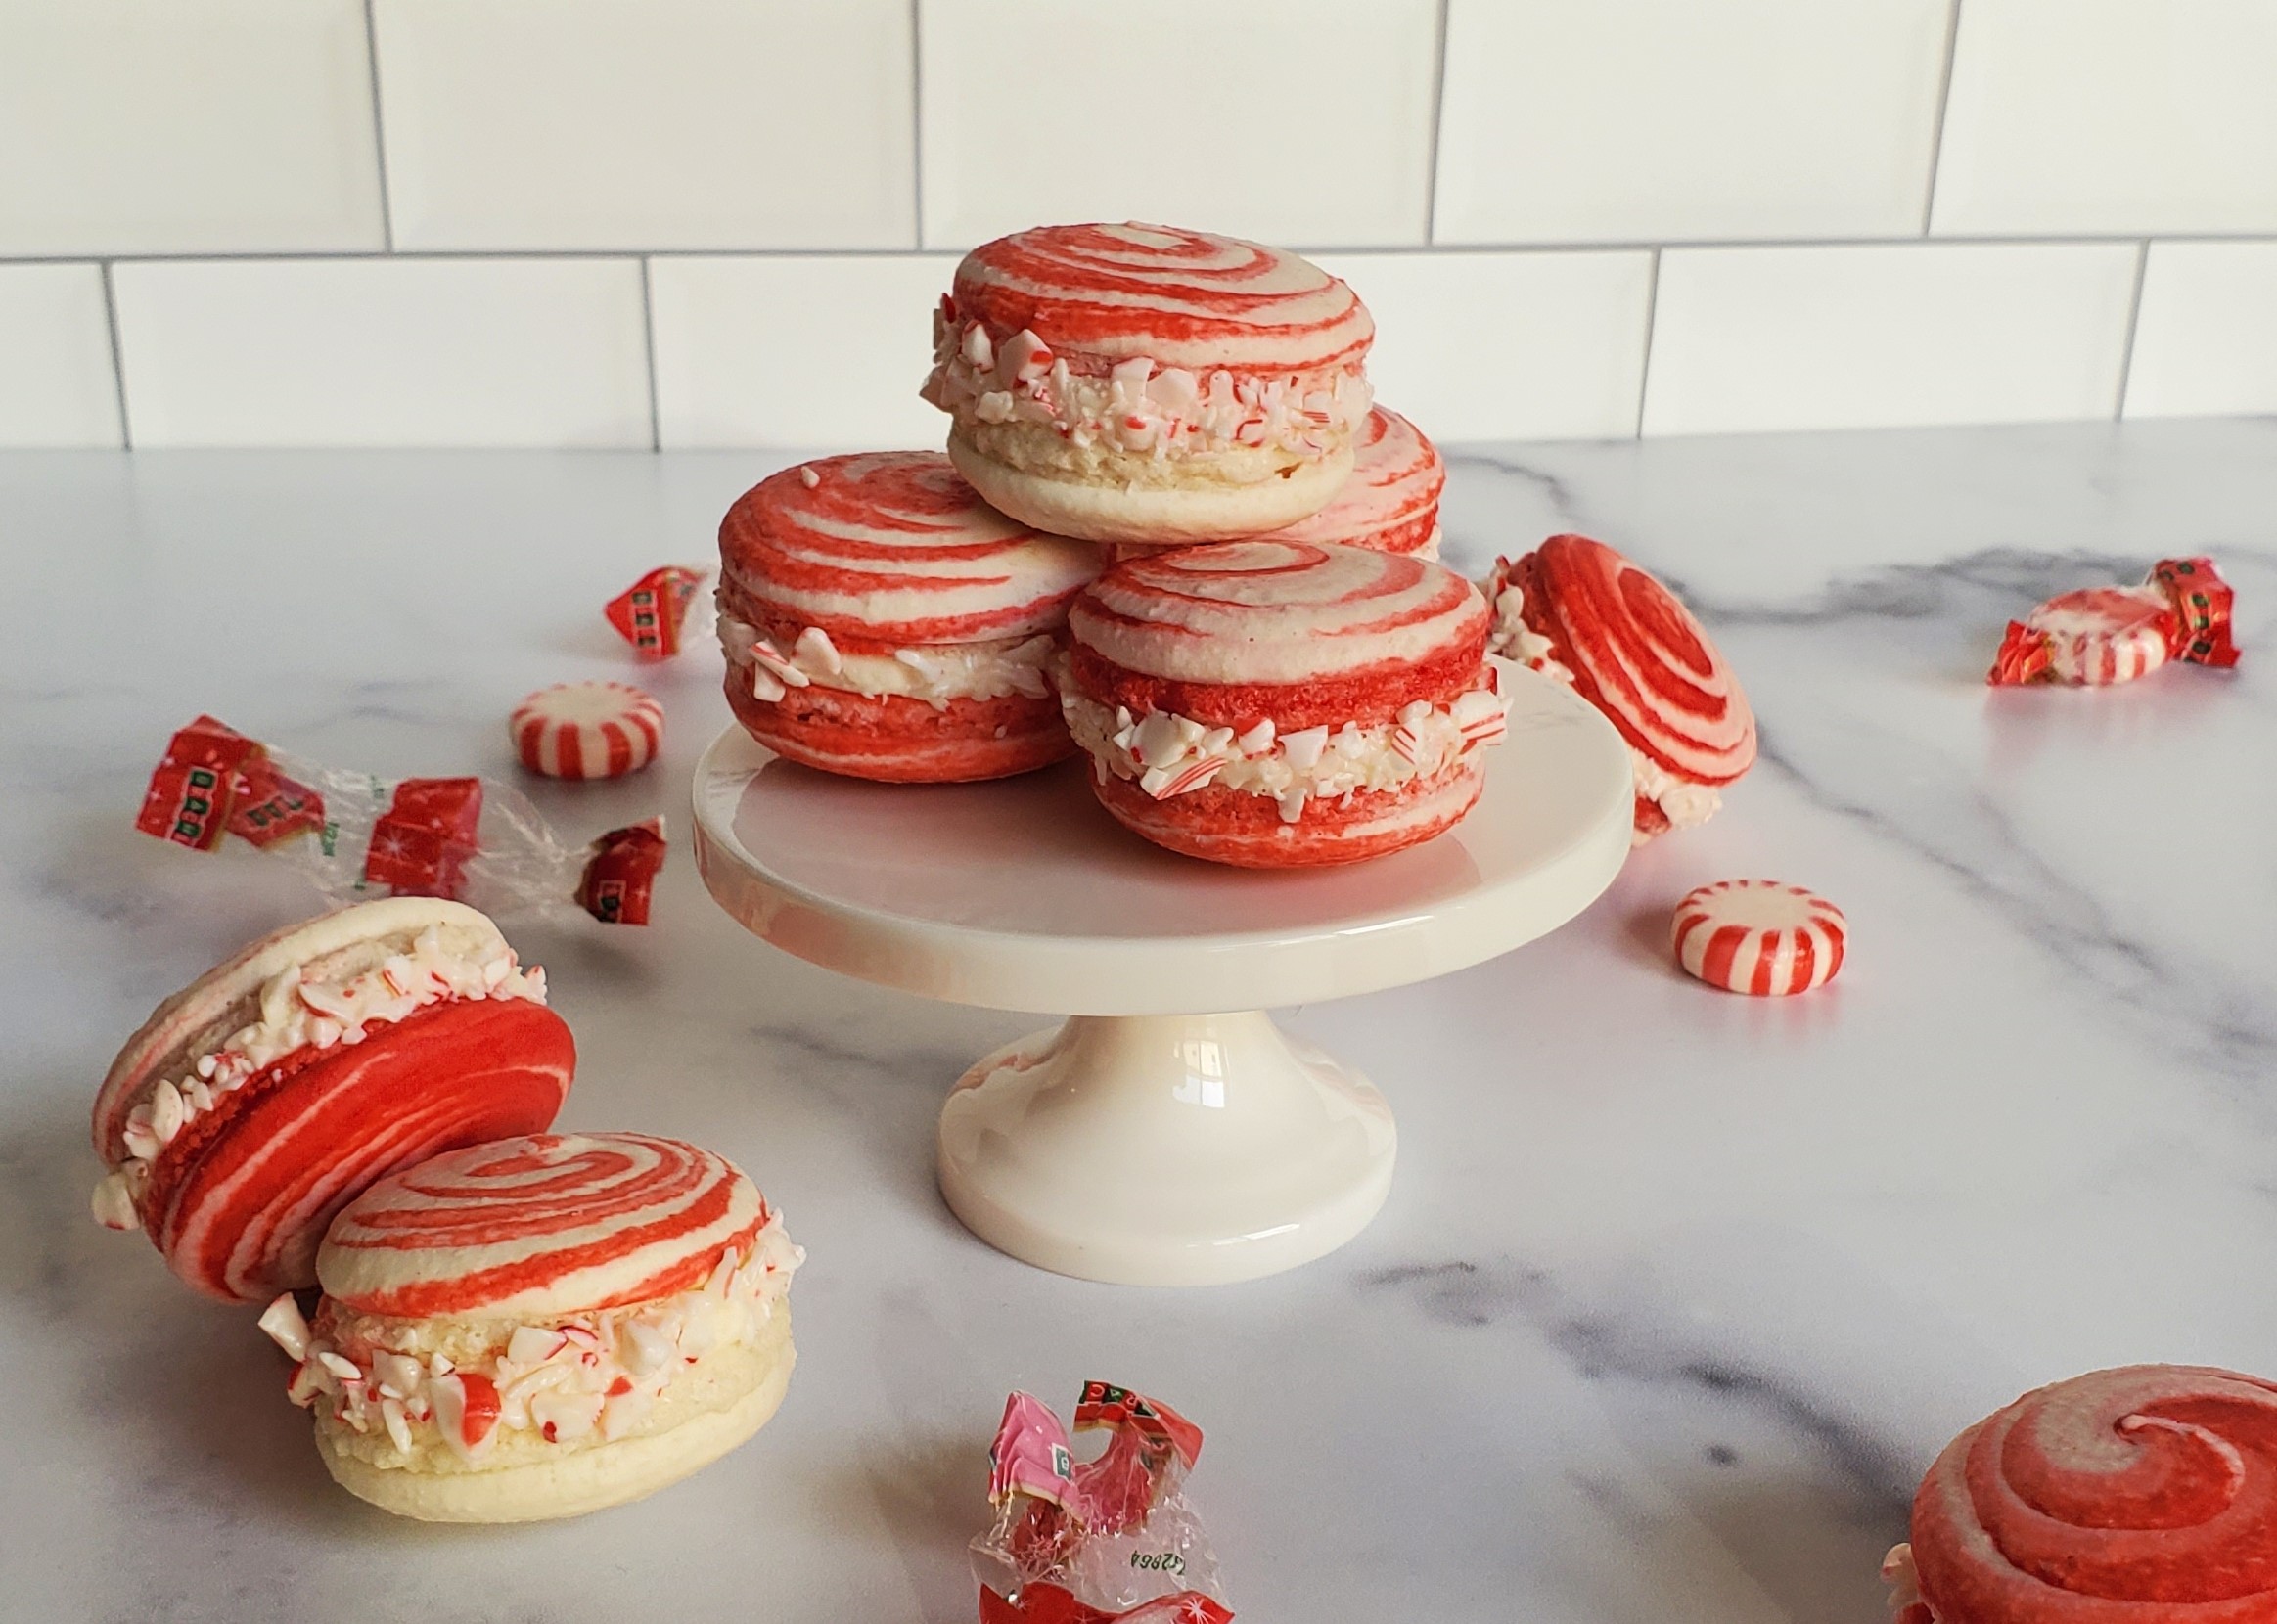
How To Get Perfect Macarons:
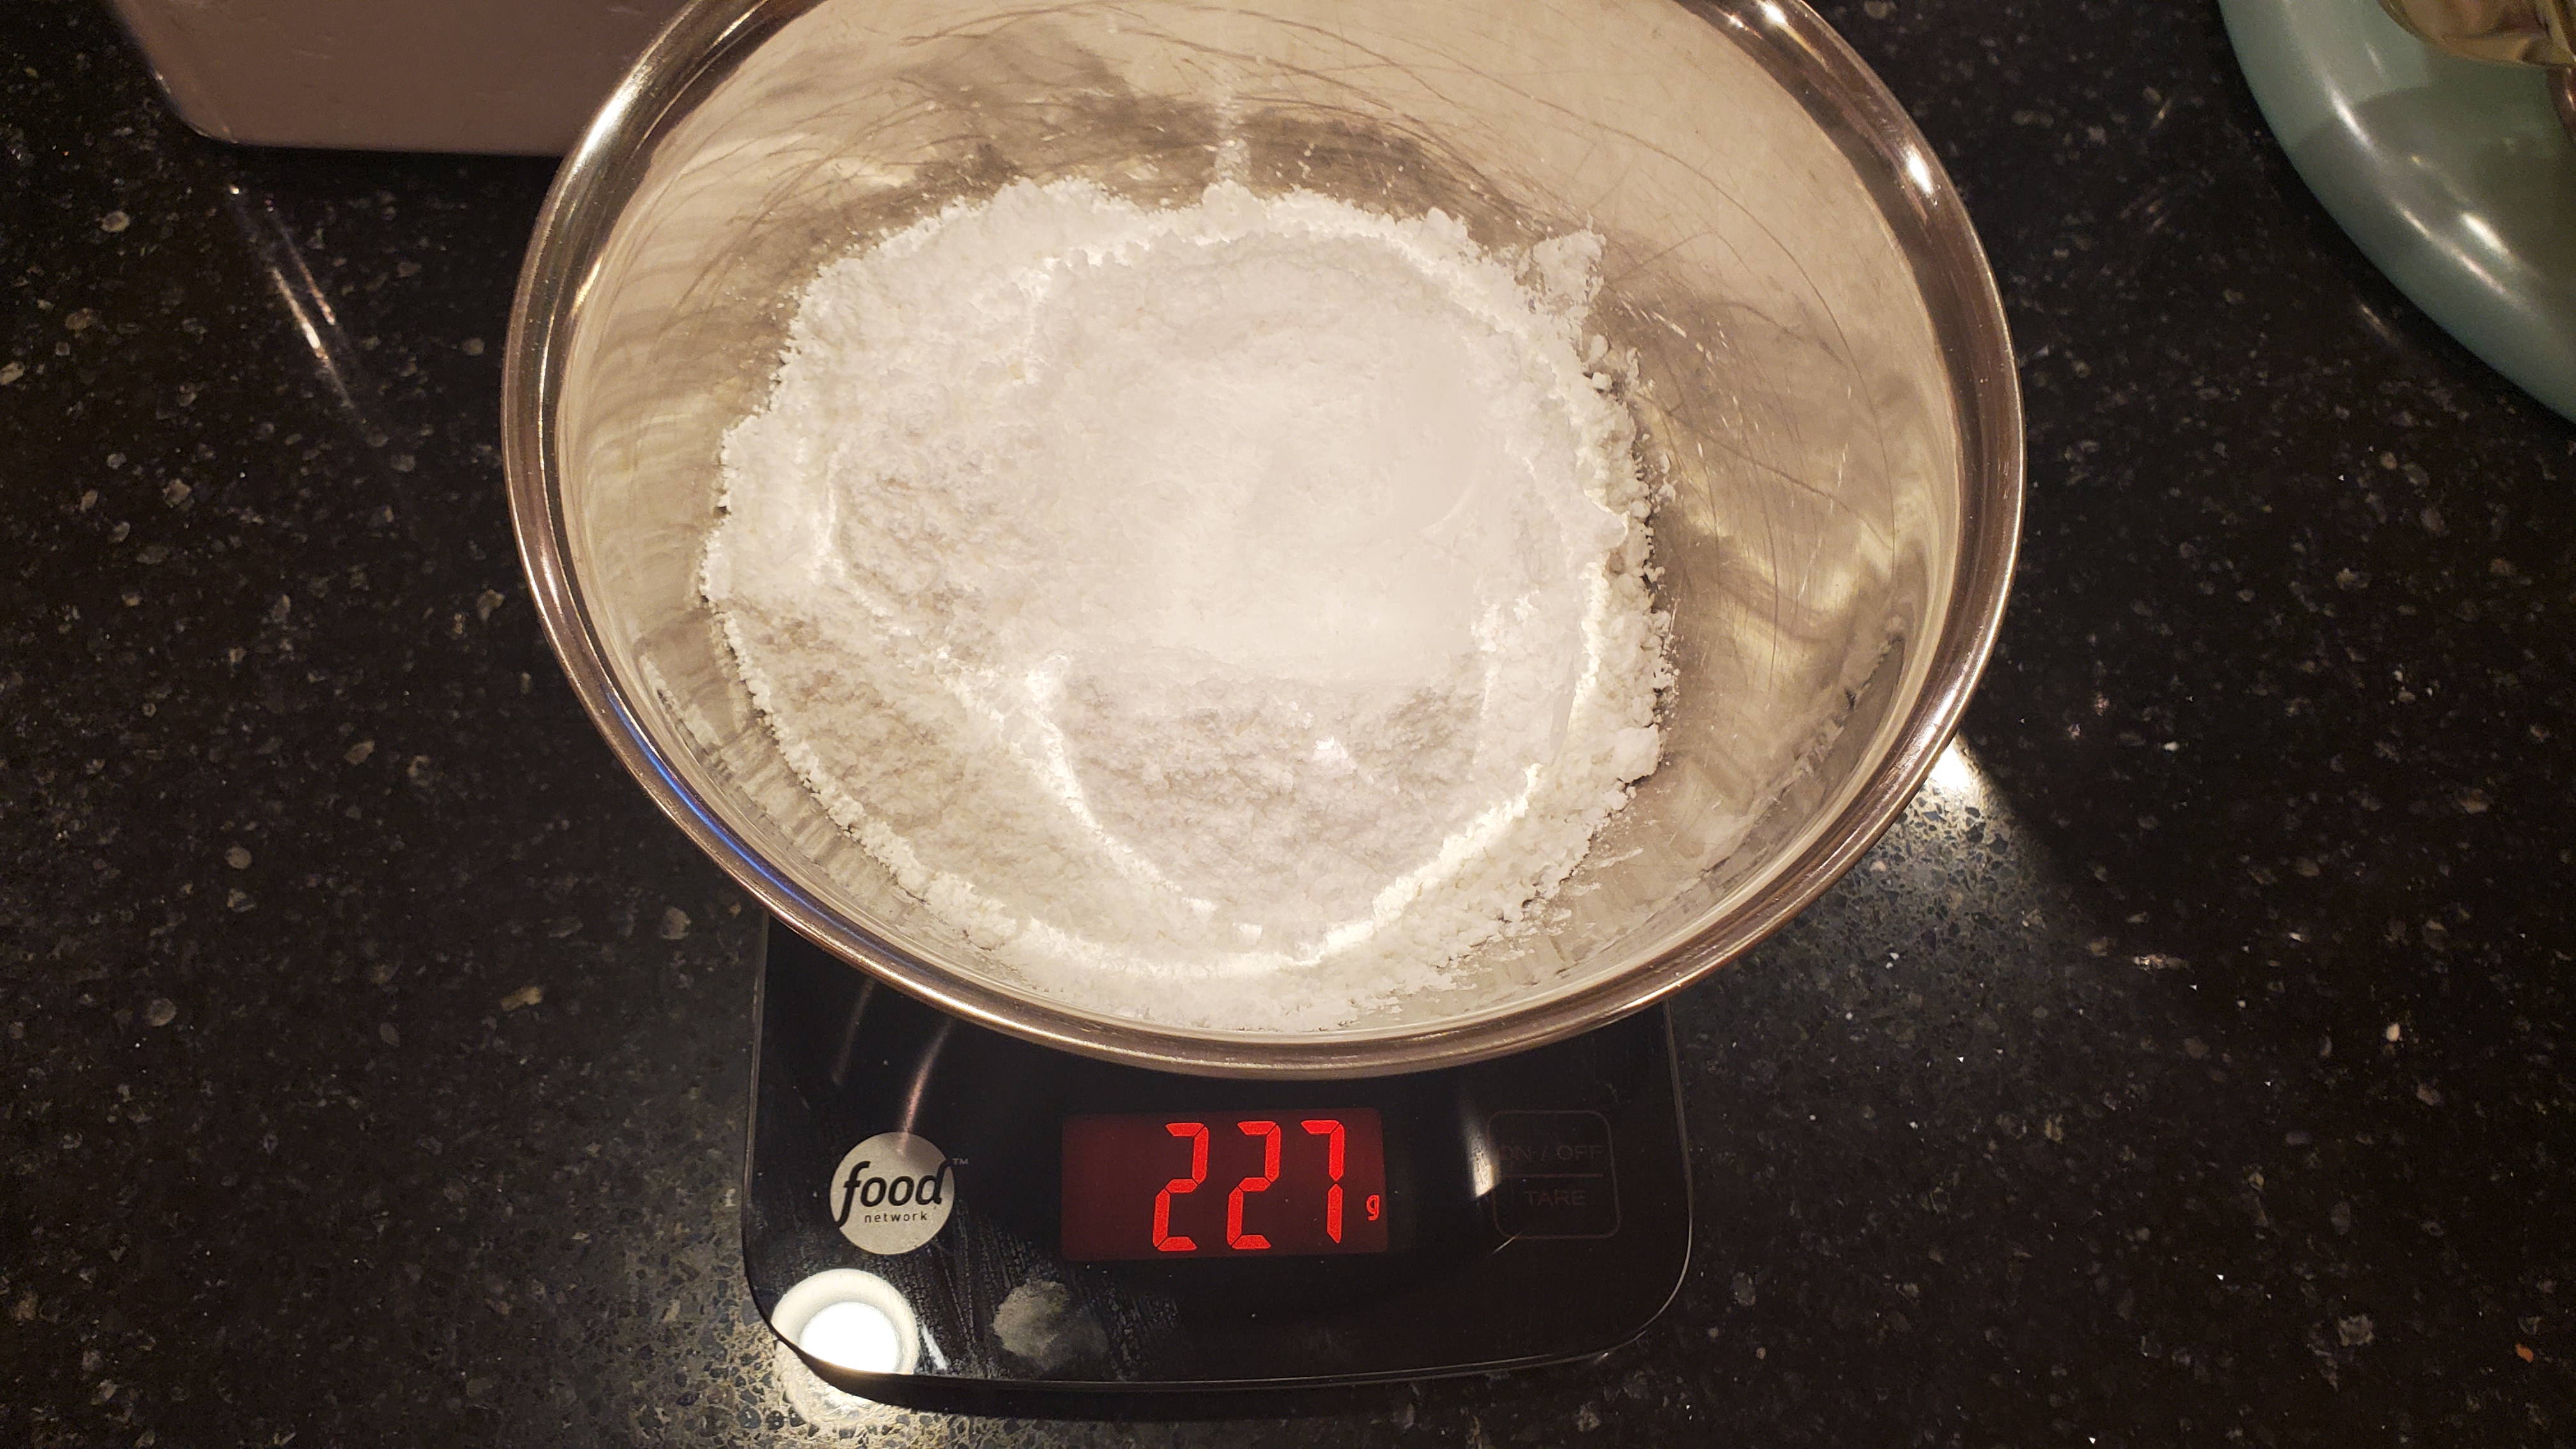
Invest in a Food Scale
I understand how annoying it may be that this recipe is in grams, and I completely understand. I felt the same way in the beginning. But during that time, I was struggling to make macarons and getting inconsistent results. Things like the weather can make a difference in your macarons, so take the time to accurately measure your ingredients so you don’t have to worry about that as well. The one I currently own is a Food Network brand scale. But when I worked at a bakery in New York there were Escali scales all over the kitchen.
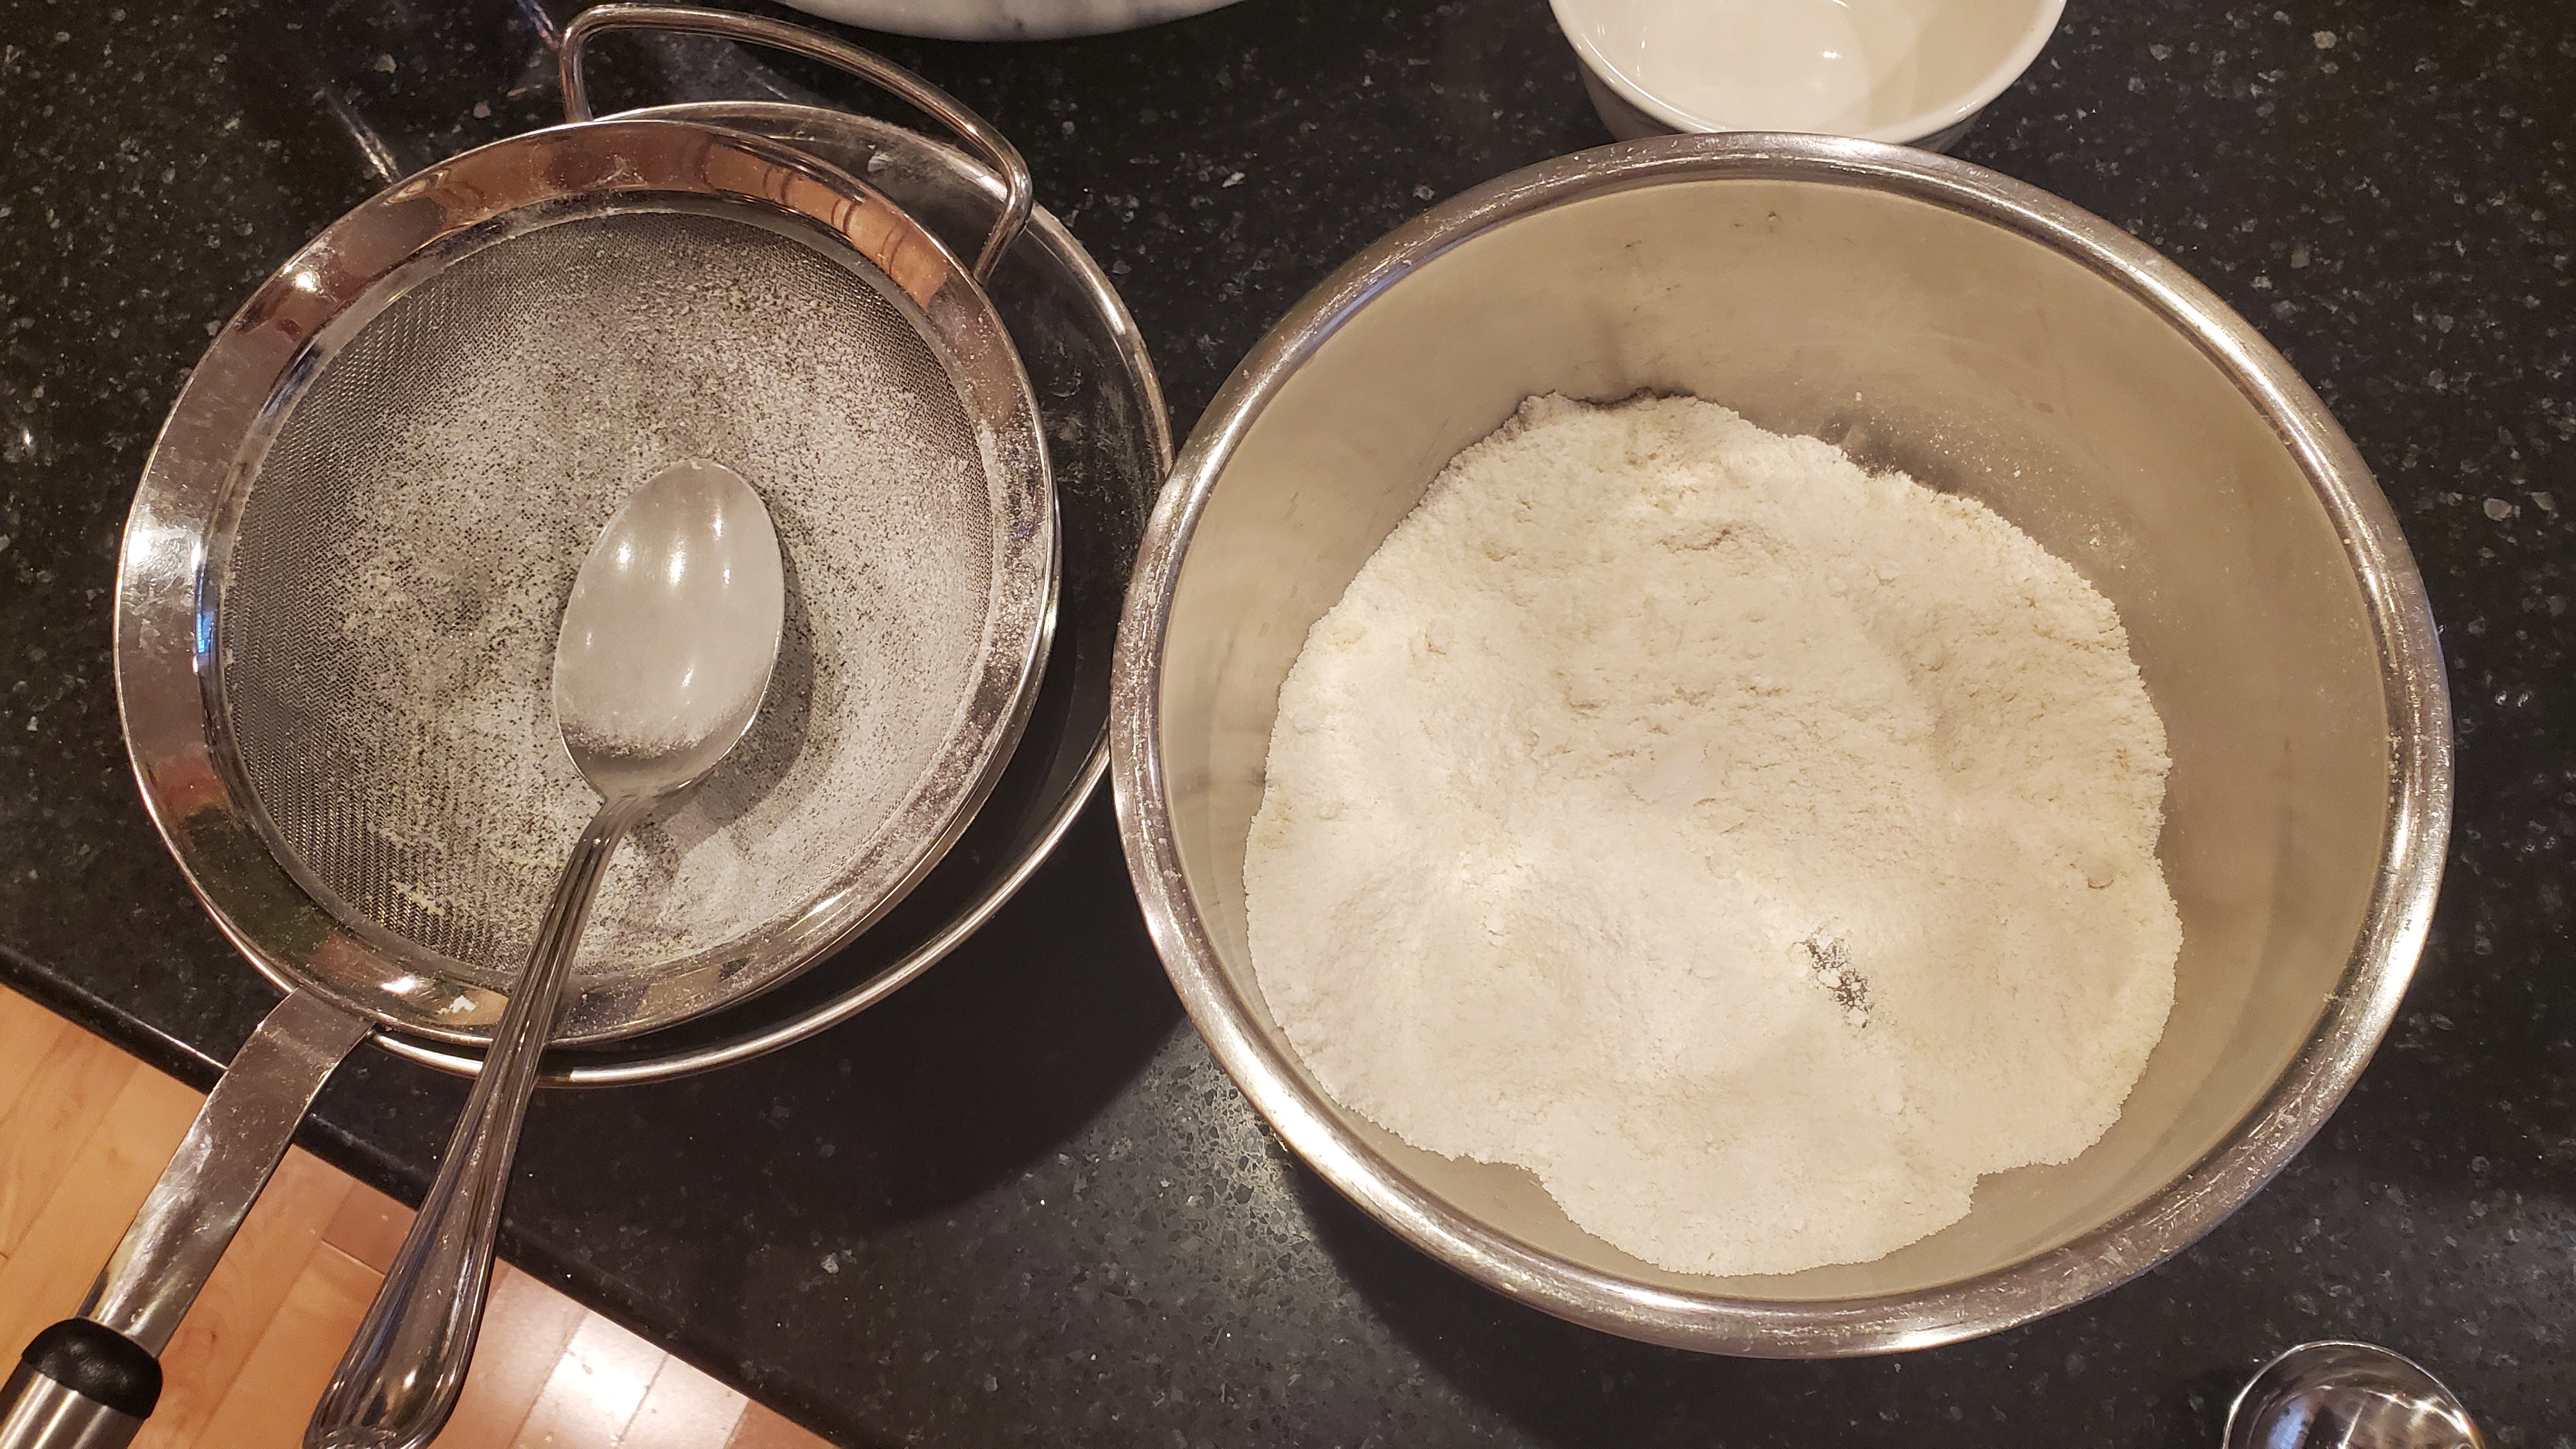
Sift!
I’m sure you will likewise find this frustrating. I also hate sifting and avoid it wherever I can, I am the queen of cutting corners in cooking/baking and I can usually get away with it. Macarons are not the place for cutting corners. Get a sifter, or push your almond flour and powdered sugar through a mesh strainer. This is how you get those beautiful, blemish-free macaron shells.
Use the Right Almond Flour
No, you cannot use regular flour for macarons… You must use almond flour. The best kind is superfine blanched almond flour. If you don’t get superfine, it will be harder to sift and you will have bumpy macaron shells. If you buy unblanched, you will have visible brown flecks in your batter.
Whip Your Egg Whites Longer Than You Think
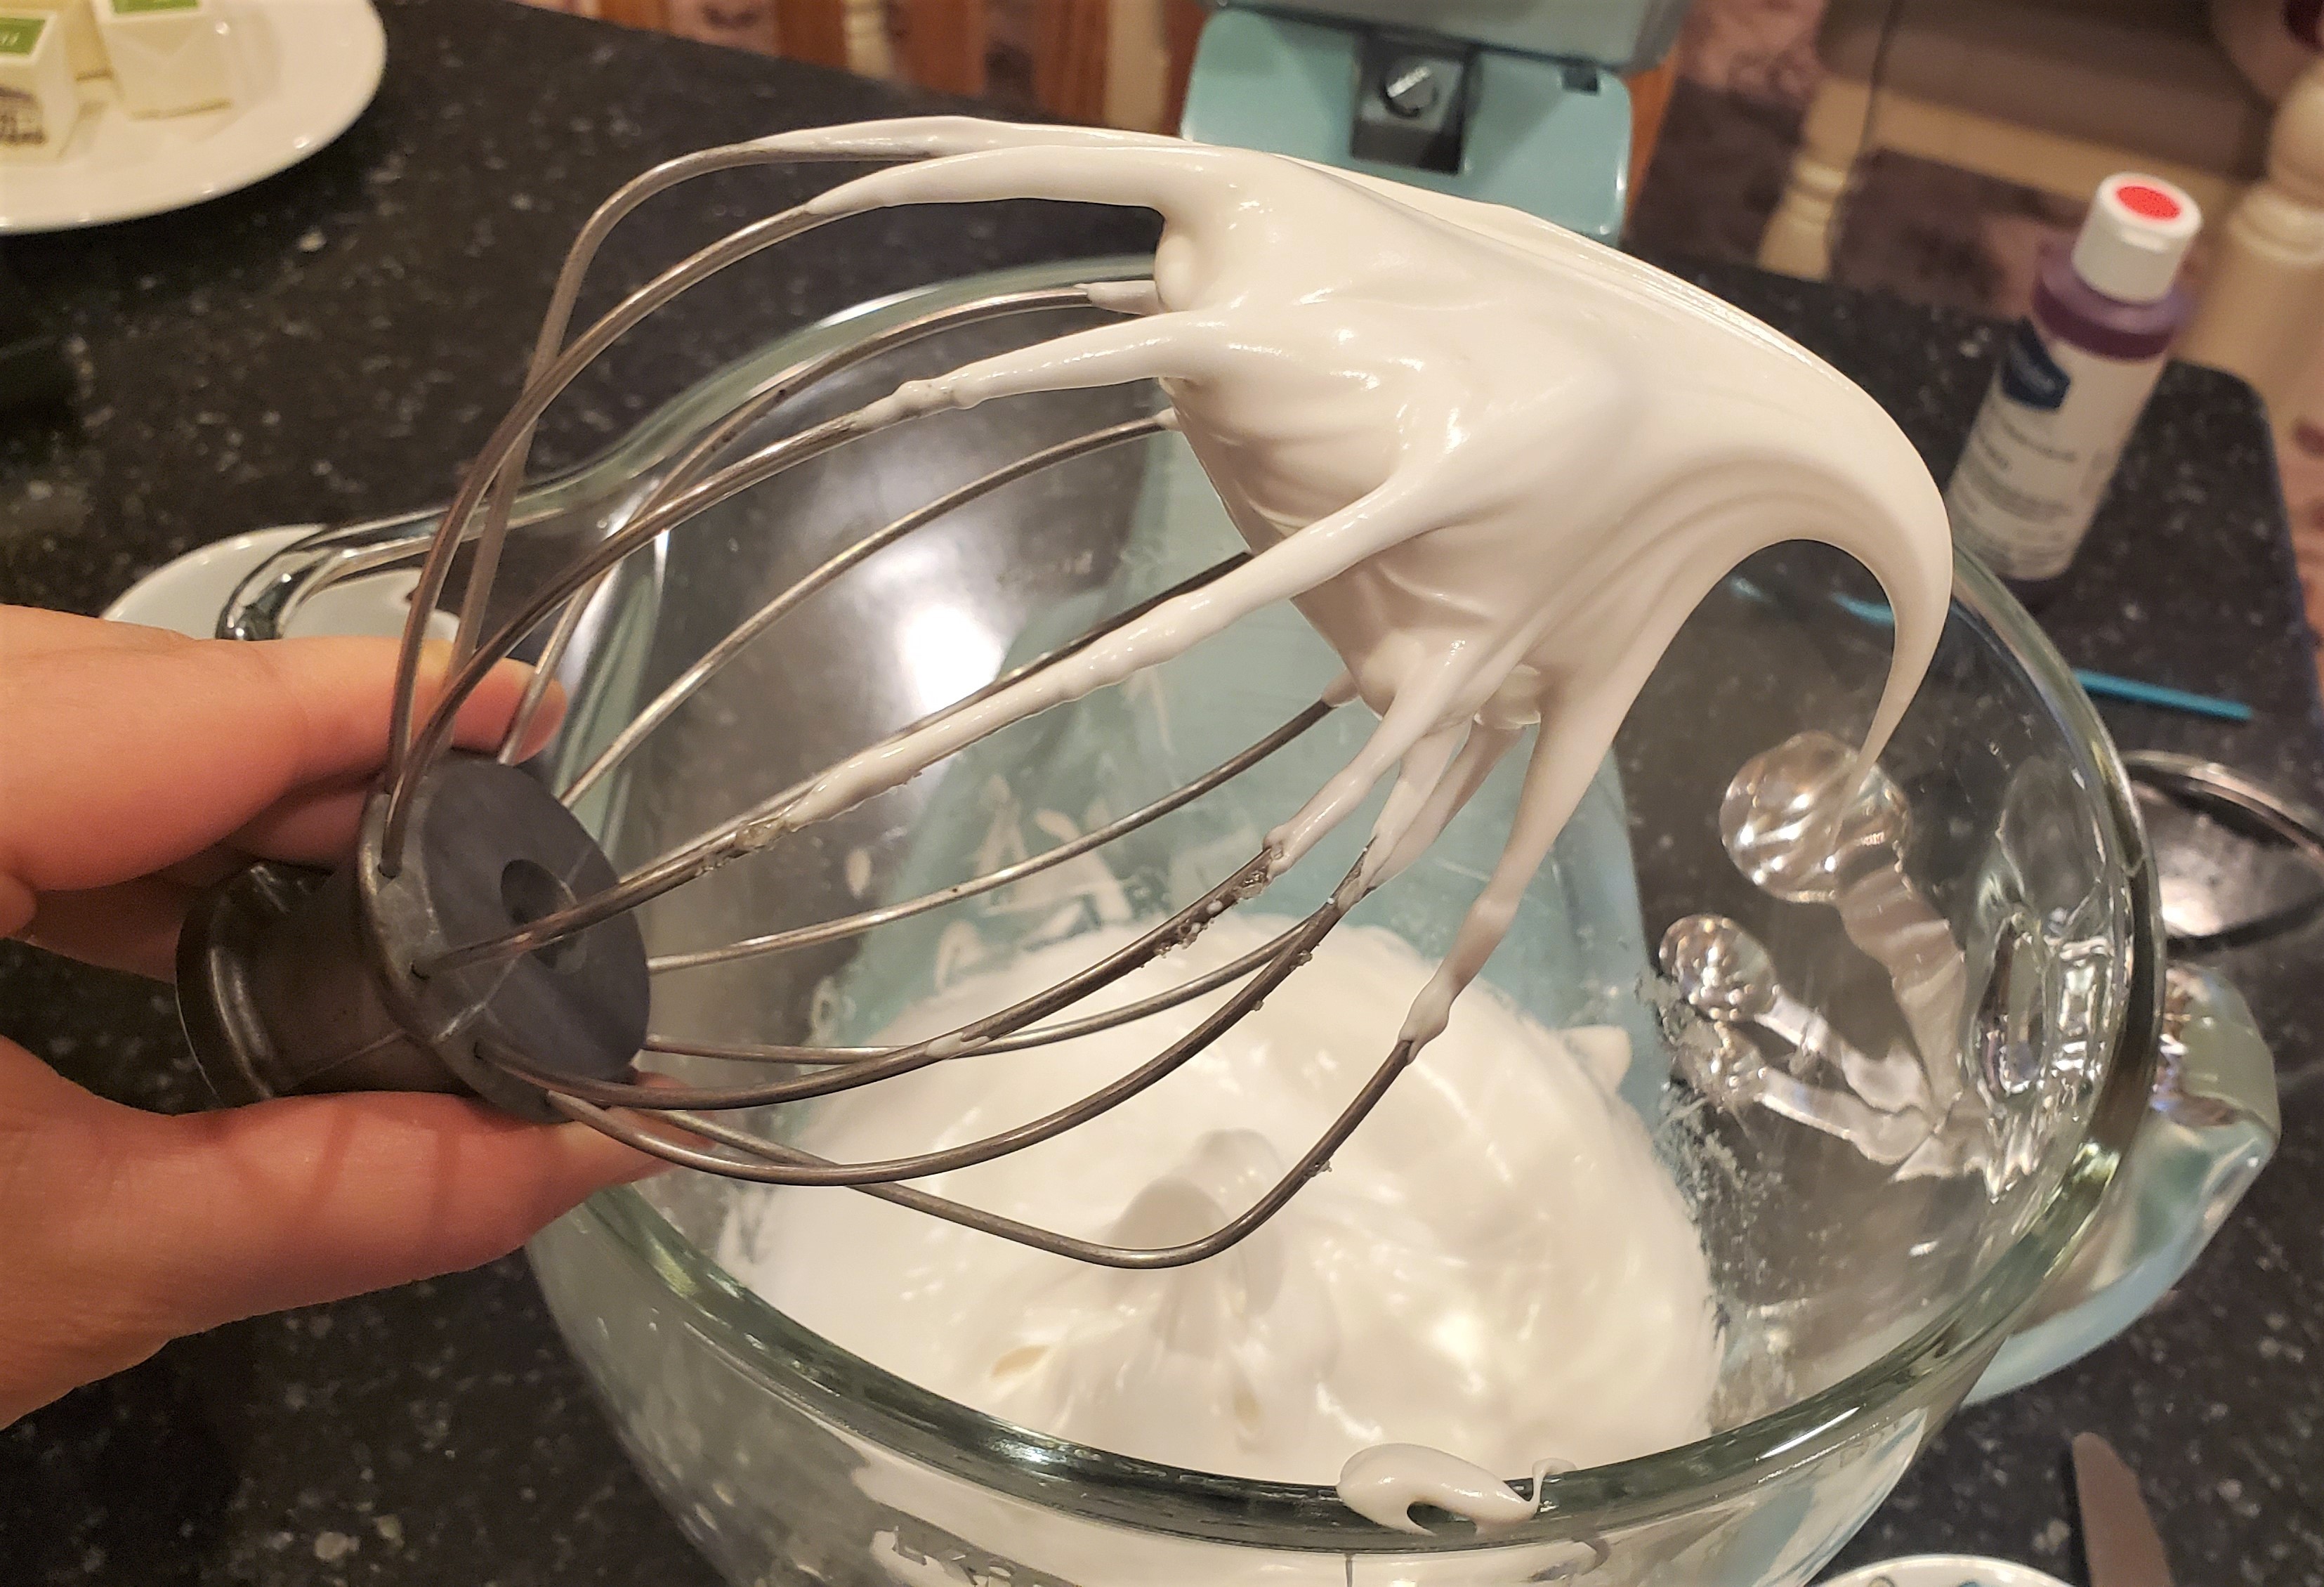
If you under-whip your eggs whites, you’re pretty much screwed from that point on. Whip your eggs whites on medium to high speed until you get stiff peaks. DO NOT walk away from your mixer, no matter how long it takes. If you’re not sure what you’re looking for, take a look at my YouTube video tutorial below.
Don’t Stir Too Much
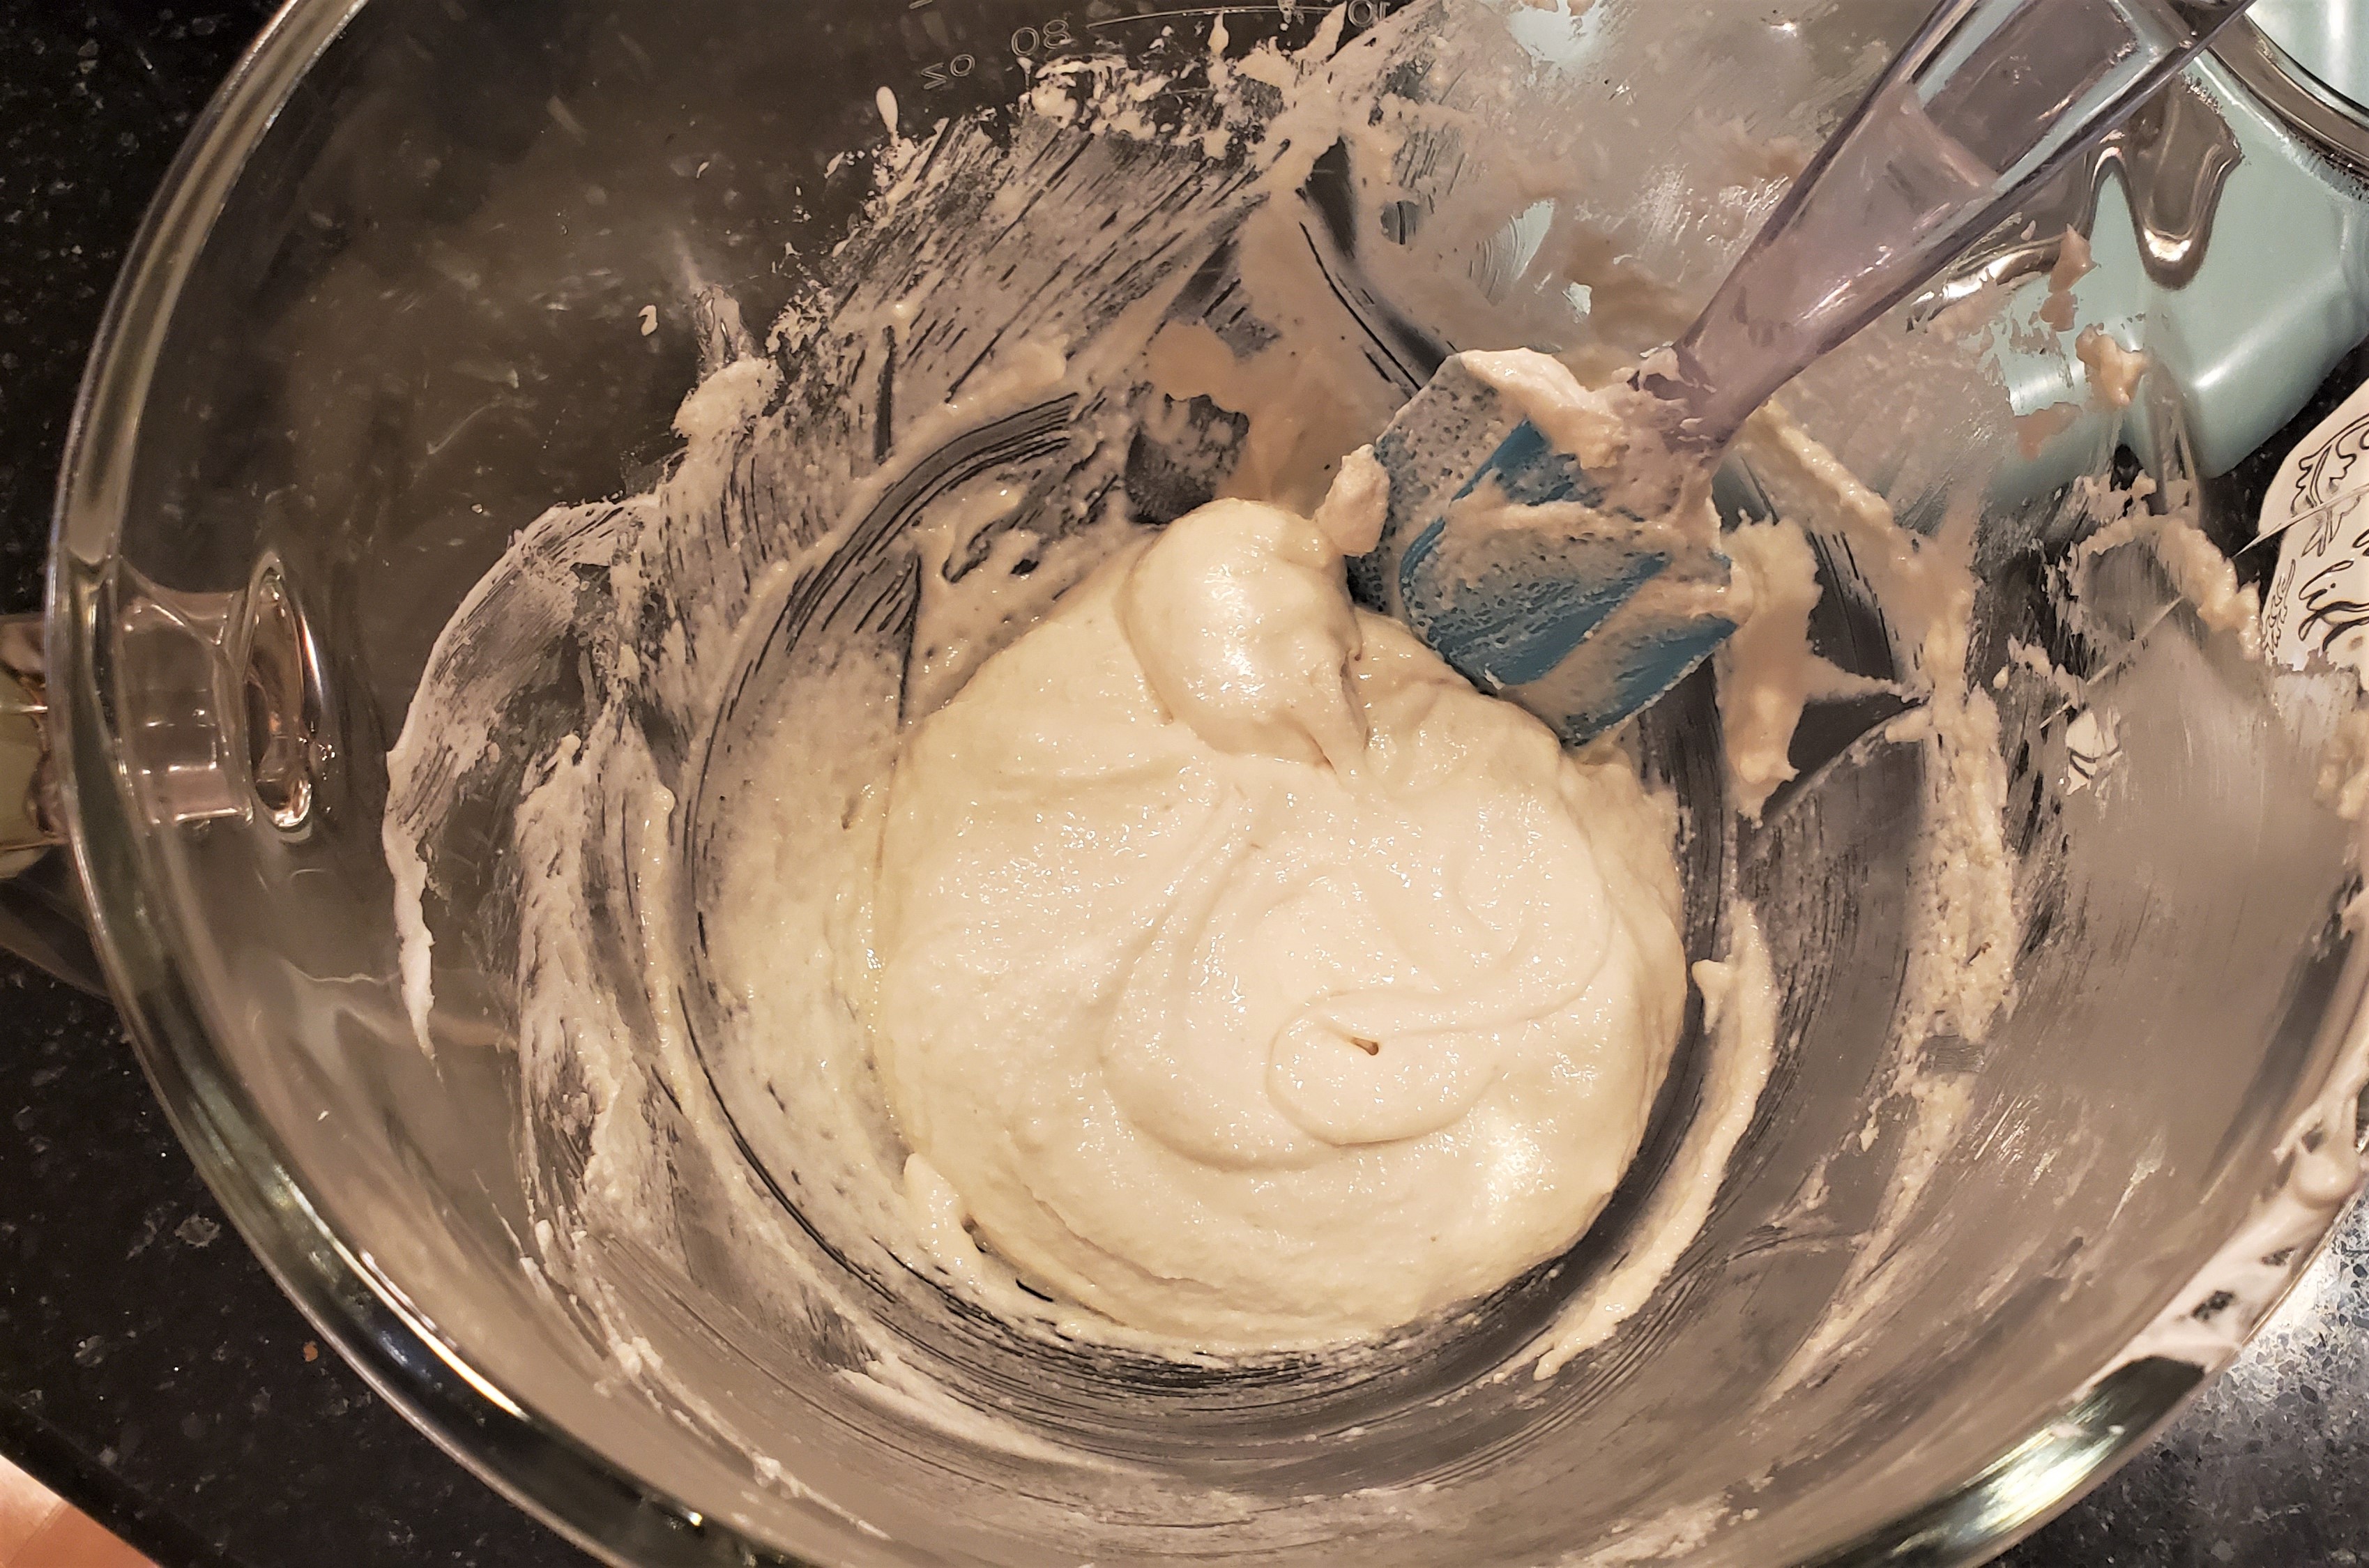
After whipping your egg whites, you will need to fold/stir in your almond flour/powdered sugar mixture. You should only be taking about 50-70 strokes. Once it has reached the desired consistency, you should be able to “draw” with your batter. It should slowly fall off of your spatula. Again, you can see a visual of the desired consistency in my video tutorial.
Get the Right Tools
I strongly recommend investing in a few round piping tips, I use a #10 Wilton tip, and it is extremely essential to have piping bags. Although you can use parchment paper, I really enjoy my silicone mats that have macaron outlines. That way I don’t have to worry about having macarons shells that don’t match, or bother with printing out macaron templates on the internet.
Avoid Browning
Are the tops of your macarons turning brown? Or possibly even burning? Before you move your pan of macarons down a rack, place another baking sheet above your shells. This shields your shells from browning, without changing the rate at which they bake.
Hopefully all of this information wasn’t too intimidating and you still want to take a stab at making some macarons. Even though I struggled when I first started making them, I know I could’ve tackled them much sooner if someone had given me a thorough list of tips like this. It is so rewarding when you make that perfect tray of macarons and can fool all of your friends that they came from some fancy upscale bakery!
happy eating!
Lauren
Macaron Essentials (As an Amazon associate, I earn from qualifying purchases)
Silicone Mats with Macaron Outlines
Bob’s Red Mill Superfine Blanched Almond Flour
Americolor Gel Food Coloring Set
Mesh Stainless Steel Sifter/Strainer
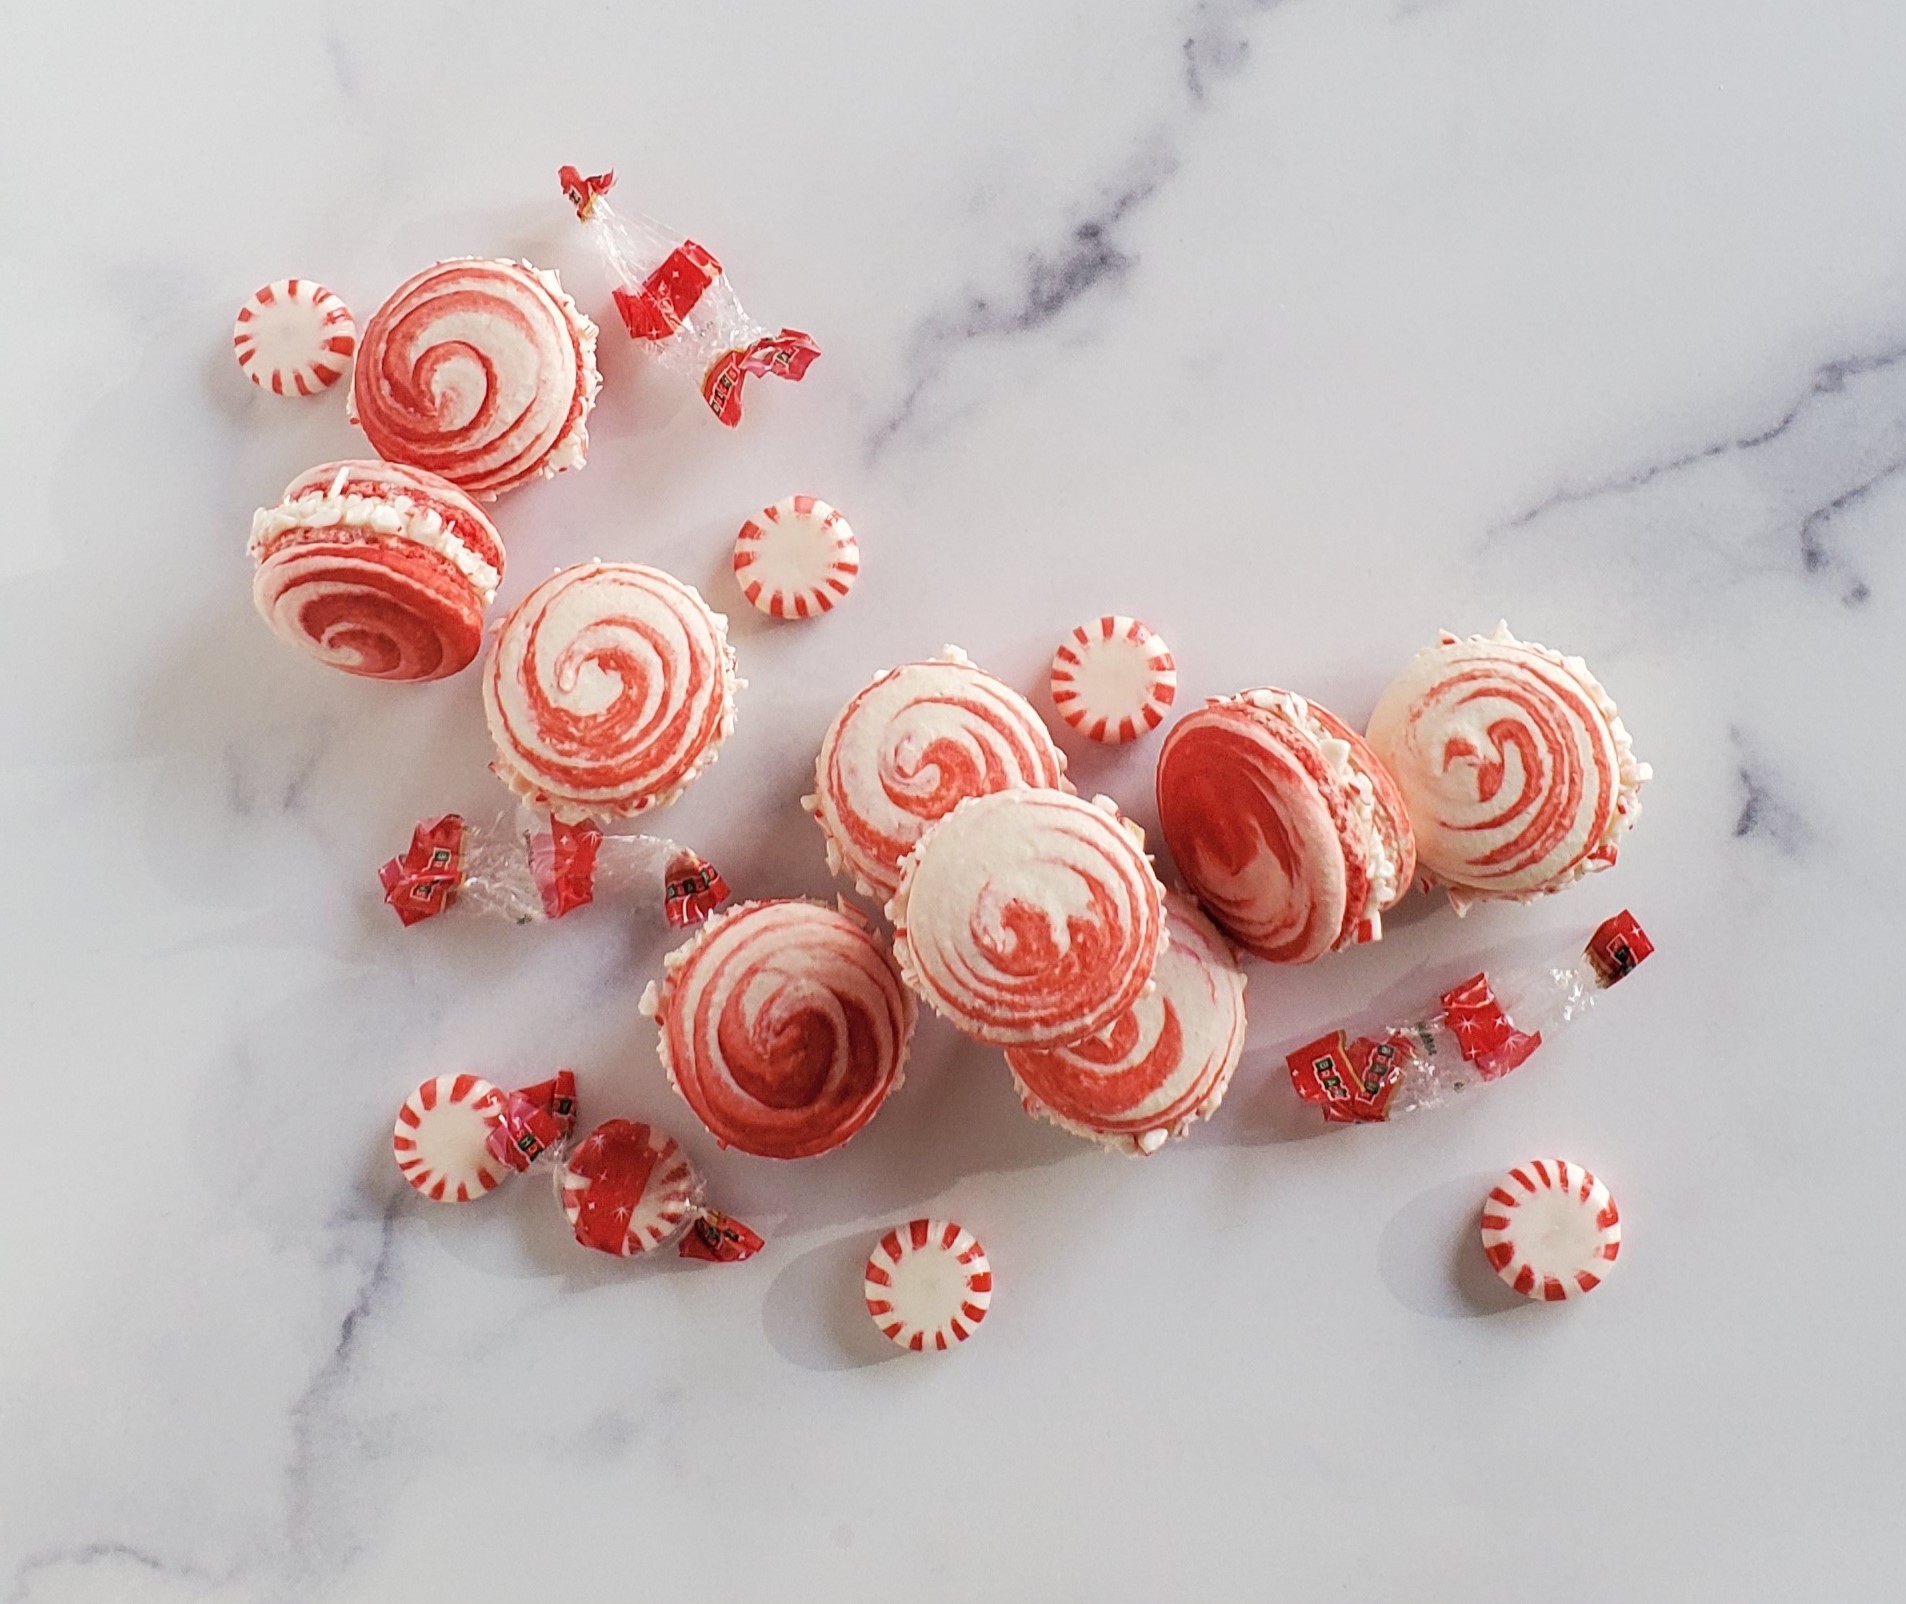
Peppermint Swirl Macaron Recipe
For the Shells:
- 200 g superfine almond flour
- 150 g powdered sugar
- 140 g room temperature egg whites (about 4 egg whites)
- 150 g granulated white sugar
- ½ tsp. cream of tartar
- ½ tsp. coarse kosher salt
*Red food coloring optional for the swirl.
*15-20 peppermint candies for rolling, optional.
For the Peppermint Buttercream:
- 1 cup (2 sticks) salted, softened butter
- 454 g powdered sugar
- 3 tsp. peppermint extract
- 1 tsp vanilla extract
Instructions:
- Sift your almond flour and powdered sugar twice into a medium bowl. Mix together and set off to the side.
- In a standing mixer fitted with a whisk attachment, whisk your egg whites on medium speed (setting 4 on a Kitchen Aid) until foamy.
- Add in cream of tartar and kosher salt.
- Continuing to mix on medium speed, poon in your granulated white sugar 1 Tbsp. at a time. Allowing it to dissolve in between each addition.
- Whip until the meringue is firm and stiff peaks form.
- Remove your mixing bowl from stand and pour in your almond flour/powdered sugar mixture.
- Fold in the mixture, being careful not to over-stir, about 50-70 strokes. Your batter should slowly slide off of your spatula. Read tip above or watch my tutorial to see what you’re going for.
- Set batter aside. Take a piece of plastic wrap and squirt out a few dots of food coloring. Spread them out lengthwise with a food safe paint brush.
- Place your batter along the food coloring line and wrap up your plastic wrap like a tube, leaving one end open.
- Fit a piping bag with a #10 round tip and place the “loaf” of batter inside.
- Take a baking sheet and line it with parchment paper, or a silicone mat (ideally one with macaron outlines).
- Pipe out your macaron shells and bang the pan a few times against your counter to reduce air bubbles.
- Allow shells to dry for 1-2 hours. In the last 30 minutes of your shells drying, preheat your oven to 300ᵒ
- In the meantime, in your mixer, cream butter, then add powdered sugar. Once the powdered sugar is incorporated, add peppermint and vanilla extracts.
- At this time fit a piping bag again with a #10 tip and fill it with your buttercream, set aside.
- Take your peppermints, double bag them and pound with a heavy spoon or rolling pin, until they become small crumbs.
- Once your shells have dried, bake at 300ᵒ F for 15-18 minutes. You’ll know they are done, when you press on their side and they do not move.
- Let cool 10-15 minutes and then remove to a wire rack.
- Once they are completely cooled, match like-sized pairs and pipe a single, circular layer of frosting on one shell. Make sure to let the frosting hang slightly off the edge if you are rolling in peppermint candies.
- Sandwich the cookie with it’s matching shell and roll in crushed peppermint.
*Your macarons can be stored in the refrigerator for up to 3 days, or in your freezer for 3 months. When defrosting, make sure to do so first in your fridge and then leave at room temperature 30 minutes before serving.


Comments