Alright everyone, the moment you have all been waiting for (maybe). I’m finally releasing my Sourdough recipe into the universe! My apologies for taking so long, but I wanted to make sure I had it perfected before I passed it along.
At the beginning of the pandemic, I had no idea how sourdough was made. I assumed it was just like any other bread but, well, sour… However, I realized quickly when the grocery stores were out of bread, and then eventually out of yeast (yikes!) that I should probably learn how to make it. Also, not to be too dismal, but we may be headed towards a second wave, so it might not be a bad idea to at least watch the tutorial. Food for thought. Lol.
I don’t know about you all but even though I like cooking/baking and doing really cool, in depth recipes. I don’t usually like to begin that way. In any situation, I usually start with a more basic recipe and build up to a more complicated one. That’s why this is a great, easy, starter sourdough recipe that I think most anyone can figure out if you put your mind to it.

That being said, the most quintessential ingredient in sourdough is your starter. This is the fermented, bubbly flour/water mixture that gives sourdough it’s signature taste and look. The easiest way to get some starter is from a friend and to simply build upon that sourdough (which will last basically forever in your refrigerator). The concept is similar to splitting a SCOBY when making kombucha. But if you don’t know what that is, we’ll save that conversation for another day.
If you don’t have a hipster friend that is into growing stinky fermented things (like me), I recommend just making your own. It’s not that hard, cause I did it! There are MANY different ways to grow a starter and I’m sure some people on the internet (or elsewhere) will insist that their method is the best! And that may be true, but this method worked for me, so you can either use mine or Google it!

I simply started by mixing ½ cup all-purpose flour with a ½ a cup of water and I added 2 Tbsp. all-purpose flour and 2 Tbsp. of water daily for about a week, leaving it out at room temp, until it started to double in size. You should have a breathable covering over the top of your starter since it is growing living bacteria (lactobacillus cultures that benefit your gut)! Also, a good way to measure if it is doubling, is by simply putting a rubber band around where your mixture starts. If you come back the next day and it is bubbly and doubled, it is ready to use!
Whether or not bread is your thing, if you have some time during this “unprecedented time” I strongly recommend trying to make your own sourdough. I truly think homemade bread is one of those top things every human should experience/taste. Unless you actually suck at cooking, then maybe have someone help you – but you should still do it! Cooking is a life skill, that goes for any age, gender or creed and I will take that to the grave!

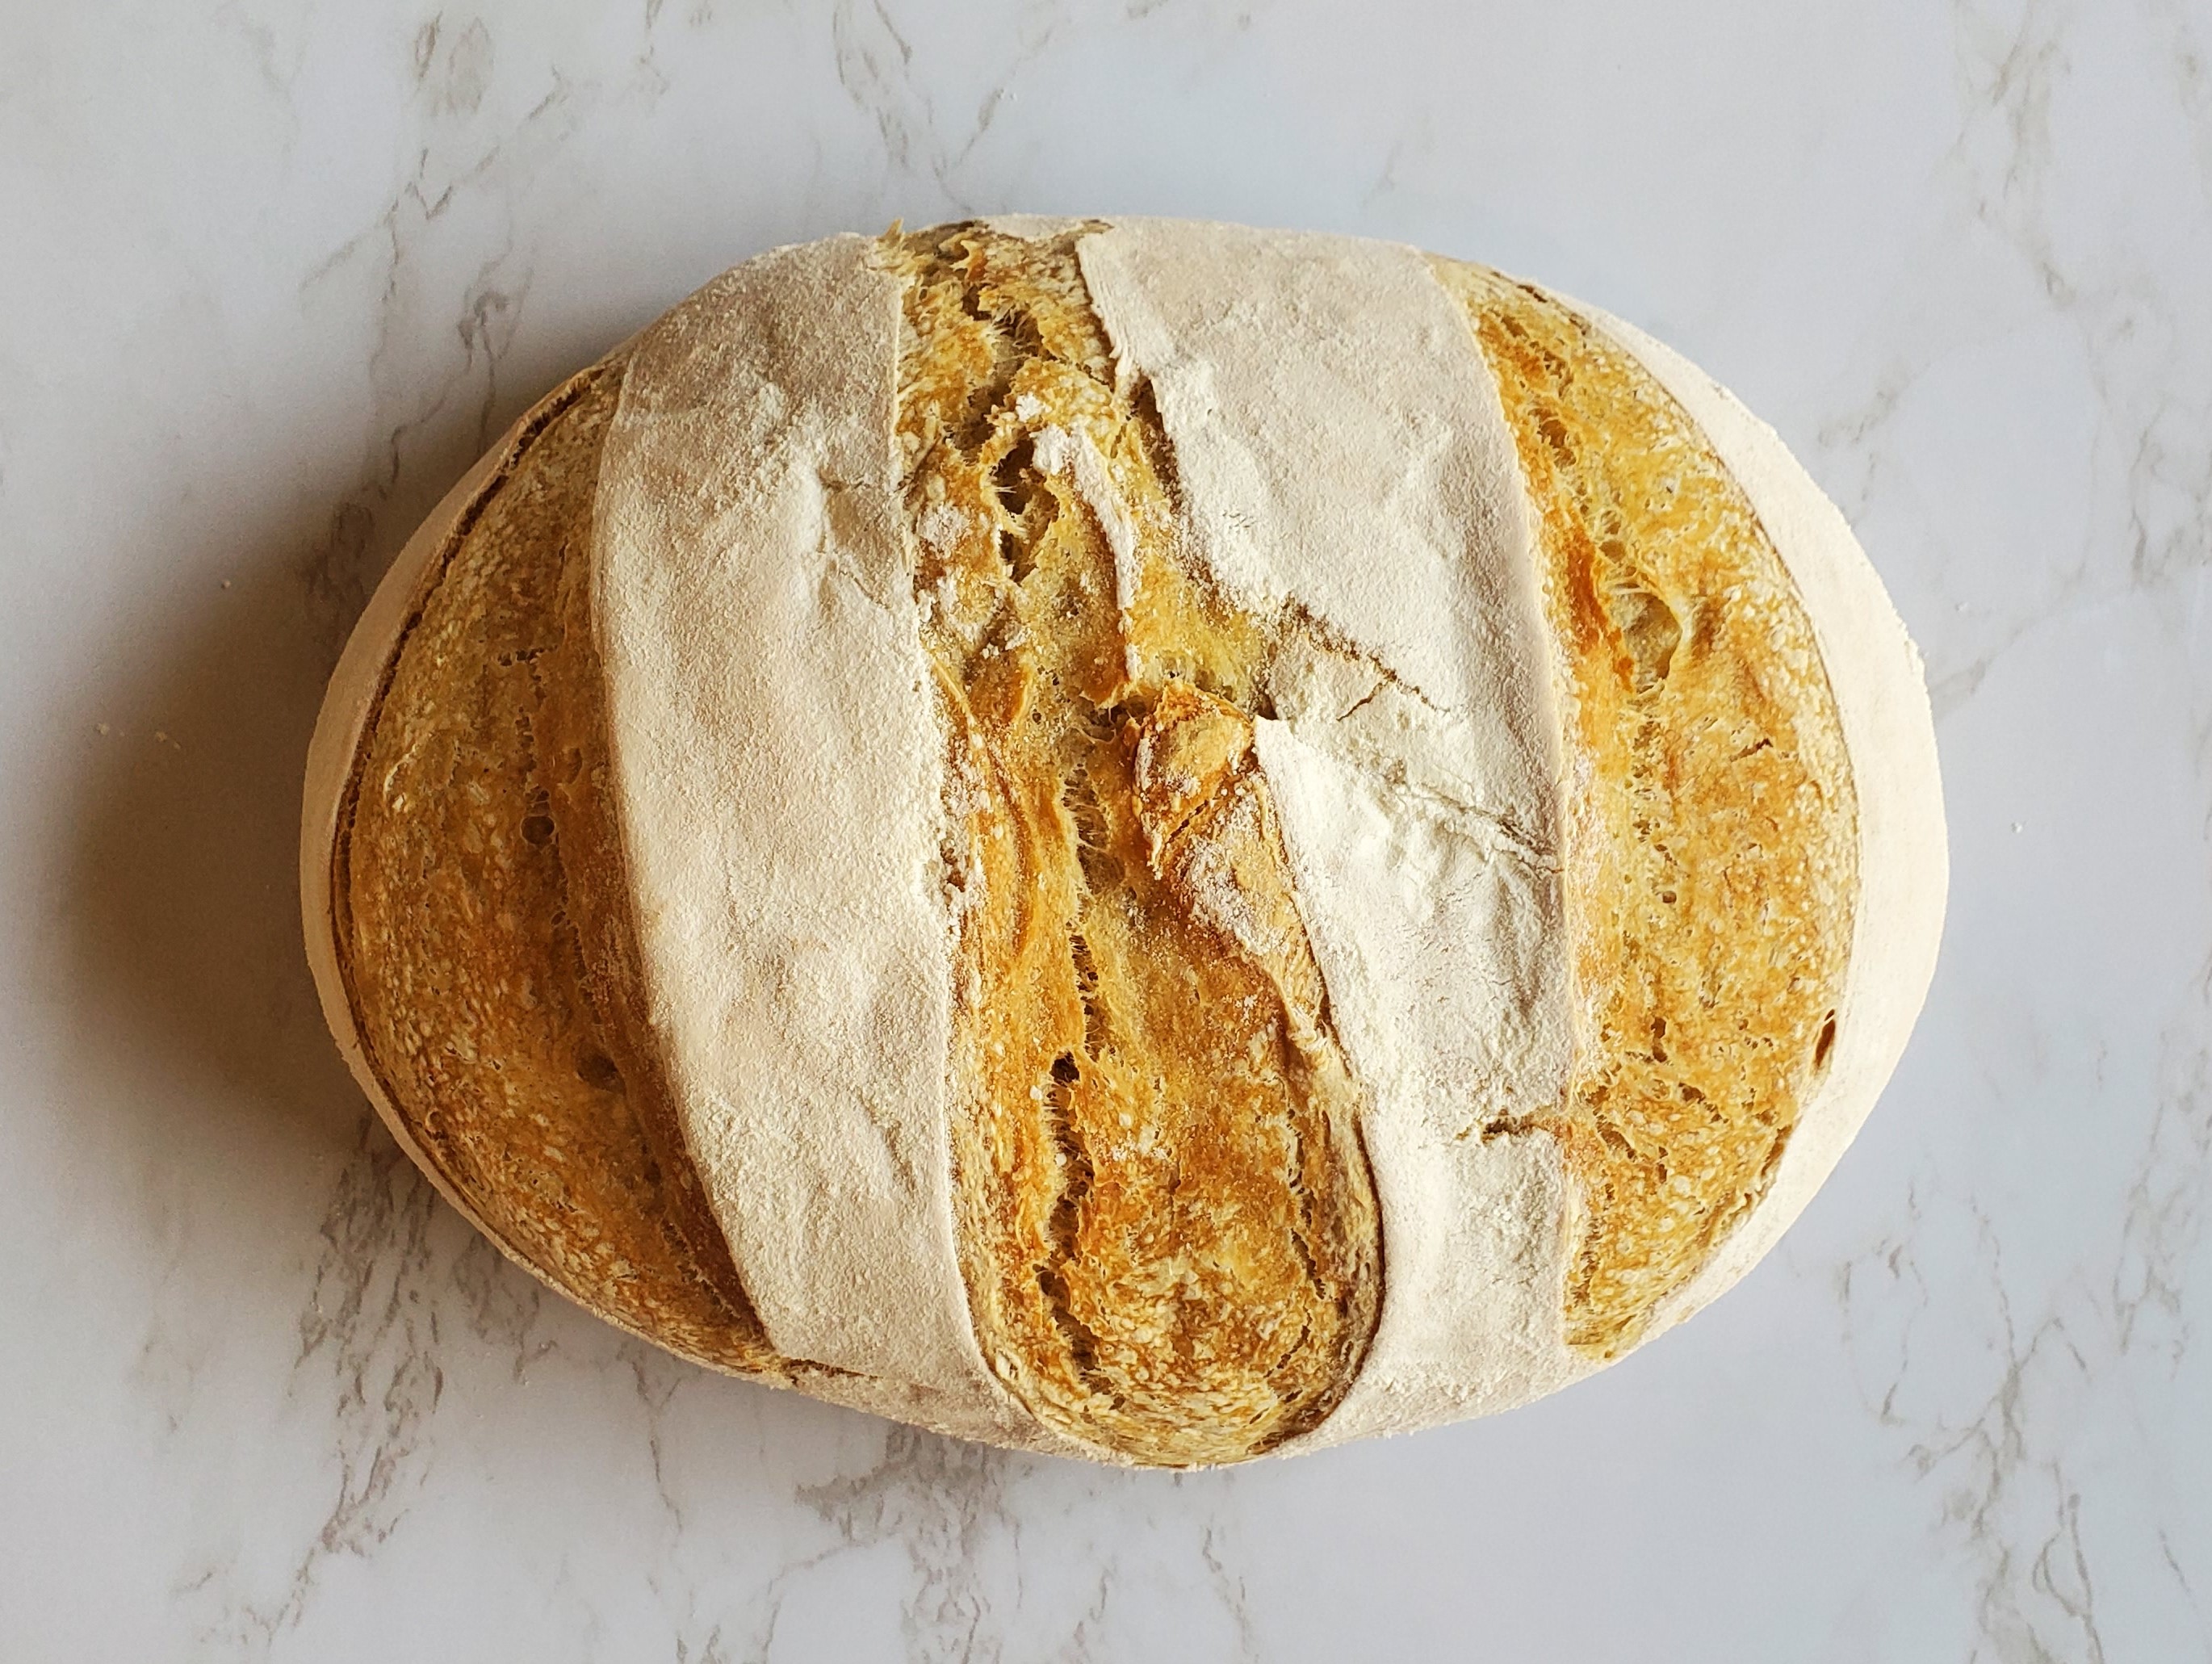
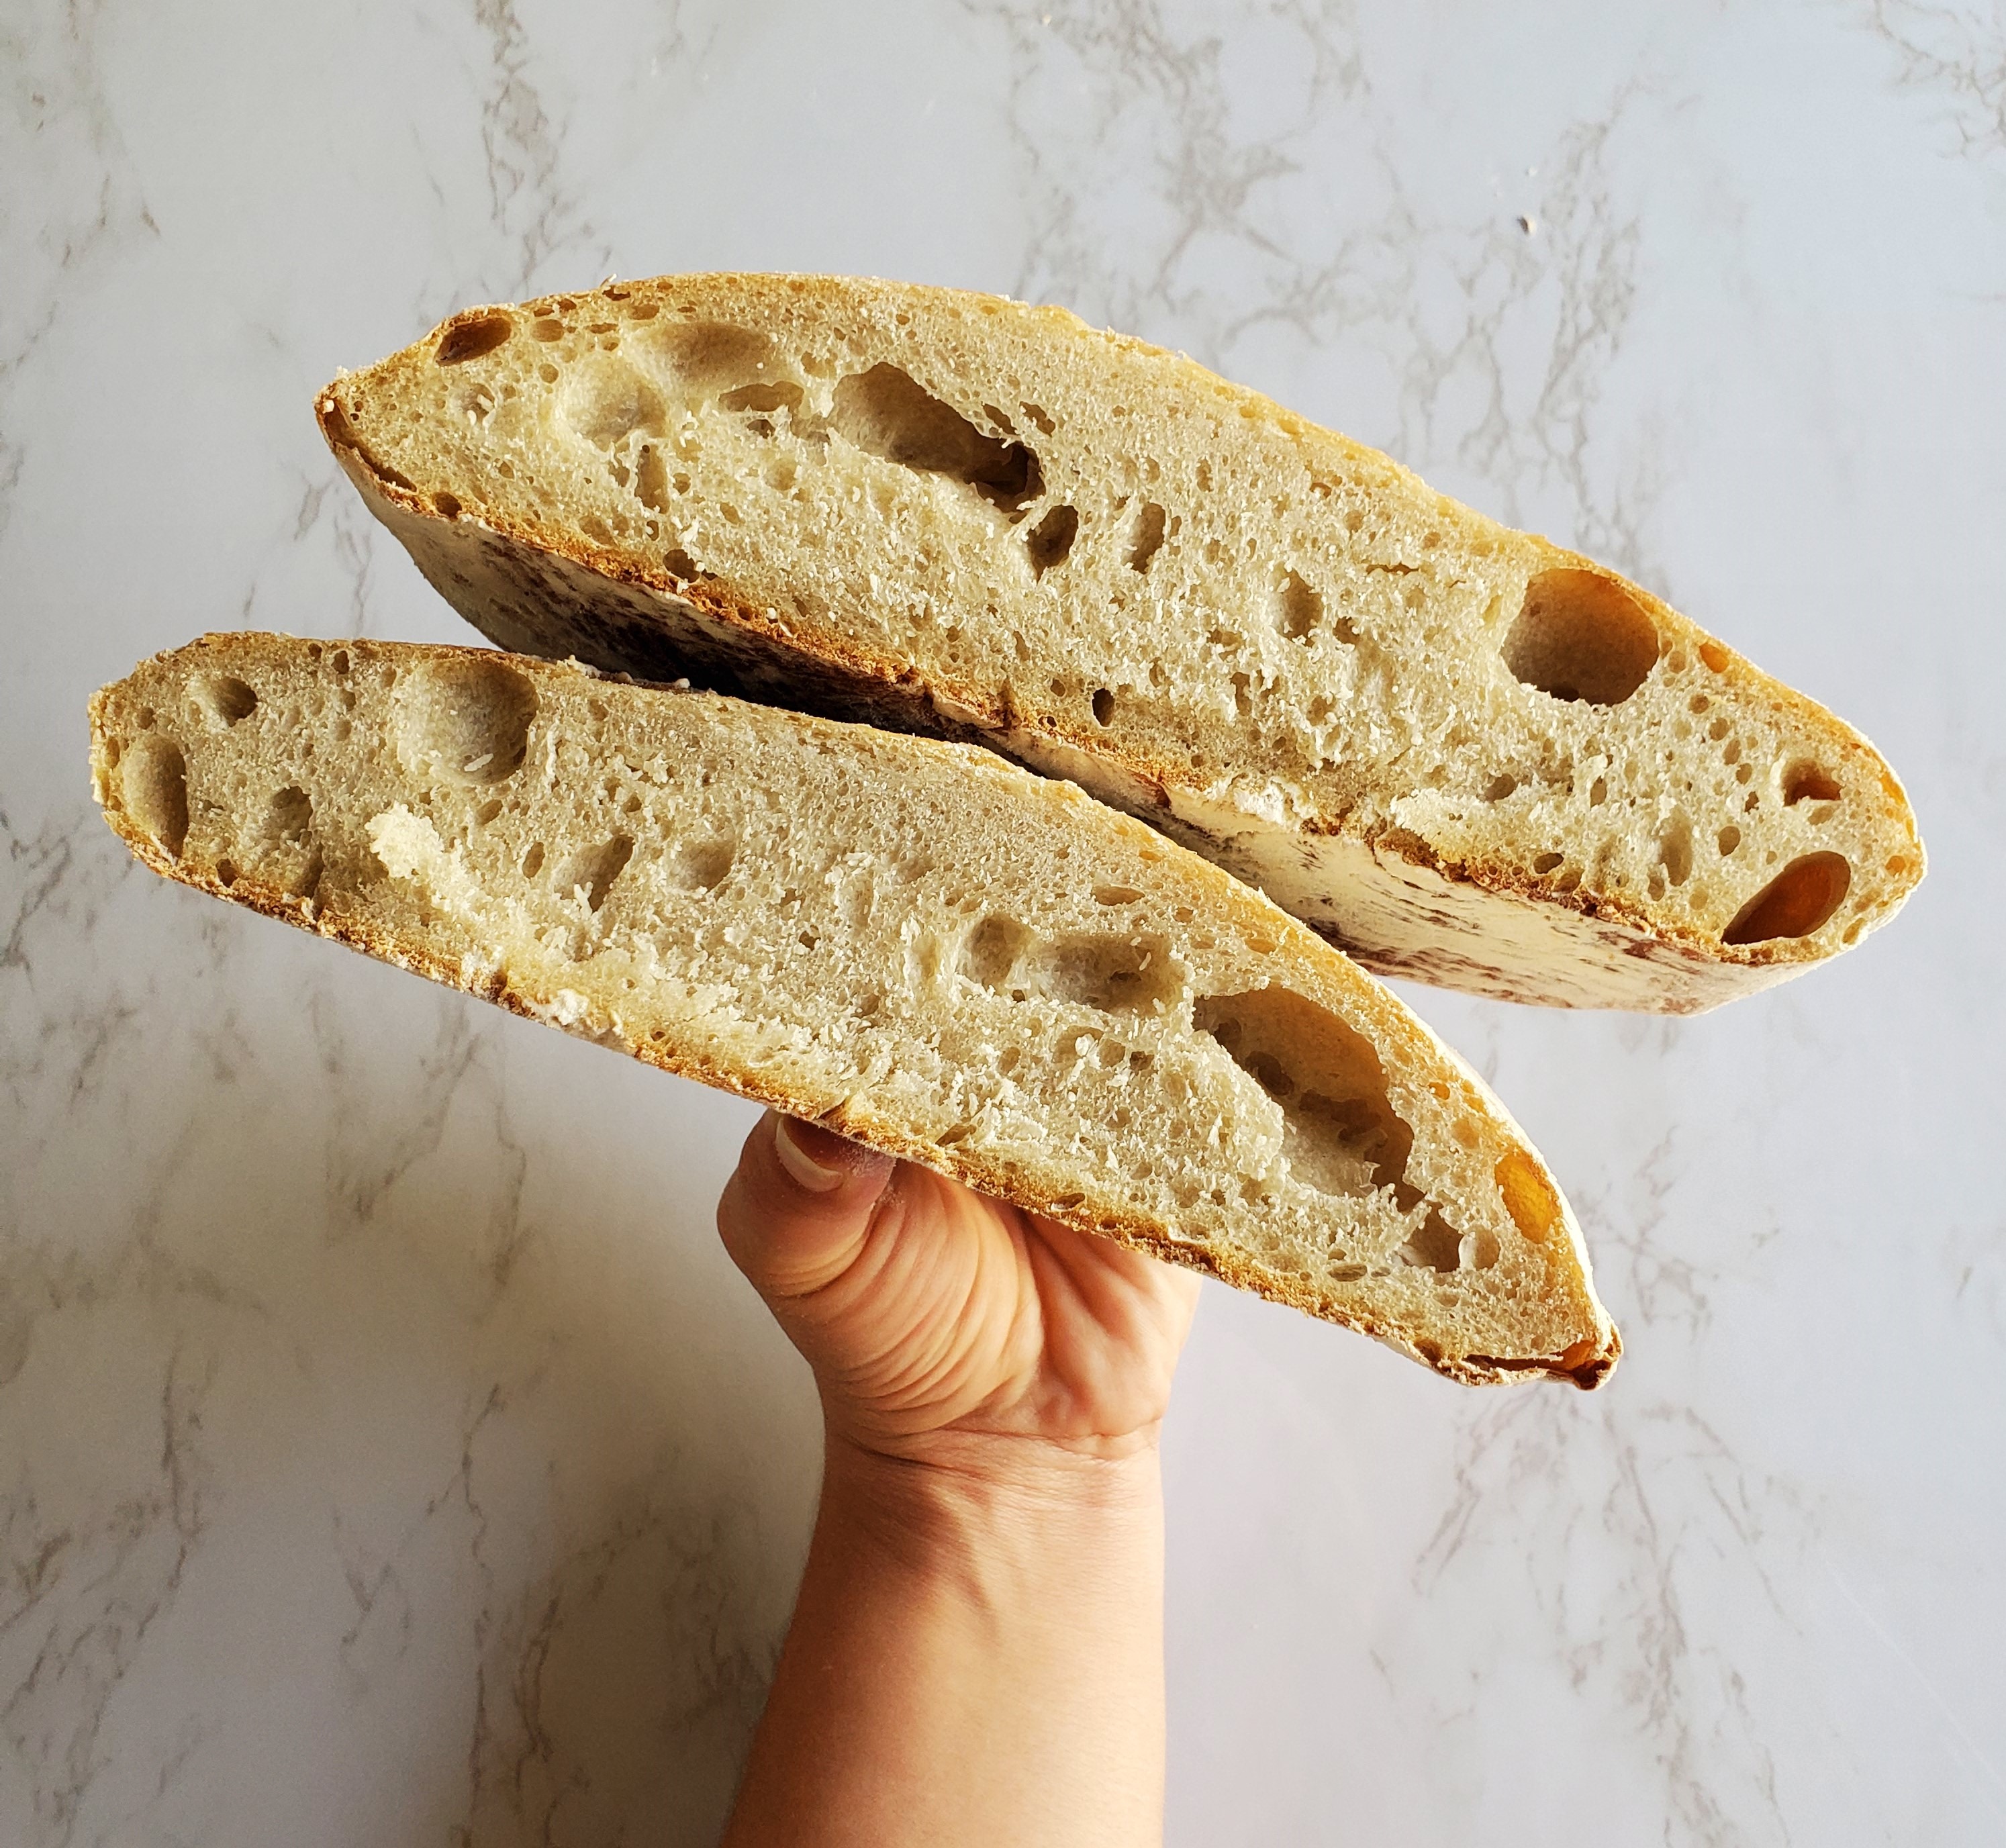
I'm including this photo of a loaf from another day to give you an idea how weather can have an impact on your sourdough.
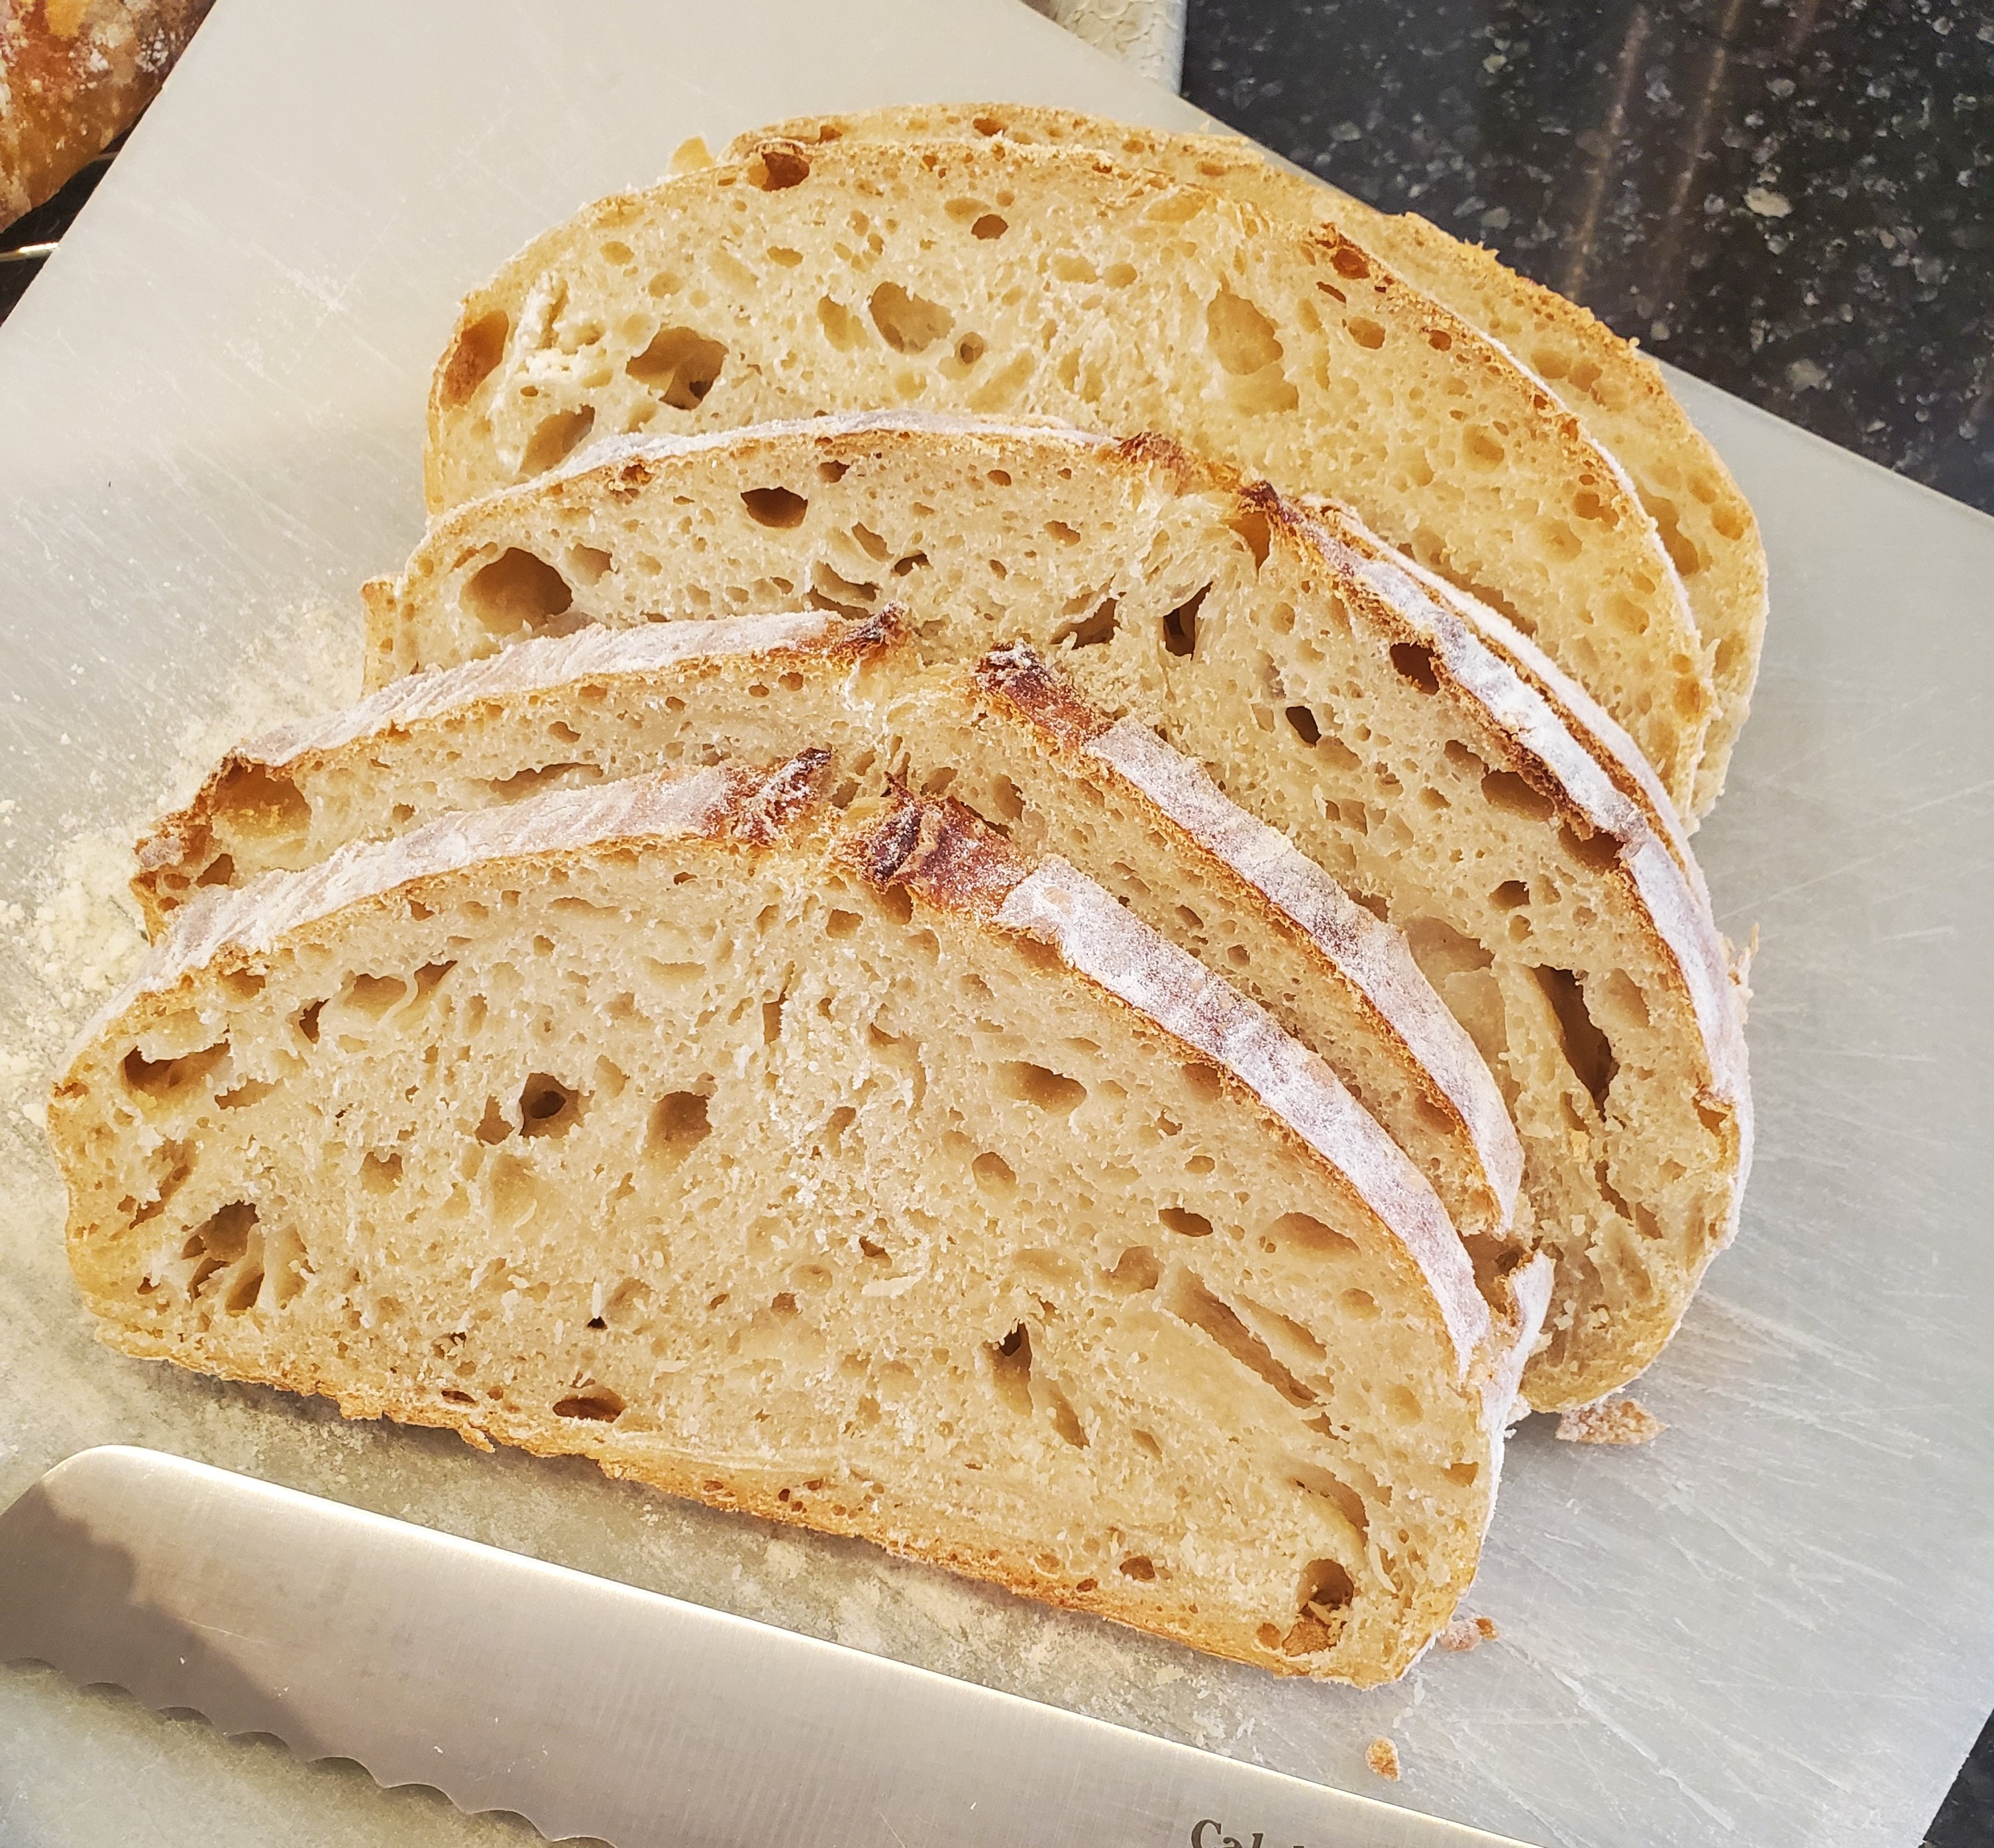
Keep in mind, weather can have a huge effect on your loaf and it’s rise. I have some that end up rising super high, but have tiny little bubbles inside and some loaves that look super flat, but have gorgeous giant bubbles. It’s all about trial and error and sort of feeling out how dough rises in your space. However, as a general rule of thumb, make sure to keep you dough at 70 degrees or higher.
I’ll end by saying I’ve learned a lot and I’ve also learned nothing at all. I say this because the world of sourdough is vast and there are so many different things you can do with it. So much so, that we have only scratched the surface here. I hope that once you conquer this loaf it will get you curious about learning more! As always, please leave any questions/comments below or on the YouTube video.
I also highly recommend using this sourdough for my Ultimate Brie Grilled Cheese Recipe! Or as an addition to your Charcuterie Board!
If you make this recipe, make sure to tag me @hugheatswithyou on Instagram & make sure to Subscribe to my YouTube Channel!
happy eating!
Lauren
And some of my equipment favorites used in this video! As an Amazon Associate I earn from qualifying purchases.
- Kitchen Aid Artisan Design Standing Mixer (mine is in Azure Blue)
- Le Creuset Enameled Cast Iron Signature Round Dutch Oven, 9 qt (I have this version in the color Flame)
- Le Creuset Enameled Cast Iron Signature Round Dutch Oven, 7.25 qt (here is a smaller version that is more reasonable)
Easy Sourdough Bread
Ingredients:
- 3 cups all-purpose flour
- 1 tsp. fine sea salt
- 1 Tbsp. honey (you can also use white granulated sugar)
- ¾ cup starter (see video)
- 1 cup warm water
Directions:
- In the bowl of your mixer add flour and salt, whisk together before adding the rest of the ingredients.
- Then add honey, starter and 1 cup of warm water. Pro tip: I usually stir my starter before measuring it.
- Stir all of your ingredients together with a spatula to create a dry, “shaggy” dough. Then let it rest for 10 minutes.
- Once your dry dough has rested, fit your mixer with a dough attachment.
- Knead your dough on setting 2 (for Kitchen Aid mixers) for 5 minutes.
- The goal is for your dough to be moist and tacky to the touch, but not stick to your hand.
- If your dough is to sticky/wet, add a few tablespoons of flour, if your dough is too dry, add a few tablespoons of water until you get the ideal consistency.
- Transfer your dough into a large bowl greased with olive oil.
- Cover your dough and let it rest in a warm spot for three hours.
- After three hours of resting, you are going to turn and fold your dough. You will move circularly around the bowl pulling the dough from the outside into the middle (see video) I also like to grab a bowl of water to dip my hand in so that it doesn’t stick to the dough.
- Make sure to leave the dough seam side up, cover and let rest again for two more hours.
- After the second rise, your dough should look bubbly.
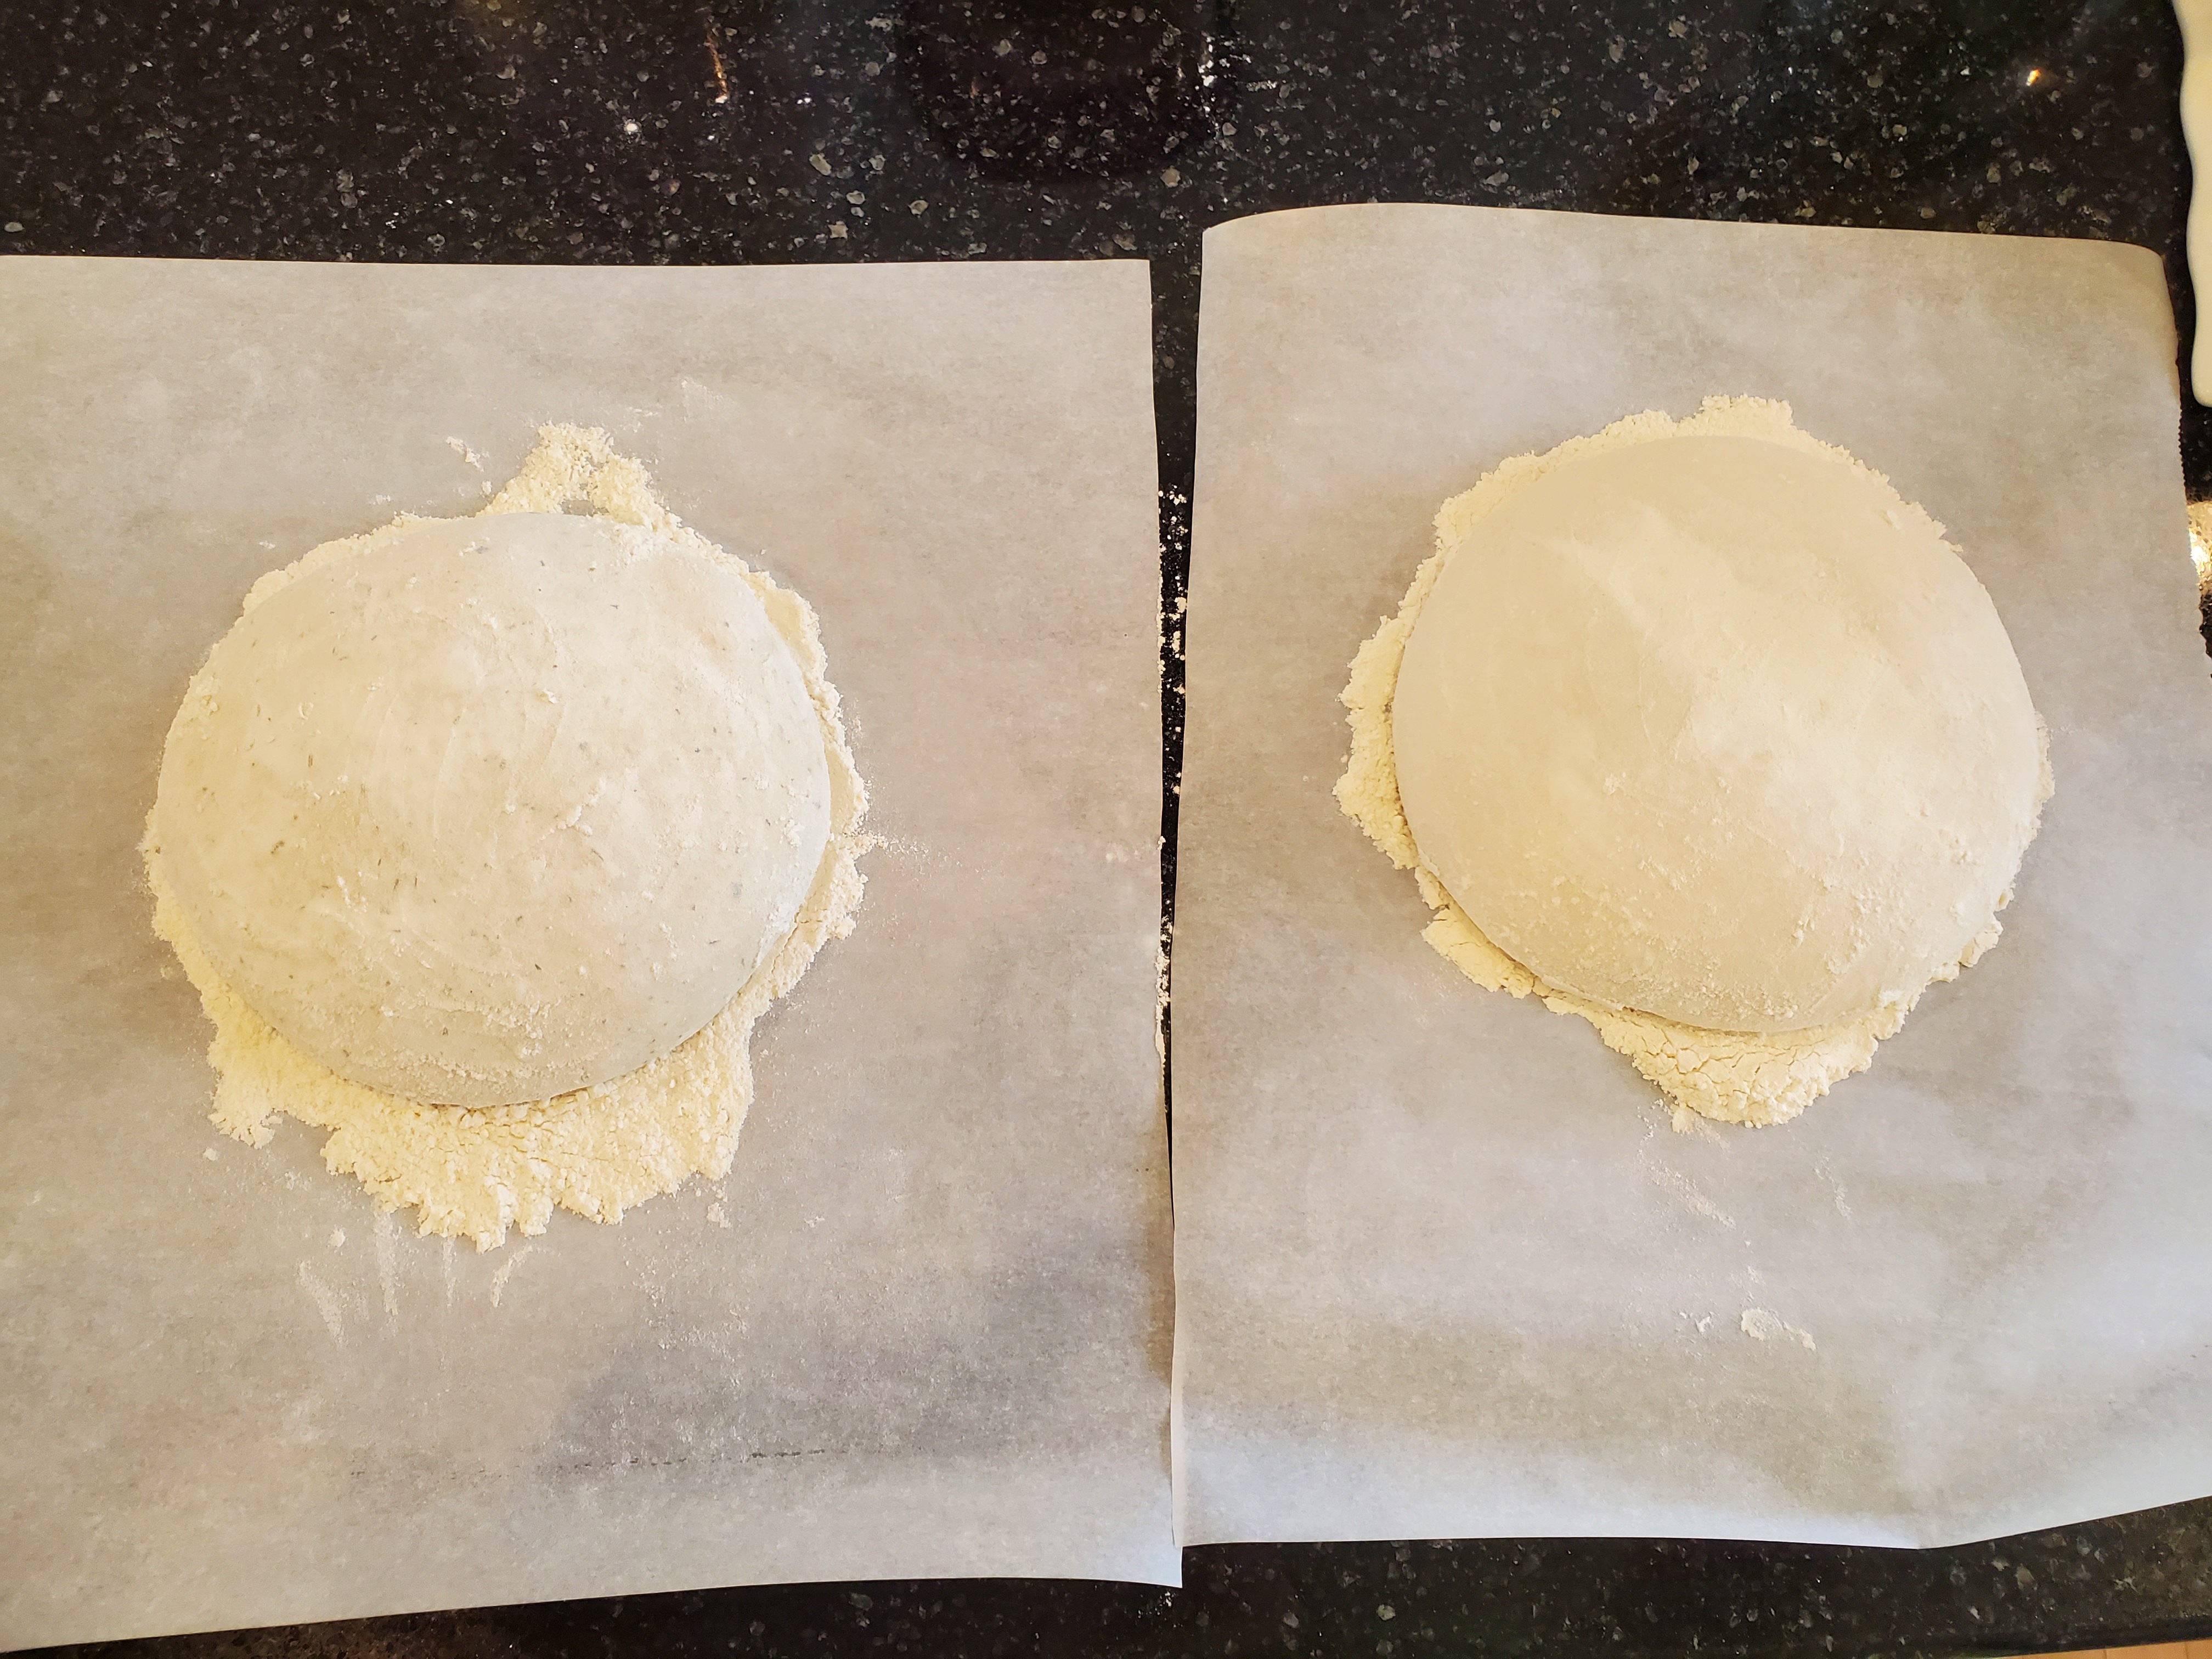
- Lay down a piece of parchment paper and cover it with flour.
- Next, while your dough is still in the bowl, coat the top layer with flour.
- Then you are going to scrape the sides of the dough away from the bowl with a spatula (adding flour along the sides as needed if it is sticky). Once all sides have been released, pick up the dough and begin to tuck the sides/bottom of the dough underneath itself in order to create tension.
- Transfer the dough ball onto the floured parchment paper.
- Re-cover your hands and dough ball with more flour.
- Take a bench scraper to tuck the dough once again until it is taut and round to your liking. Be cautious not to tuck under your excess flour, or it could result in chunks within the loaf.
- Once your dough is shaped, allow it to rest/rise for 40 minutes while the oven preheats.
- During this time, you are going to preheat a Dutch oven in your larger oven for 40 minutes at 450 degrees.
- **If you don’t have a Dutch oven, you can be resourceful by spraying your dough with water and covering it with aluminum foil. The idea here is to mimic trapping steam around your loaf to keep it moist like the Dutch oven.**
- Once your dough has rested for the third time and your oven/Dutch oven is preheated, you are going to slash your loaf. Slashing the loaf helps to guide those beautiful cracks in your crust when it rises in the oven.
- For this step I recommend using a serrated knife, as far as the design in which you cut it? It is totally up to your artistic interpretation, just make sure your cuts are deep!
- Then you are going to place your dough/parchment paper into the Dutch oven with the cover on and into the larger oven for 15 minutes.
- After 15 minutes, take the cover off (or aluminum foil if you’re using that method) and cook for another 15 minutes, or until your bread is a nice golden brown on top.
- Once your bread is out of the oven, move it onto a wire rack to cool for 30 minutes to an hour before cutting into it.
happy eating!
Lauren
